QSC AcousticDesign Series Hardware User Manual
Ceiling mount loudspeaker – high power ceiling mount loudspeaker – high ceiling
Hide thumbs
Also See for AcousticDesign Series:
- Quick start manual (9 pages) ,
- Hardware user manual (9 pages) ,
- Hardware user manual (6 pages)

Related Manuals for QSC AcousticDesign Series


Summary of Contents for QSC AcousticDesign Series
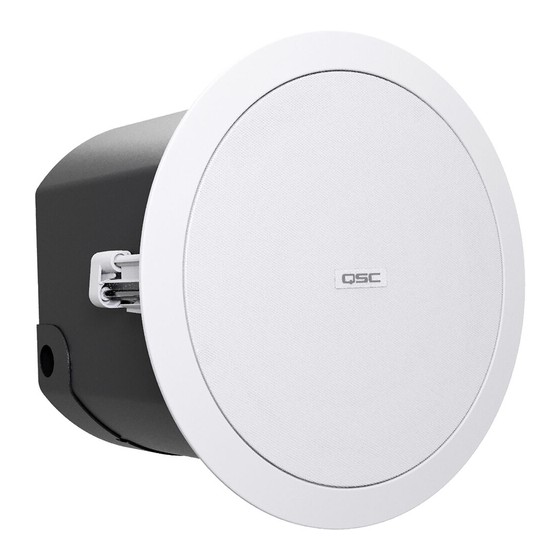
- Page 1 Hardware User Manual AcousticDesign™ Series AD-C6T-HP Ceiling Mount Loudspeaker – High Power AD-C6T-HC Ceiling Mount Loudspeaker – High Ceiling TD-001665-01-A *TD-001665-01*...
- Page 2 To avoid a danger of subsequent damage to the apparatus, injuries to persons and/or the creation of additional safety hazards, all maintenance or repair work on the apparatus should be performed only by a QSC authorized service station or an authorized QSC international distributor.
- Page 3 RoHS Statements The QSC AD-C6T-HP and AD-C6T-HC loudspeakers are in compliance with European RoHS Directive. The QSC AD-C6T-HP and AD-C6T-HC loudspeakers are in compliance with “China RoHS” directives. The following table is provided for product use in China and its territories.
- Page 4 Installation Prepare Ceiling Refer to Figure 1. 1. Use the template provided to mark and cut a hole (1) in the ceiling where the loudspeaker is to be installed. For a frame-construction ceiling, skip to “Wire the Loudspeakers”. 2. Install two V-rails (2), one on each side of the hole, and supported by the suspended-ceiling support rails (3).
- Page 5 Mount the Loudspeaker Refer to Figure 5. 1. Make sure all of the dog-ears are fully extended and in their non-capture position. 2. Position the loudspeaker into the hole prepared in the ceiling. 3. Use a Phillips screwdriver to tighten each of the three dog-ear screws. As you tighten the screws, the dog-ears will swing into capture position over the ceiling.
- Page 6 © 2023 QSC, LLC. All rights reserved. QSC and the QSC logo, Q-SYS, and the Q-SYS logo are registered trademarks of QSC, LLC in the U.S. Patent and Trademark Office and other countries. Patents may apply or be pending. All other trademarks are the property of their respective owners.
Need help?
Do you have a question about the AcousticDesign Series and is the answer not in the manual?
Questions and answers