QSC AcousticDesign Series Hardware User Manual
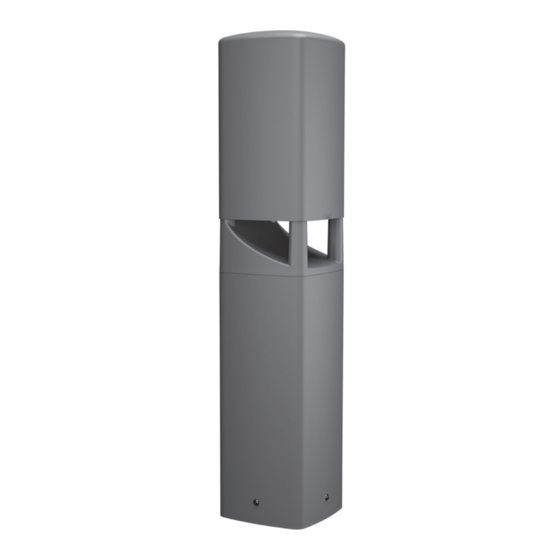
Direct weather landscape loudspeakers
Hide thumbs
Also See for AcousticDesign Series:
- Quick start manual (9 pages) ,
- Hardware user manual (6 pages) ,
- Hardware user manual (6 pages)

Related Manuals for QSC AcousticDesign Series


Summary of Contents for QSC AcousticDesign Series
- Page 1 Hardware User Manual AcousticDesign™ Series Direct Weather Landscape Loudspeakers AD-DWL.180 AD-DWL.360 AD-DWL.SUB AD-DWL.BASE TD-001650-01-A *TD-001650-01*...
-
Page 2: Important Safety Instructions
EXPLANATION OF TERMS AND SYMBOLS The term “WARNING!” indicates instructions regarding personal safety. If the instructions are not followed the result may be bodily injury or death. The term “CAUTION!” indicates instructions regarding possible damage to physical equipment. If these instructions are not followed, it may result in damage to the equipment that may not be covered under the warranty. - Page 3 The QSC AD-DWL loudspeakers are in compliance with European Directive 201 1/65/EU – Restriction of Hazardous Substances (RoHS2). The QSC AD-DWL loudspeakers are in compliance with “China RoHS” directives per GB/T24672. The following table is provided for product use in China and its territories.
-
Page 4: What's In The Box
What's in the Box • (1) AD-DWL.180, AD-DWL.360, or AD-DWL.SUB • (1) installation template • (1) collar • (1) paint mask for AD-DWL.180, (2) paint masks for AD-DWL.360* • (4) collar Torx M6 screws * Paint mask not required for AD-DWL.SUB. For painting •... - Page 5 Concrete/Surface Installation – Continued Wire the loudspeaker — Figure 4 — 1. Lay the loudspeaker on the ground with its open base near the installed collar. 2. Make a solid and waterproof connection between the loudspeaker's wire pig- tail and the output from your amplifier, with red being positive (+) and black being negative (-).
-
Page 6: In-Ground Installation
In-Ground Installation In-ground installation requires the AD-DWL.BASE* accessory, which comes with all the hardware needed (bolts, nuts, and washers) to mount the loudspeaker collar to the BASE. Prepare the BASE Remove the side knockouts as needed to allow for attaching conduit for the speaker wiring between the loudspeakers and amplifier. Refer to Figure 8 for an example. - Page 7 In-Ground Installation – Continued Mount the collar The rotational orientation of the collar (Figure 1 1) determines the aim of the loudspeaker. The collar can rotate ± 26° from the arc center. Collar NOTE: Refer to Figure 12 for proper placement of the nuts and washers described in the following steps.
- Page 8 In-Ground Installation – Continued — Figure 14 — Wire the loudspeaker 1. Lay the loudspeaker on the ground with its open base near the installed collar. 2. Make a solid and waterproof connection between the loudspeaker's wire pig-tail and the output from your amplifier, with red being positive (+) and black being negative (-).
- Page 9 © 2023 QSC, LLC. All rights reserved. QSC and the QSC logo, Q-SYS, and the Q-SYS logo are registered trademarks of QSC, LLC in the U.S. Patent and Trademark Office and other countries. Patents may apply or be pending. All other trademarks are the property of their respective owners.
Need help?
Do you have a question about the AcousticDesign Series and is the answer not in the manual?
Questions and answers