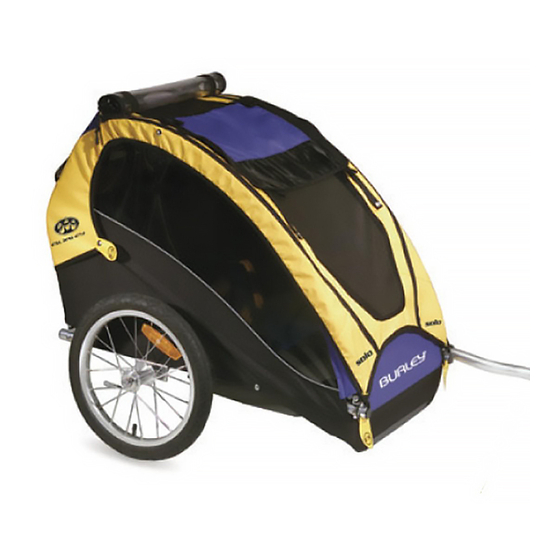
Burley SOLO Owner's Instruction And Safety Manual
Child trailers
Hide thumbs
Also See for SOLO:
- Owner's instructions manual (24 pages) ,
- Owner's instruction manual (28 pages) ,
- Owner's instruction & safety manual (24 pages)
Table of Contents
Advertisement
Quick Links
Advertisement
Table of Contents

Related Manuals for Burley SOLO


Summary of Contents for Burley SOLO
- Page 1 Owner’s Instructions and Safety Manual Child Trailers...
-
Page 2: Table Of Contents
Adjusting the Roll Bar Before you Ride Safety Guidelines Maintaining Your Burley Warranty Replacement Parts Important Before using your trailer, please familiarize yourself with this Burley manual. For questions and additional information, please contact your authorized Burley dealer or visit www.burley.com. - Page 3 Box Contents: 1 flag, 2 wheels , 1 tow bar, 1 cover, 1 parts bag, 1 trailer Required Tools: 10mm wrench (not included), hex key (included)
-
Page 4: Burley Trailer Guide
2. Push-button release wheel 8. Frame latches 3. Flag mount (under cover) 9. Frame pull-cord 4. Wheel guard / tow bar receiver (D’Lite & Solo only) 10. Brake handle 5. Cover NOTE: Not all models have all features listed above. -
Page 5: Burley Hitch Guide
Burley Hitch Guide 1. Safety strap 2. Hitch 3. Flex connector 4. Lock pin... -
Page 6: Opening Your Trailer
Figure 1 Plastic Saddles Figure 2 Figure 3 Opening Your Trailer 1. Raise front frame tube and rear frame tube from inside the trailer (Figure 1) until they sit together on the plastic saddles (Figure 2). 2. Lock bars together by pushing down on latches (Figure 3). -
Page 7: Installing The Wheel Guards
Encore, Honey Bee and Bee Installing the Wheel Guards D’Lite and Solo: Match hole in wheel guard to hole in tow bar receiver, and insert bolt from top using the provided hex key and 10mm wrench. Tighten nut securely to bolt. -
Page 8: Installing The Tow Bar (D'lite And Solo)
Figure 6 Figure 7 Installing the Tow Bar (D’Lite and Solo) 1. Squeeze buttons on top and bottom of wheel guard to open (Figure 4). 2. Slide tow bar into receiver on left side of trailer (Figure 5) and insert lock pin through holes in tow bar and rear receiver (Figure 6). -
Page 9: Installing The Tow Bar ( Encore, Cub, Honey Bee And Bee )
Figure 8 Figure 9 Figure 10 Figure 11 Encore, Honey Bee and Bee Installing the Tow Bar (Cub, Encore, Honey Bee and Bee) Cub: Slide tow bar into receiver on left side of trailer while holding pin up (Figure 8). Insert pin through hole in tow bar. -
Page 10: Attaching The Wheels
Attaching the Wheels 1. Push in the rubber button on the outside of the wheel hub. 2. Insert wheel axle into axle receiver. Pull firmly on wheel to confirm the axle is fully engaged. -
Page 11: Attaching The Cover And Safety Flag
Attaching the Cover and Safety Flag 1. D’Lite, Cub, Solo and Encore: Attach cover to trailer using provided screws and insert safety flag into circular knob on handlebar (Figure 12). Slip the cover D-rings over the hooked corners of the tow bar receivers (Figure 13). -
Page 12: Hooking Up Your Trailer
Hooking up Your Trailer 1. Installing the hitch to your bike: Remove quick-release or nut from the left side of bike’s rear wheel axle. Install hitch between quick-release or nut and frame. Tighten the quick-release or nut following manufacturer’s recommendation. The hitch can remain on the bike when trailer is removed. -
Page 13: Setting The Brake And Securing Your Child
(Figure 17). Snap shoulder strap buckles into Y-buckle positioned at the child’s sternum. Fasten and adjust lap belt(s) to fit securely. Adjust the reclining seat as needed using the webbing buckles on the back of the seat (D’Lite, Solo, and Cub only). -
Page 14: Adjusting The Roll Bar
Figure Adjusting the Roll Bar 1. Tow mode: Always rotate the roll bar forward at least 4 inches (100mm) above the top of your child’s helmet when trailer is in towing mode. 2. Stroll / Jog mode: The roll bar* may be rotated to serve as a handlebar while trailer is in strolling or jogging mode. -
Page 15: Before You Ride
Inspect wheels for trueness and cracks • Inspect fabric parts for rips, abrasions, and missing or damaged hardware Contact your authorized Burley dealer for replacement of any damaged or worn parts. Maximum Capacities Single Child Trailers: 75 lbs (34 kg), one child + cargo... -
Page 16: Safety Guidelines
Avoid riding over obstacles with one wheel – as this may cause the trailer to tip over. Use good judgment when deciding if weather, road or traffic conditions are safe to use a Burley. Recommended temperature limits for using a Burley trailer are 20°F to 100°F (-7°C to 38°C). -
Page 17: Maintaining Your Burley
The Limited Warranty does not cover products which are used in rental operations and Burley will not be liable for any incidental or commercial damages relating to such use. TO THE GREATEST EXTENT PERMITTED BY LAW, THIS LIMITED WARRANTY IS EXCLUSIVE AND IN LIEU OF ANY OTHER WARRANTY, WRITTEN OR ORAL, INCLUDING BUT NOT LIMITED TO ANY EX- PRESS OR IMPLIED WARRANTY OF MERCHANTABILITY OR FITNESS FOR A PARTICULAR PURSOSE. -
Page 18: Replacement Parts
Replacement Parts Part Number Diagram Description Number D’Lite Solo Encore Honey Bee Sunshade 950170 950170 950169 960031 960070 960075 (red) (red) 960069 960074 (orange) (orange) 960067 960072 Cover 250388 250418 250350 250105 (yellow) (yellow) 960068 960073 (green) (green) 960071 960076... - Page 20 P. 5 4 1 . 6 8 7 . 1 6 4 4 8 0 0 . 4 2 3 . 8 4 4 5 F. 5 4 1 . 6 8 7 . 0 4 3 6 burley @ burley.com burley.com 1 7 0 1 6 8 R e v 2...
Need help?
Do you have a question about the SOLO and is the answer not in the manual?
Questions and answers