Table of Contents
Advertisement
Quick Links
Advertisement
Table of Contents

Related Manuals for Ovislink Air Live IP-200PHD


Summary of Contents for Ovislink Air Live IP-200PHD
- Page 1 IP-200PHD 2.0 Mega Pixel Passive PoE IPCamera User’s Manual i...
- Page 2 OvisLink Corp. OvisLink Corp. has made the best effort to ensure the accuracy of the information in this user’s guide. However, we are not liable for the inaccuracies or errors in this guide.
- Page 3 Copyright & Disclaimer FCC Statement Federal Communication Commission Interference Statement This equipment has been tested and found to comply with the limits for a Class B digital device, pursuant to Part 15 of the FCC Rules. These limits are designed to provide reasonable protection against harmful interference in a residential installation.
-
Page 4: Table Of Contents
Table of Contents Table of Contents 1. Introduction ..................... 5 1.1 Overview ...................5 1.2 Features....................6 1.3 System Requirements...............6 1.4 Package Contents................7 1.5 Physical Description................7 1.5.1 Front View ................7 1.5.2 Bottom View ................8 1.6 Hardware Installation ................9 2. Getting Started ....................12 2.1 IP Wizard ..................12 2.1.1 View ..................14 2.1.2 LAN ..................14... - Page 5 Table of Contents 4.2.2 DDNS ..................30 4.2.3 PPPoE..................32 4.2.4 Steaming ................33 4.2.5 UPnP..................34 4.2.6 Bonjour...................36 4.2.7 IP Filter...................37 4.2.8 IP Notification .................37 4.3 Camera – Adjust Camera Parameters ..........40 4.3.1 Picture ..................40 4.3.2 Privacy Mask ................41 4.4 System – Configure and Maintain ...........43 4.4.1 System ...................43 4.4.2 Date &...
-
Page 6: Introduction
1. Introduction Introduction 1.1 Overview This camera is an inexpensive and fully scalable surveillance device. Because the Network Cameras can be plugged into your existing local area network (LAN), you will potentially save thousands of dollars from unnecessary cabling. The device is accessible via the LAN or Internet connection. -
Page 7: Features
1. Introduction 1.2 Features Easy installation with setup wizard (IP Wizard II) UPnP device discovery and NAT router transversal for easy installation Dynamic IP Service, DIPS®, to search your IP camera from Internet easily H.264, MPEG4 and JPEG triple compression simultaneously 2 Mega-pixel resolution Up to 9-profile encoder simultaneously 2 Mega-pixel or 720P mode selectable... -
Page 8: Package Contents
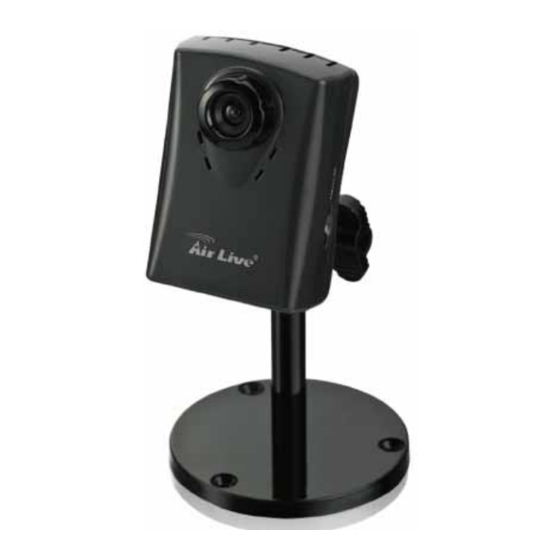
1. Introduction 1.4 Package Contents User can find the following items in the package: This camera is the main element of the product. Camera Stand with screws Power adapter dedicates 12V DC electric power output to Network Camera. User’s manual CD provides important information and instructions for operating the Network Camera. -
Page 9: Bottom View
1. Introduction 2. Microphone The Camera has built-in an internal microphone. This microphone is hidden in the pinhole located on the front panel. 3. Micro SD Card Slot User can insert a micro SD card into this slot for event recording. Note: The product picture is WN-200HD and IP-200PHD without the antenna. -
Page 10: Hardware Installation
1. Introduction 3. Factory Default Reset This button is hidden in the pinhole. This button is used to restore the all factory default settings. Sometimes restarting the camera will make the system back to a normal state. If the system still got problems after restart, user can restore the factory default settings and install it again. - Page 11 1. Introduction 3. Plug an Ethernet cable into the Camera Connect an Ethernet cable to the LAN socket located on the Network Camera’s bottom and attach it to the network. 4. Connect the external power supply to Camera Connect the attached power adapter to the DC power jack of the Network Camera.
- Page 12 1. Introduction Note: Use the power adapter, 12VDC, included in the package and connect it to wall outlet for AC power. 5. Use PoE-1P to connect to a network device (for IP-200PHD only) The IP-200PHD is using DC 12V passive PoE and you can use PoE-1P as PoE splitter or PoE injector to connect to your network device and there is no need additional power adapter.
-
Page 13: Getting Started
2. Getting Started Getting Started 2.1 IP Wizard Once you have installed the Network Camera well and powered it on, the network accessing type LED will turn on. It means the system is booting up successfully. Furthermore, if you have a proper network connection, and access to the Network Camera, the LED will flash green under wired mode. - Page 14 2. Getting Started When launch the IPWizard II, a searching window will pop up. IPWizard II is starting to search Network Cameras on the LAN. The existed devices will be listed as below. 13 AirLive IP-200PHD User’s Manual...
-
Page 15: View
2. Getting Started 2.1.1 View If IPWizard II finds network devices, View button will be available. Please select the device you want to view and click the View button. Then you could see the video from camera directly. Furthermore you could double click the left button of mouse to link to the network device by browser. - Page 16 2. Getting Started You could modify the relative settings of the selected device. Click “<<” button will quit the LAN setting procedure and click “>>” button will move to next page as below. 15 AirLive IP-200PHD User’s Manual...
-
Page 17: Upnp For Windows
2. Getting Started In case, you do not want to change username and/or password, then just click “Submit” button to perform your setting accordingly. Click “<<” button will go back to previous page. If you like to change username and/or password of the device, just click the check button. -
Page 18: Install The Ip Camera Behind Nat Router
2. Getting Started To discover your device, go to your Desktop and click My Network Places. Click the targeted Device. Then Internet Explorer will connect to this Network Camera automatically. 2.3 Install the IP Camera behind NAT router Once installed, the device is accessible on your LAN. To access the device from the Internet you must configure your broadband router to allow incoming data traffic to the device. -
Page 19: Configure Ip Camera Via Web Ui
2. Getting Started (1) Enable UPnP option of your NAT router To use UPnP IGD function (NAT traversal), you need to make sure the UPnP function is enabled in your router. Most new home routers should support this function. Some of routers are default enable and others are not. Please check user’s manual of your NAT router for detail. -
Page 20: Login As User
2. Getting Started 2. Type in your login name and password under “USERNAME” and “PASSWORD” textbox. For the first time use (default value), input the User Name: admin Password: airlive That’s, type in “admin” on the “USERNAME” as a default name and “airlive” on the “PASSWORD”...
Need help?
Do you have a question about the Air Live IP-200PHD and is the answer not in the manual?
Questions and answers