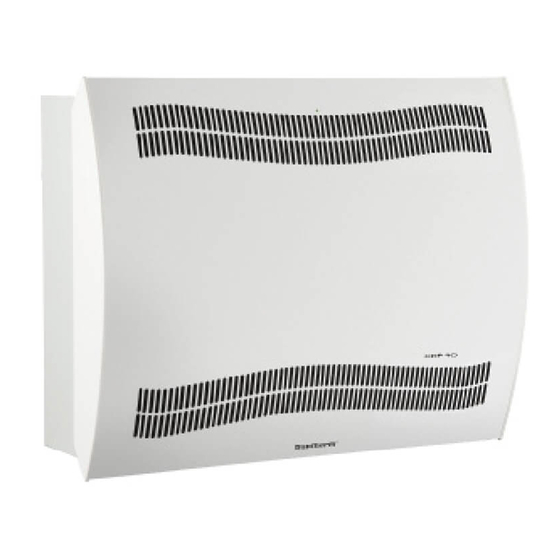
Dantherm CDP 40 Manual
Replacing rh/t sensor
Hide thumbs
Also See for CDP 40:
- Service manual (40 pages) ,
- Quick installation (20 pages) ,
- Quick setup manual (14 pages)
Advertisement
Available languages
Available languages
Table of Contents
Replacing RH/T sensor (en)
Applies for the following products with serial no. lower than:
•
CDP/CDF 40: 1809131526904
•
CDP/CDF 50: 1809241528179
•
CDP/CDF 70: 1810031531072
1.
Remove the front of the unit.
Remove the PPI filter and replace with new as
per partslist.
The new PPI filter must be right up against both
ends of the cabinet.
Make sure that the hole is furthest away from the
front as shown.
Note: For CDP/CDF 40 and 50 the filters
must be cut according to this illustra-
tion.
2.
Release humidity sensor from drip tray
and retract it back in to the compressor
compartment.
In the compressor compartment pull the sensor
through the rear hole in the bottom plate.
3.
Find the compressor compartment cover with
the pre-mounted bracket for the humidity
sensor.
Dismount the old cover.
Mount the new cover and move the sensor to
the front.
200mm
130mm
0mm
1237mm
Note: The bracket is
mounted off center
to fit the hole in the
PPI filter
1447mm
1
Advertisement
Table of Contents

Related Manuals for Dantherm CDP 40


Summary of Contents for Dantherm CDP 40
- Page 1 Replacing RH/T sensor (en) Applies for the following products with serial no. lower than: • CDP/CDF 40: 1809131526904 • CDP/CDF 50: 1809241528179 • CDP/CDF 70: 1810031531072 Remove the front of the unit. Remove the PPI filter and replace with new as per partslist.
- Page 2 Mount the humidity sensor on the bracket with PPI filter and two cable binders as shown. Note: the white surface and hole in the sensor must be facing front. Remount the front and make sure the sensor is visible through the grille. Download latest software version Insert the USB memory dongle in the USB port of the control FAIL...
- Page 3 Austausch der RH/T-Fühler (de) Geltend für die folgenden Produkte mit Seriennr. tiefer als: • CDP/CDF 40: 1809131526904 • CDP/CDF 50: 1809241528179 • CDP/CDF 70: 1810031531072 Packen Sie das Gerät aus und entfernen Sie die Frontplatte. Entfernen Sie den PPI-Filter und ersetzen Sie diesen gegen den aus dem Wartungssatz.
- Page 4 Montieren Sie den Sensor mit dem kleinen PPI- Filter-Stück und zwei Kabelbindern wie gezeigt auf der Halterung. Hinweis: Die weiße Fläche und das Loch in dem Sensor müssen nach vorne gerichtet sein. Montieren Sie die Frontplatte und prüfen Sie, ob Sie den Sensor dahinter sehen können.
- Page 5 Remplacement de la sonde HR/T (fr) • Concerne les produits suivants avec un numéro de série inférieur à : • CDP/CDF 40 : 1809131526904 • CDP/CDF 50 : 1809241528179 • CDP/CDF 70 : 1810031531072 Retirez la face avant de l’unité. Retirez le filtre PPI et remplacez-le par un nouveau en vous référant à la liste des pièces de rechange.
- Page 6 Montez la sonde d’humidité sur le support avec le filtre PPI et les deux serre-câbles comme montré sur la photo. Remarque : la surface blanche et l’orifice de la sonde doivent être tournés vers l’avant. Replacez la face avant et assurez-vous que la sonde est visible à...
Need help?
Do you have a question about the CDP 40 and is the answer not in the manual?
Questions and answers