Advertisement
Table of Contents
Assembly Instructions
Tools Needed
Cordless Drill
6" #2 Square Drive Bit
STEP 1: (a) Lay all pieces on a smooth soft surface such as cardboard or carpet to help avoid scratching. We suggest using a 6"
#2 square drive bit to fasten all screws (available at your local hardware store). Be careful to not over tighten any of the
fasteners.
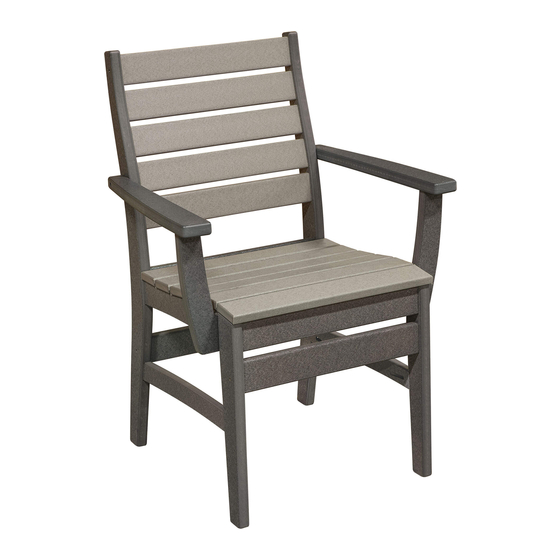
FREEPORT CHAIR
E.C. Woods, Inc. Outdoor Furniture
(a)
Advertisement
Table of Contents

Related Manuals for E.C. Woods FREEPORT


Summary of Contents for E.C. Woods FREEPORT
- Page 1 Assembly Instructions E.C. Woods, Inc. Outdoor Furniture FREEPORT CHAIR Tools Needed Cordless Drill 6” #2 Square Drive Bit STEP 1: (a) Lay all pieces on a smooth soft surface such as cardboard or carpet to help avoid scratching. We suggest using a 6”...
- Page 2 STEP 2: (b) Use a soft hammer (if necessary) to insert the seat skirts (w/pocket holes), stretchers, and back slats in to the mortises in the side assembly . (Counter and bar height) Place the front lower stretcher with the holes facing down. (c) Place the other side assembly on top of the subassembly, with the mortises facing down, and then line the seat skirts, stretchers, and back slats up with the mortises in the side assembly and gently pound them in using your hand or a soft hammer.
- Page 3 (f)(g) Line the notch of the arm support return up with the bottom of the side skirt directly behind the front leg. (h) (2x) Attach the arm support to the chair side skirt using the 1 ¾” stainless steel flat head screws provided thru the predrilled holes.
- Page 4 STEP 4 (j) Insert the back of the seat assembly between the seat side rails and tight to the back legs. (k) Push the seat assembly down making sure that it is tight against the seat side rails. (l) Secure the seat to the side rails by using 1 ¼” stainless steel flat head screws provided. (m) (Counter & Bar height) Secure the footrest to the front lower stretcher by using the 1 ¼”...
Need help?
Do you have a question about the FREEPORT and is the answer not in the manual?
Questions and answers