Advertisement
Quick Links
Advertisement

Related Manuals for Kogan VIPER-X 2 DRONE


Summary of Contents for Kogan VIPER-X 2 DRONE
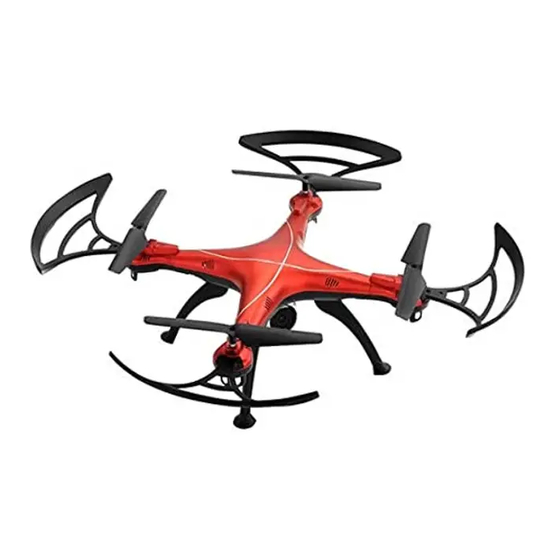
- Page 1 VIPER-X 2 DRONE WITH 1080P CAMERA AND VR HEADSET KAVIP2DRONA...
-
Page 2: Table Of Contents
Safety & Warnings Components Overview Installation Operation App Installation Cleaning & Care Notes... -
Page 3: Safety & Warnings
SAFETY & WARNINGS Read all instructions in this guide before using this product. Retain this guide for future reference. Do not skip, substitute or modify any steps or procedures in this guide, doing so may result in personal injury or product damage. Important notes •... - Page 4 • Ensure that the orientation of the batteries is installed correctly based on polarity, as indicated in the battery compartment. Do not mix batteries of different chemistry/specification. • Remove the batteries if you are not going to use this product for an extended period. Always dispose of old batteries according to your local environmental authority.
-
Page 5: Components
COMPONENTS Upper Body Lower Body Propellers (x4) Protecting Frames (x4) Landing Skids (x2) Motor (x4) LED Lights (x2) Receiver Board Battery USB Charging Phone Holder Controller Camera Cable... -
Page 6: Overview
OVERVIEW Controller Photo Antenna Video Speed/gear Roll Right Control Left Control lever lever Accelerator Crab trim/fine tuning Speed trim Forward/ Return backward fine tuning Headless Indicator flight Power switch... - Page 7 VR headset Focus slider Adjusts the focal distance IPD slider Adjusts Inter-pupillary distance (IPD) Left headphone jack Left hand side headphone input Sliding panel Slides to expose the phone’s camera Phone holder Open to insert phone into headset Right headphone jack Right hand side headphone input...
-
Page 8: Installation
INSTALLATION Controller battery installation • Remove the battery compartment cover. • Install x4 AA batteries (not included) into the battery compartment. Pay attention to the orientation of the polarity symbols. x4 AA Batteries Drone • Install the two landing skids on the underside of the drone (Figure 1). •... - Page 9 Phone holder installation • Attach the phone holder to the controller in the position shown (Figure 3). • Secure the phone in place using the screw (Figure 4). Screw hole Figure 3 Figure 4 To avoid accidentally engaging the buttons on your mobile phone, you can install the supplied rubber pads onto the phone holder.
- Page 10 VR headset • Download the "Veer VR" app from the Play Store (Android) or App Store (iOS). • In the “Veer VR” app settings, switch to the side-by-side mode. • Slide open the phone holder and insert the phone into the VR headset. Step 1: •...
- Page 11 Step 3: Control the viewing angle by moving your head.
-
Page 12: Operation
OPERATION Charging the drone battery • Place the drone's power switch in the OFF position and then open the battery compartment. • Disconnect the battery wire from the power port. • Connect the battery wire to the USB charging cable and plug it into a USB power adapter (mobile phone charger). - Page 13 Turning on the drone • Slide the power switch on the controller and the drone to the ON position. • Push the Left control lever (throttle) up to the highest position and then pull it back to the lowest position. The controller will emit a sound, indicating that the drone is ready to fly.
- Page 14 Push the right control lever left or right to fly the drone in the respective direction. Sideward Fly The forward/backward buttons can be used to the fine tune the direction of the drone. Forward/Backward fine-tuning Press the crab trim buttons to fine tune the drone flight left and right. Sideward Fly fine-tuning...
- Page 15 Acrobatic flight: When you are confident with the basic operation and controls, you can attempt tricks and stunts. Fly the aircraft to a height of more than 3 meters. Press the roll button on the controller, then push the right control lever (in any direction) to perform a 360° flip. Note: When the drone is used with the camera, acrobatics will not be possible.
- Page 16 Return key: • If the drone leaves your field of view, press the return key. The drone will fly backwards to the controller. • When the drone comes back into your field of view, touching the right lever will cancel this function.
- Page 17 Low battery protection When the drone's battery is low, the indicator will flash, and the rotors will slow down and stop. Over-current protection If the drone's propellers become jammed, the control system will stop supplying power to the rotors automatically. Cease use and turn off the drone and controller. Inspect the propellers and replace/repair is necessary.
- Page 18 Step 3: Place the drone on a horizontal, flat surface, then push both left and right control levers to the bottom right corner for approximately 2-3 seconds. The indicator will change from solid to flashing rapidly. After 2-3 seconds, the indicator will change to solid, and the drone has been successfully reset.
-
Page 19: App Installation
APP INSTALLATION Apart from the controller, the drone can also be controlled through using the “VS FPV” app. 1. Installing the VS FPV app to your mobile phone Please scan the below QR code to download the app according to your phone’s operating system. - Page 20 • Press the “Off” icon followed by the “Altitude hold” icon to reveal more functions and movement controls. Back Flight planning Photo Left sideways tuning Video Forward Gallery Precise control of going forwards Speed control (30%, 60%, 100%) Right sideways Altitude hold Left sideways Gravity control...
- Page 21 Settings Reverse camera 3D view Headless flight mode Reset...
-
Page 22: Cleaning & Care
CLEANING & CARE Ensure the drone is turned off before cleaning. To clean dust, gently wipe the drone with a dry cloth. Storage It is recommended to store indoors, in a cool, dry environment. Keep away from children. Note: Do not store the drone near any sources of heat (for example, ovens, heaters). -
Page 23: Notes
NOTES... - Page 24 Need more information? We hope that this user guide has given you the assistance needed for a simple set-up. For the most up-to-date guide for your product, as well as any additional assistance you may require, head online to help.kogan.com...
Need help?
Do you have a question about the VIPER-X 2 DRONE and is the answer not in the manual?
Questions and answers