
Related Manuals for MD SPORTS DH18408


Summary of Contents for MD SPORTS DH18408
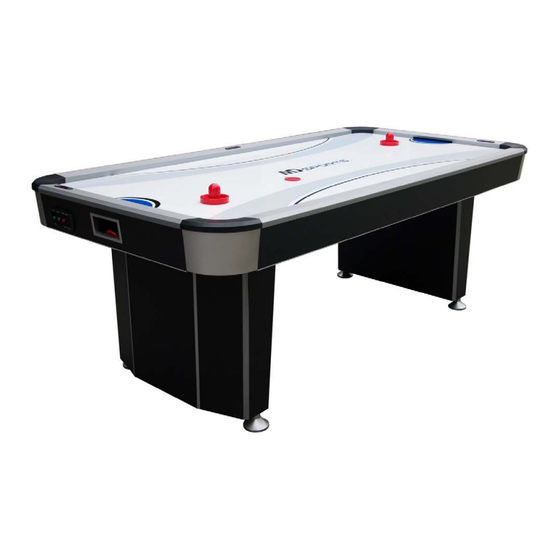
- Page 1 Please contact us before returning the product to the store. Toll Free: 877-472-4296 MODEL : DH18408...
- Page 2 LIMITED 90 DAYS WARRANTY This product is covered by a limited warranty that is effective for 90 days from the date of purchase. The warranty covers any defects in parts and workmanship. This Limited Warranty gives you specific legal rights and you may also have other rights which very from one state (province) to another.
-
Page 3: Tools Required
IMPORTANT NOTICE! Please contact us before returning the product to the store. Please Keep Your Instructions! Your Model number is necessary should you need to contact us. Please read through this instruction manual book to familiarize yourself with all parts and assembly steps. -
Page 4: Important Safety Instructions
IMPORTANT SAFETY INSTRUCTIONS Read all instructions Read all instructions-All the safety and operating instructions should be read carefully before this hockey game is played. Caution-This is not a toy and is intended for use by or under the supervision of adults. Adults should review safety guidelines with children to avoid possible risk of electric shock or other injuries. - Page 5 18408 PARTS LIST Main Cabinet Left Leg Right Leg Leg Panel - A Leg Panel - B 1 Piece 2 Pieces 2 Pieces 2 Pieces 2 Pieces 3 x 15mm Leg Base Table Tennis Surface - A Table Tennis Surface - B Washer Head Screw 5/16”...
- Page 6 ASSEMBLY INSTRUCTIONS 1. Find a clean, level place to begin the assembly of your Air Hockey table. The table will be assembled upside down and then turned over on its legs once the assembly completed. This game table is heavy, and tuning it over will require at least two strong adults.
- Page 7 4. Attach the Left Leg (#2) and Right Leg (#3) to the Main Cabinet (#1) using three Bolts (#10) and three Washers (#11) per Leg. 5. Screw the Leg Levelers (#20) into each Leg. FIG.2 Electronic Connections Diagram...
- Page 8 6. Attach the Leg Panel - A (#4) (previous-assembled) to the Leg using six Screws (#7) per Leg Panel - A. See FIG.3. 7. Attach the Leg Panel - B (#5) to the Leg using six Screws (#7) per Leg Panel - B. See FIG.3. FIG.3 8.
- Page 9 9. Tear off the backside paper of the EVA Pad (#19) and stick them at the bottom of the Table Tennis Surface (#8 and #9). See FIG.4. 10. Insert the Plastic Dowel (#35) into the holes on the Table Tennis Surface. See FIG.4A. And assemble the Table Tennis Surface - A (#8) and Table Tennis Surface - B (#9) together.
- Page 10 Tear off the backside paper of the Felt Pad (#18) and stick them at the bottom of the Pushers (#16). See FIG.6. FIG.6 ELECTRONIC SCORER OPERATION 1. Plug in the power cord and switch power to "ON". "Time" board will show "15:00" accompaning with sound "fifteen minutes"...
- Page 11 Inlay Electronic Scorer Trouble Shooting Guides Conditions Trouble Shooting Solvent 1. Pls check the "power switch of Battery Box" if it is turned on. Turn on the power switch of Battery Box. 2. Pls check the "power switch of Control Box" if it is turned on. Turn on the power switch of Control Box.
Need help?
Do you have a question about the DH18408 and is the answer not in the manual?
Questions and answers