Table of Contents
Advertisement
Quick Links
Advertisement
Table of Contents

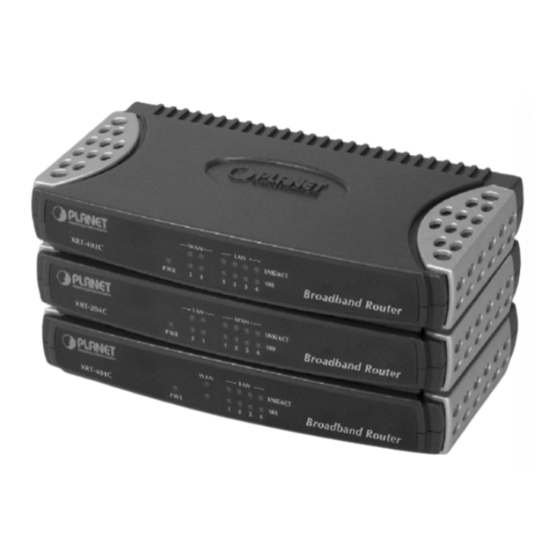
Summary of Contents for Planet XRT-401C
-
Page 2: Table Of Contents
Table of Contents Requirements Preparation for XRT web administration TCP/IP settings on Windows 95/98 TCP/IP settings on Windows NT TCP/IP Settings on Windows 2000: TCP/IP Settings on Windows XP Broadband Router Configuration Physical Installation Quick Setup Wizard... -
Page 3: Requirements
Requirements * Cable modem or DSL/ADSL modem. * Network cables. Use standard 10/100BaseT network (UTP) cables with RJ45 connectors. * PCs using Windows 95/98/ME, NT4.0, or 2000/XP. Preparation for XRT web administration In this section, we’ll introduce steps of how to setup a PC to communicate with XRT through TCP/IP protocol configuration. - Page 4 Step 2 If TCP/IP protocol shown in the network window, please continue to the next step. If it is not shown, please add TCP/IP protocol support as follows: a. Click Add. b. Double-click Protocol in the Select Network Component Type window, then Select Network Protocol window appears.
- Page 5 Step 4 Add the DNS server given to you by your ISP or network administrator: a. Click the DNS Configuration tab. b. Click Enable DNS. c. Enter your host name in the Host field. d. Enter your domain name in the Domain field. e.
-
Page 6: Tcp/Ip Settings On Windows Nt
TCP/IP settings on Windows NT Obtain an IP address from a DHCP Server Select Control Panel - Network, and, on the Protocols tab, select the TCP/IP protocol, as shown below. Windows NT4.0 - TCP/IP a) Click the Properties button to see a screen like the one below. - Page 7 Windows NT4.0 - IP Address Select the network card for your LAN. c) Select the appropriate radio button - Obtain an IP address from a DHCP Server or Specify an IP Address, as explained. Specify an IP Address If your PC is already configured with an IP address, check with your network administrator before making the following changes.
- Page 8 Windows NT4.0 - Add Gateway The DNS should be set to the address provided by your ISP, as follows: • Click the DNS tab. • On the DNS screen, shown below, click the Add button (under DNS Service Search e DNS provided by your ISP. Order), and enter th...
- Page 9 Windows NT4.0 - DNS...
-
Page 10: Tcp/Ip Settings On Windows 2000
TCP/IP Settings on Windows 2000: Select Control Panel - Network and Dial-up Connection. a) Right - click the Local Area Connection icon and select Properties. You should see a screen like the following: Network Configuration (Win 2000) b) Select the TCP/IP protocol for your network card. creen like the following. - Page 11 TCP/IP Properties (Win 2000) Ensure your TCP/IP settings are correct with one of the following description. Using DHCP To use DHCP, select the radio button Obtain an IP Address automatically. This is the default Windows setting. If your networking environment is a DHCP environment, Using this option is recommended.
-
Page 12: Tcp/Ip Settings On Windows Xp
TCP/IP Settings on Windows XP Select Control Panel - Network Connection. a) Right - click the Local Area Connection icon and select Properties. You should see a screen like the following: Network Configuration (Windows XP) b) Select the TCP/IP protocol for your network card. c) Click on the Properties button. - Page 13 TCP/IP Properties (Windows XP) Ensure your TCP/IP settings are correct with one of the following description. Using DHCP To use DHCP, select the radio button Obtain an IP Address automatically. This is the default Windows setting. If your networking environment is a DHCP environment, Using this option is recommended.
-
Page 14: Broadband Router Configuration
Broadband Router Configuration Physical Installation 1. Ensure your router and the Cable/DSL modem are powered OFF before commenc- ing. Leave your Cable/DSL modem connected to its wall socket (phone line or cable input). Physical connection of XRT-401C Physical connection of XRT-402C... - Page 15 100 LED will be on, too.) Configuration For Internet Access, PLANET XRT C series routers are designed as Plug and Play device if the TCP/IP settings used by your Cable/DSL modem are assigned dynamically. Manual Configuration - Internet Access PLANET XRT C series routers integrate an HTTP server.
-
Page 16: Quick Setup Wizard
The Quick Setup Wizard section will lead you step by step for your Internet access General Setup More advanced features offered in PLANET XRT C series will be introduced in this menu, and you may modify these parameters to meet the applications or network environment on your side. - Page 17 Status Information Status Information section is for you to monitor machine status and check the security/ DHCP log for more device information. Tools If you’d like to backup/restore machine configurations, restart machine, or upgrade machine firmware, Tools section is the place to do this.
- Page 18 Quick Setup Wizard The first time you connect to XRT, click on the Quick Setup Wizard link to start machine configuration. Please: 1. Ensure the Cable/DSL modem is connected and powered ON. Meanwhile, you need the data provided by your ISP. 2.
- Page 19 Type Details ISP Data required PPPoE xDSL If you connect to the Internet using an User name and xDSL Modem and your ISP has provided password. (service you Username/Password and a Service name is optional, Name, then your ISP uses PPPoE to estab- depends on ISP lish a connection.
- Page 20 Part No.:EMQ-XRTCV1...


Need help?
Do you have a question about the XRT-401C and is the answer not in the manual?
Questions and answers