Table of Contents
Advertisement
Available languages
Available languages
Quick Links
Advertisement
Table of Contents

Related Manuals for Kohler K-T16237


Summary of Contents for Kohler K-T16237
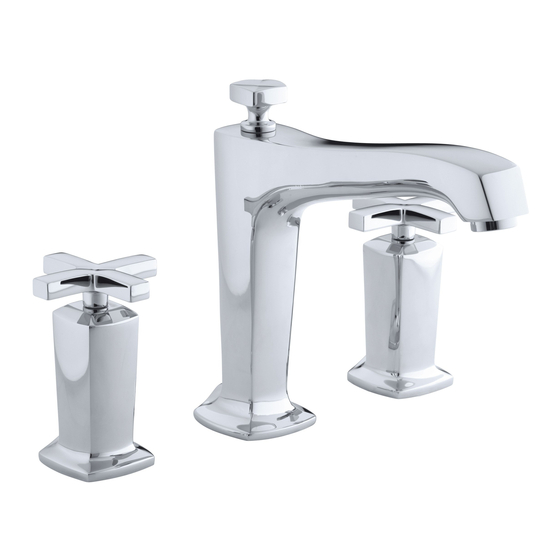
- Page 1 Installation Guide High-Flow Bath Faucet Trim K-T16237 K-T16248 M product numbers are for Mexico (i.e. K-12345M) Los números de productos seguidos de M corresponden a México (Ej. K-12345M) Français, page ″Français-1″ Español, página ″Español-1″ 1054538-2-D...
-
Page 2: Tools And Materials
(13 mm) of tile thickness for faucet installations using 1/2″ valve systems. Deep rough-in kit #1071651 accommodates an additional 1/2″ (13 mm) of tile thickness for faucet installations using 3/4″ valve systems. Complete the finished deck material before installing the bath faucet trim. 1054538-2-D Kohler Co. - Page 3 Using a file, remove burrs from the spout tube to prevent damage to the O-ring inside the sleeve. For tile-covered deck installations: Slide the washer onto the spout tube with the flat edge facing front. For all other installations: Discard the brass washer. Kohler Co. 1054538-2-D...
- Page 4 Position the spout on the sleeve assembly, then carefully press down until the spout contacts the finished deck. Rotate the spout to align straight toward the user. Tighten the setscrew. Press the plug button into the back of the spout. 1054538-2-D Kohler Co.
-
Page 5: Install The Handles
With the setscrew hole facing away from the user, fit a handle assembly over each valve. Tighten each handle assembly in place with a setscrew. Press a plug button over each setscrew. Remove any excess plumbers putty or sealant. Kohler Co. 1054538-2-D... -
Page 6: Complete The Installation
Turn on the main water supply and check for leaks. Turn on the hot and cold valves and run water through the spout to remove debris. Check for leaks. Turn off the hot and cold valves. Reinstall the aerator. 1054538-2-D Kohler Co. -
Page 7: Outils Et Matériaux
épaisseur de carrelage supplémentaire de 1/2″ (13 mm) pour les installations de robinets utilisant des systèmes de vannes de 3/4″. Terminer l’installation du matériau du comptoir avant d’installer la garniture du robinet de la baignoire. Kohler Co. Français-1 1054538-2-D... - Page 8 à l’intérieur du manchon. Pour des installations de comptoirs recouverts de carrelage: Faire glisser la rondelle sur le tube du bec avec le bord plat tourné vers l’avant. Pour toutes les autres installations: Jeter la rondelle en laiton. 1054538-2-D Français-2 Kohler Co.
- Page 9 fini. Tourner le bec de manière à l’aligner tout droit en direction de l’utilisateur. Serrer la vis d’arrêt. Enfoncer le bouchon dans l’arrière du bec. Kohler Co. Français-3 1054538-2-D...
- Page 10 Serrer chaque ensemble de poignée en place avec une vis d’arrêt. Enfoncer un bouchon par-dessus chaque vis d’arrêt. Retirer tout excédent de mastic de plombier ou de produit d’étanchéité. 1054538-2-D Français-4 Kohler Co.
-
Page 11: Terminer L'installation
Ouvrir l’alimentation en eau principale et rechercher des fuites. Ouvrir les vannes d’eau chaude et froide et faire couler l’eau à travers le bec pour éliminer les débris. Vérifier l’étanchéité. Ouvrir les vannes d’eau chaude et froide. Réinstaller l’aérateur. Kohler Co. Français-5 1054538-2-D... -
Page 12: Herramientas Y Materiales
1/2″ (13 mm) para instalaciones de grifería que utilizan los sistemas de válvula de 3/4″. Termine el material de acabado de la cubierta antes de instalar la guarnición de la grifería de la bañera. Kohler Co. Español-1 1054538-2-D... - Page 13 Para instalaciones de cubierta con revestimiento de azulejo: Deslice la arandela en el tubo del surtidor con el lado plano hacia el frente. Para todas las demás instalaciones: Deseche la arandela de latón. Kohler Co. Español-2 1054538-2-D...
- Page 14 Gire el surtidor para alinearlo recto hacia el usuario. Apriete el tornillo de fijación. Oprima el tapón botón en la parte trasera del surtidor. 1054538-2-D Español-3 Kohler Co.
- Page 15 Apriete cada montaje de manija en su lugar con un tornillo de fijación. Presione un tapón botón sobre cada tornillo de fijación. Limpie el exceso de masilla de plomería o sellador. Kohler Co. Español-4 1054538-2-D...
- Page 16 Abra las válvulas del agua fría y caliente y deje correr el agua a través del surtidor para eliminar los residuos. Verifique que no haya fugas. Cierre las válvulas del agua fría y caliente. Vuelva a instalar el aireador. 1054538-2-D Español-5 Kohler Co.
- Page 17 1054538-2-...
- Page 18 1054538-2-...
- Page 19 1054538-2-...
- Page 20 USA/Canada: 1-800-4KOHLER México: 001-800-456-4537 kohler.com ©2013 Kohler Co. 1054538-2-D...
Need help?
Do you have a question about the K-T16237 and is the answer not in the manual?
Questions and answers