Advertisement
Quick Links
ASSEMBLY AND OPERATING IN STRUC TIONS
SAVE THIS MANUAL FOR FUTURE REFERENCE
NOTICE TO INSTALLER:
LEAVE THESE INSTRUCTIONS
WITH THE GRILL OWNER FOR
FUTURE REFERENCE .
CHR3018AS_OM.indd Cov1
CHR3018AS_OM.indd Cov1
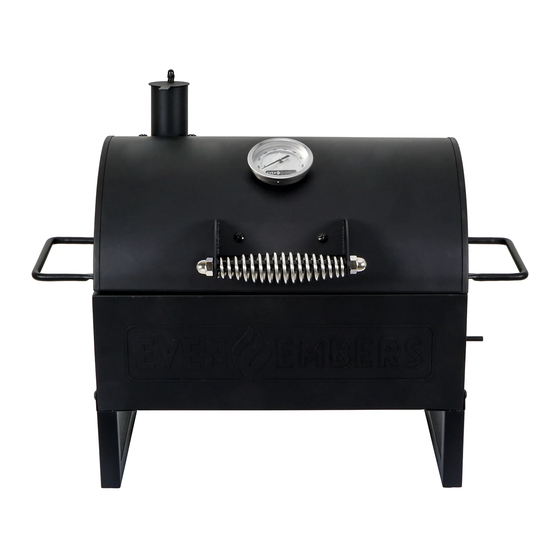
TABLETOP GRILL
OWNER'S MANUAL
Model CHR3018AS
WARNING
HAZARDOUS EXPLOSION MAY RESULT IF THESE
WARNINGS AND INSTRUCTIONS ARE IGNORED. READ
AND FOLLOW ALL WARNINGS AND INSTRUCTIONS
IN THIS MANUAL TO AVOID PERSONAL INJURY,
INCLUDING DEATH OR PROPERTY DAMAGE.
8/4/2022 4:59:52 PM
8/4/2022 4:59:52 PM
Advertisement

Related Manuals for Even Embers CHR3018AS


Summary of Contents for Even Embers CHR3018AS
- Page 1 TABLETOP GRILL OWNER’S MANUAL ASSEMBLY AND OPERATING IN STRUC TIONS SAVE THIS MANUAL FOR FUTURE REFERENCE Model CHR3018AS WARNING NOTICE TO INSTALLER: HAZARDOUS EXPLOSION MAY RESULT IF THESE LEAVE THESE INSTRUCTIONS WARNINGS AND INSTRUCTIONS ARE IGNORED. READ WITH THE GRILL OWNER FOR AND FOLLOW ALL WARNINGS AND INSTRUCTIONS FUTURE REFERENCE .
-
Page 2: Important Safety Warnings
IMPORTANT SAFETY WARNINGS WE WANT YOU TO ASSEMBLE AND USE YOUR GRILL AS SAFELY AS POSSIBLE. THE PURPOSE OF THIS SAFETY ALERT SYMBOL IS TO ATTRACT YOUR ATTENTION TO POSSIBLE HAZARDS AS YOU ASSEMBLE AND USE YOUR GRILL. WHEN YOU SEE THE SAFETY ALERT SYMBOL, PAY CLOSE ATTENTION TO THE INFORMATION WHICH FOLLOWS! READ ALL SAFETY WARNINGS AND INSTRUCTIONS CAREFULLY BEFORE ASSEMBLING AND OPERATING YOUR GRILL. - Page 3 WARNING • When grilling, grease from meat may drip into the charcoal and cause a grease fire. If this should happen close lid to suffocate the flame. Do not use water to extinguish grease fires. • Use caution since flames can flare-up when fresh air sud den ly comes in contact with fire. When opening the lid, keep hands, face and body a safe distance from hot steam and flame flare-ups.
- Page 4 ASSEMBLY INSTRUCTIONS READ ALL SAFETY WARNINGS & ASSEMBLY INSTRUCTIONS CAREFULLY BEFORE ASSEMBLING OR OPERATING YOUR GRILL. FOR MISSING PARTS, PLEASE CALL CUSTOMER SERVICE AT 855-735-9922. Inspect contents of the box to ensure all parts are included and undamaged. We recommend two people work together when as sem bling this unit. The following tools are required (not included) to assemble this Tabletop Grill: •...
- Page 5 Component Pack Contents CHR3018AS_OM.indd 5 CHR3018AS_OM.indd 5 8/4/2022 4:59:54 PM 8/4/2022 4:59:54 PM...
- Page 6 Choose a good, cleared assembly area and get a friend to help you put your grill together. Lay card board down to protect grill finish and assembly area. Turn the grill on its side to begin assembly. Step 1 Attach chimney using three M6 X 12 mm bolts and M6 nuts.
- Page 7 Step 4 Attach side handles to firebox using eight M6 x 12 mm bolts and M6 nuts. Attach air shutter to firebox using one M6 x 12 mm bolt, washer and M6 lock nut. Step 5 Place lid on firebox and insert two lid hinges and secure with two M4 x 10 mm bolts and lock washers.
- Page 8 Step 7 Place two cooking grates in firebox. TABLETOP GRILL ASSEMBLED CHR3018AS_OM.indd 8 CHR3018AS_OM.indd 8 8/4/2022 4:59:56 PM 8/4/2022 4:59:56 PM...
-
Page 9: Preparation For Use & Lighting In Struc Tions
FLUID OR CHARCOAL LIGHTING DEVICES. Curing Your Grill Prior to your first use of the Even Embers Tabletop Grill, follow the in struc tions below carefully to cure your grill. Curing your grill will minimize damage to the exterior finish as well as rid the grill of paint odor that can impart unnatural flavors to the first meal prepared on your Even Embers Tabletop Grill. - Page 10 OPERATING INSTRUCTIONS PLACE THE GRILL OUTDOORS ON A HARD, LEVEL, NON-COMBUSTIBLE SURFACE AWAY FROM ROOF OVERHANG OR ANY COMBUSTIBLE MATERIAL. NEVER USE ON WOODEN OR OTHER SURFACES THAT COULD BURN. PLACE THE GRILL AWAY FROM OPEN WIN DOWS OR DOORS TO PREVENT SMOKE FROM ENTERING YOUR HOUSE.
- Page 11 To obtain your favorite smoke flavor, ex per i ment by using chunks, sticks Flavoring Wood or chips of flavor producing wood such as hickory, pecan, apple, cherry, or mesquite. Most fruit or nut tree wood may be used for smoke flavoring. Do not use resinous wood such as pine as it will produce an unpleasant taste.
-
Page 12: After-Use Safety
AFTER-USE SAFETY WARNING • Always allow grill and all components to cool completely before handling. • Never leave coals and ashes in grill unattended. Make sure coals and ashes are completely extinguished before removing. • Before grill can be left unattended, remaining coals and ashes must be removed from grill. Use caution to protect yourself and property. -
Page 13: Year Limited Warranty
APPLY TO YOU. THIS WARRANTY GIVES YOU SPECIFIC LEGAL RIGHTS, AND YOU MAY ALSO HAVE OTHER RIGHTS WHICH VARY FROM STATE TO STATE. ©2022 The Boltz Group LLC. OM3018AS Owner’s Manual for Model Carrollton, Texas 75006 U.S.A. 0822 www.evenembers.com CHR3018AS CHR3018AS_OM.indd 13 CHR3018AS_OM.indd 13 8/4/2022 4:59:58 PM 8/4/2022 4:59:58 PM...
Need help?
Do you have a question about the CHR3018AS and is the answer not in the manual?
Questions and answers