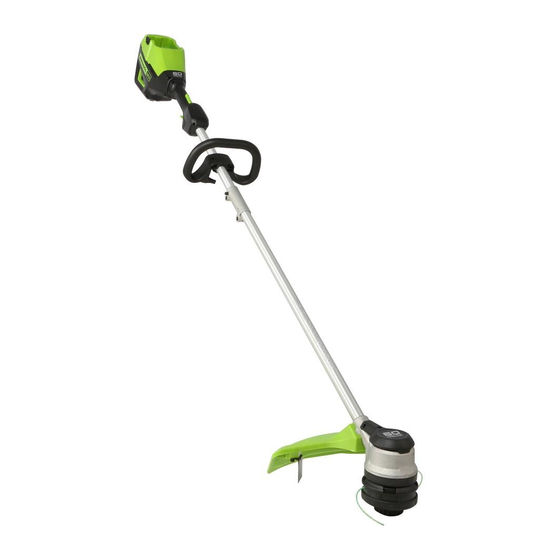
Table of Contents
Advertisement
Quick Links
Advertisement
Table of Contents

Summary of Contents for GreenWorks ST60L02
- Page 1 ST60L02 STC404...
-
Page 2: Table Of Contents
English Description........2 Start the machine........6 Stop the machine........6 Purpose............2 Adjust the length of the cutting line.... 6 Overview............ 2 Adjust the cutting diameter......6 Important safety instructions..2 Line cut-off blade........6 Symbols on the machine....3 Operation tips..........7 Risk levels........ -
Page 3: Description
English DESCRIPTION WARNING Read and understand all instructions before using this PURPOSE product. Failure to follow all instructions listed below may result in electric shock, fire, and/or serious This machine is used to cut grass, light weeds, and personal injury. other similar vegetation at or around ground level. -
Page 4: Symbols On The Machine
Use appliances only with specifically designated battery packs. Use of any other battery packs may create a risk of injury and fire. Use only Greenworks Some of the following symbols can be used on this pro 60V LB60A00 battery or other BAC series. -
Page 5: Risk Levels
English RISK LEVELS WARNING If the battery pack cracks or breaks, with or without The following signal words and meanings are intended leaks, do not recharge it and do not use. Discard it to explain the levels of risk associated with this product. and replace with a new battery pack. -
Page 6: Assemble The Shaft
English Hex screw ATTACH THE AUXILIARY HANDLE 3. Align the screw holes on the guard with the screw 1. Remove the knob (16) from the handle. holes on the trimmer head. 2. Attach the auxiliary handle and lower clamp (15) on 4. -
Page 7: Remove The Battery Pack
English ADJUST THE LENGTH OF THE CUTTING LINE While you operate the machine, the cutting line gets worn shorter. You can adjust the length of the cutting line. 1. Hit the trimmer head against the ground while you operate the machine. 2. -
Page 8: Operation Tips
English line to ensure a consistent and efficient cut diameter. • Wire and picket fences cause cutting line wear and Advance line whenever you hear the motor running breakage. Stone and brick walls, curbs, and wood faster than normal, or when trimming efficiency can wear the cutting line quickly. -
Page 9: Replace Excess Line
English • Keep the air vents clean and free of debris to avoid overheating and damage to the motor or the battery. • Do not spray water onto the motor and electrical components. REPLACE EXCESS LINE 1. Push the tabs (18) on the sides of the trimmer head at the same time. -
Page 10: Transportation And Storage
English 5. Turn the spool cap counterclockwise to wind the cutting line into the trimmer head. Keep approximately 5 in of cutting line above out of each side of the trimmer head. TRANSPORTATION AND STORAGE WARNING Remove the battery pack from the machine before tranportation and storage. -
Page 11: Troubleshooting
English TROUBLESHOOTING Problem Possible Cause Solution The machine does not No electrical contact between the 1. Remove battery pack. start when you push the machine and the battery pack. 2. Check contact and install the battery pack trigger. again. The battery pack is depleted. Charge the battery pack. -
Page 12: Technical Data
Advance the line. TECHNICAL DATA four (4) years against defects in materials, parts or workmanship. Greenworks, at its own discretion will repair or replace any and all parts found to be defective, Type Cordless, battery powered through normal use, free of charge to the customer. -
Page 13: Exploded View
No. Part No. Qty Description 341182461A Bump knob C4100401-00 Guard 341162461A Spool 322031408A Screw S0100019-00 Screw 341212461B Knob 333021444 Cut-off blade 33304877B Bracket 341172461A Spool cover 322042461A Bolt 322041410A Screw 341112461 Auxiliary handle Greenworks Tools PO Box 1238 Mooresville, NC 28115...


Need help?
Do you have a question about the ST60L02 and is the answer not in the manual?
Questions and answers