Table of Contents

Related Manuals for PHI VILLA AH-FP-30CHE


Summary of Contents for PHI VILLA AH-FP-30CHE
- Page 1 ELECTRIC HEATER INSTRUCTION MANUAL AH-FP-30CHE ATTENTION: 1.Find a location for the electric heater that is protected from direct sunlight. 2.Do not plug the electric heater into the power outlet before you read all instructions.
-
Page 2: Important Safety Instructions
IMPORTANT SAFETY INSTRUCTIONS SAVE THESE INSTRUCTIONS FOR FUTURE USE WHEN USING ELECTRICAL APPLIANCES, BASIC PRECAUTIONS SHOULD ALWAYS BE FOLLOWED TO REDUCE THE RISK OF FIRE, ELECTRIC SHOCK, AND INJURY TO PERSONS, INCLUDING THE FOLLOWING: Read all instructions before using this heater. Failure to follow these important safety instructions may cause fire, electric shock or damage. - Page 3 used as a drying rack for clothing. Do not hand any decorations on the heater. 14)Do not modify this heater. Use this heater only as described in this manual. Any other use not recommended by the manufacturer may cause fire, electric shock, or injury to persons.
-
Page 4: Getting Started
Getting Started Remove the appliance from the box. Remove any packaging from the appliance. Place the packaging inside the box and either store or dispose properly. Helpful Advice Before Fitting Please retain all packaging until you have checked and counted all the parts and the contents of the fixing pack against the parts list. -
Page 5: Installation
Installation Caution: This heater can be installed in two ways(Wall Hanging & Portable Standing), which can be selected according to your preference. Important Safety Instructions When using this electrical appliance, basic precautions should be followed to reduce the risk of fire, electric shock, and injury to person, including the following: a) Get the glass off first b) Do not connect the appliance until properly fixed to the wall and the instructions is read fully. - Page 6 TAPE 1. Wall Hanging Step 1: Select the wall location where you want to hang your electric heater. Use the bracket(Part No.8) as a table template to draw a horizontal line using a level and mark 4 drill holes for the 4 anchor screws. Note: The holes are for mounting of heater and it shall be level so that the heater can be mounted properly and leveled.
- Page 7 Step 4: Attach the fixing angle(Part No.4) to bottom of the appliance using 2 short screws (Part No.3). See Fig. D Step 5: Carefully lift the appliance and mount it to the metal wall bracket. Do not let the appliance go until you are sure it is safely engaged to the bracket. See Fig.E Step 6: Now mark the hole position for fixing the angle.
- Page 8 Step 7: Put the fire stones(I) & artificial logs into the heater. See Fig. G. Step 8: Replace the front glass panel and secure it with screws. See Fig. H...
- Page 9 Type 2. Portable Standing Fix the stand feet (Part No.18) by installing 8 screws. Then present it in anywhere you prefer. Step A: The box contains two plastic feet and four screws for each foot. Step B: Place the fireplace on a flat, stable surface with the back of the fireplace resting on the surface.
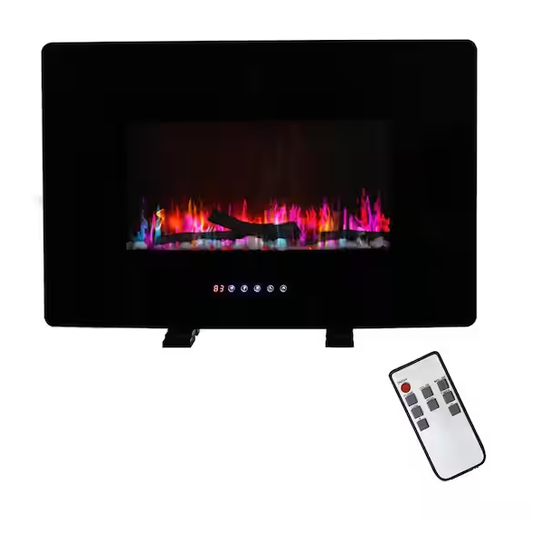
- Page 10 Operating Instructions Once the electric heater has been properly installed and connected to a ground electrical outlet, it is ready to operate. Notes: Ensure the circuit breakers for the power supply are turned on. This machine uses remote control and touch screen to control the work of the product.
-
Page 11: Remote Operation
Remote Operation Press once the button on the remote control this turns the fire and flame effect. The same display show room temperature, date and clock lighten, flame show forth level. The display will be unshow in 15s if no operation. Press any button to awaken display. Press once the button on the remote control to switch it. -
Page 12: Remote Control Battery Replacement
Press again the button and Continue to + button or the – button to set the minute (from 00-59). Press the button to select the date (Sunday to Saturday from left to right), wait 5s till no twinkle for finish setting. BT:... -
Page 13: Maintenance
Replace with a CR2025 battery and follow the diagram at the back of remote handset to install the new battery. Overheat Safety Cut-Off Function This appliance is fitted with a safety cut-off which will operate if the fireplace overheats(e.g. Due to blocked air vents).
Need help?
Do you have a question about the AH-FP-30CHE and is the answer not in the manual?
Questions and answers