Table of Contents
Advertisement
Please give us a chance to make it right and do better !
Contact our friendly customer service department for help first.
Replacements for missing or damaged parts will be shipped ASAP !
US office: Fontana
UK office: Ipswich
DE office: Hamburg
FR office: Saint Vigor d'Ymonville
Contact Us!
Do NOT return this item.
AU office: Truganina
PL office: Gdańsk
US:cs.us@costway.com
UK:cs.uk@costway.com
AU:cs.au@costway.com
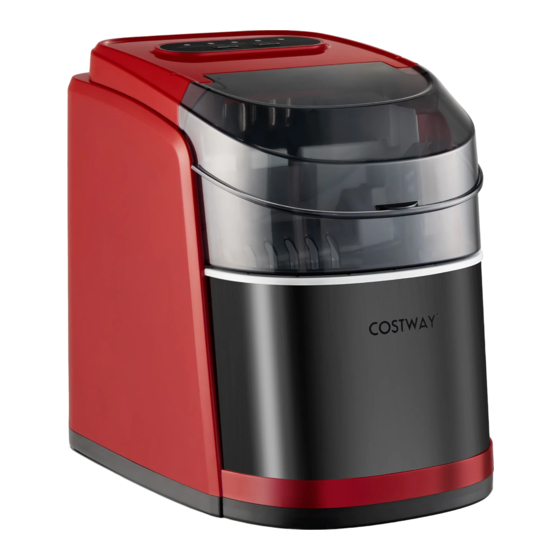
PORTABLE AUTOMATIC ICE MAKER
THIS INSTRUCTION BOOKLET CONTAINS IMPORTANT SAFETY INFORMATION. PLEASE READ AND KEEP FOR FUTURE REFERENCE.
USER'S MANUAL
ES10200US
Advertisement
Table of Contents

Related Manuals for Costway ES10200US


Summary of Contents for Costway ES10200US
- Page 1 DE office: Hamburg FR office: Saint Vigor d'Ymonville PL office: Gdańsk USER’S MANUAL Contact Us! PORTABLE AUTOMATIC ICE MAKER ES10200US US:cs.us@costway.com Do NOT return this item. UK:cs.uk@costway.com AU:cs.au@costway.com THIS INSTRUCTION BOOKLET CONTAINS IMPORTANT SAFETY INFORMATION. PLEASE READ AND KEEP FOR FUTURE REFERENCE.
-
Page 2: Important Safety Instructions
IMPORTANT SAFETY INSTRUCTIONS Your safety and the safety of others are very important. We have provided many important safety messages in the manual. Always read and obey all safety messages. This is the safety alert symbol: Before You Start All safety messages will follow the safety alert symbol and the word “DANGER”... -
Page 3: Preparing Your Ice Maker Foruse
• Do not use your ice-maker outdoors. Place the ice-maker away PREPARING YOUR ICE MAKER FORUSE from direct sunlight and make sure that there is at least 4 inches of space between the back of your unit and wall. Keep a minimum When using electrical appliances, basic safety precautions should distance of 4 inches on each side of your unit free. -
Page 4: Getting To Know Your Unit
• CAUTION-Risk Of Fire Or Explosion Due To Puncture Of GETTING TO KNOW YOUR UNIT Refrigerant Tubing; Follow Handling Instructions Carefully. Flammable Refrigerant Used. General instruction • The ice maker should be installed in accordance with the safety 1.Evaporator 2.Ice scoop standard for Refrigeration Systems, ASHRAE15. -
Page 5: Operating Procedures & Maintenance
OPERATING PROCEDURES & MAINTENANCE Position of control panel & function Control Panel: Easy to use, visible functions, touch display setting. A. Selected ice size displaying: Small and Large. B. Power indicator C. Ice-Full indicator D. Water shortage indicator E. Button to turn on/off the unit. F. -
Page 6: Cleaning And Maintaining Your Ice Maker
CLEANING AND MAINTAINING YOUR ICE MAKER 4. Allow one hour for the refrigerant fluid to settle before plugging the ice maker in. Before using your ice maker, it is strongly recommended to clean it 5. The appliance must be positioned so that the plug is accessible. thoroughly. -
Page 7: Using Your Ice Maker
USING YOUR ICE MAKER TROUBLE SHOOTING 1. Open the cover, remove the ice basket and pour water into tank. PROBLEM POSSIBLE CAUSE SOLUTION Keep water level below the water level mark. “ ADD WATER ” Lack of Water. Stop the ice maker, 2. - Page 8 ELECTRICAL DIAGRAM TECHNINCAL PARAMETERS & CIRCUIT DIAGRAM WATER LEVEL DETECTING MAIN CONTROL PCB INFRARED Model ES10200US SENSOR DETECTOR MICRO SWITCH MICRO SWITCH Protection Type COND TEMP SENSOR -FAN+ Power 115V/60Hz +PUMP- DC FAN RELAY MOTOR AC- L AC- N COMP MOTOR Ice Making Current 1.7A...
Need help?
Do you have a question about the ES10200US and is the answer not in the manual?
Questions and answers