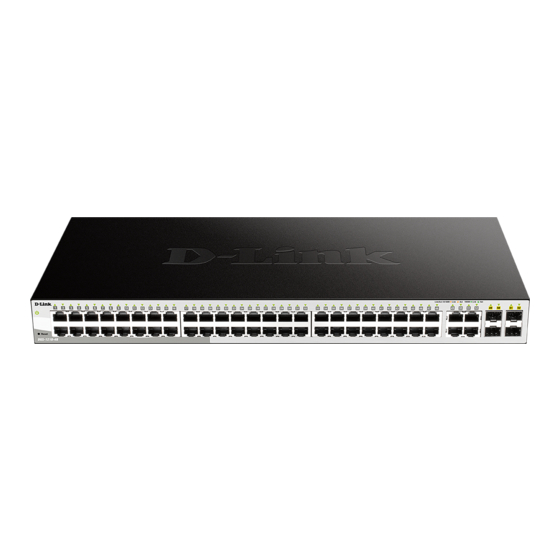
D-Link DGS-1210 Manual
How to bind switches into the nuclias connect
Hide thumbs
Also See for DGS-1210:
- Manual (175 pages) ,
- User manual (12 pages) ,
- Reference manual (107 pages)
Table of Contents
Advertisement
Quick Links
DGS-1210 Switches into the Nuclias Connect
For Nuclias Connect Hardware DNH-100 Rev.A and Nuclias Connect Software DNC-100
To bind the DGS-1210 with Hardware Revision (Rev.) F and G into
the Nuclias Connect please follow these steps.
1. Requirements
- DGS-1210 Switch in Rev.F with firmware version 6.30.xx or higher
- DGS-1210 Switch in Rev.G with firmware version 7.30.xx or higher
This you can download from our D-A-CH-BE-NE-LUX web sites
or from
https://ftp.dlink.de/dgs/dgs-1210/driver_software/
- DNH-100 Nuclias Conenct Hub with the actual Firmware 1.2.0.1 or higher.
Or DNC-100 Nuclias Connect Software in the actual Version 1.2.0.9 or higher.
2. Preparations
Different to the DAP Access Points the DGS-1210 must be pre-configured so far that it
got an IP-address from the DHCP-Server in the network or has a static IP-address
compatible to the network.
By default the DGS-1210 has the static IP-address 10.90.90.90
with subnet mask 255.0.0.0
Change the TCP/IP of the network connection temporarily to configure the DGS-1210.
Alternative or if you don't know the IP-address of your DGS-1210 you can use our
Software D-Link Network Assistant (DNA) to find it out or to change it.
See following screenshot.
You can download the DNA from
https://ftp.dlink.de/software/DNA/D-Link_Network_Assistant_DNA_40021_all_en.zip
With the PC mouse go over the DGS-1210 entry and then click onto IP on the right.
Then you can change the IP-address of the DGS-1210.
Manual how to bind the
For DGS-1210 Rev.F and Rev.G
- 1 -
https://www.dlink.com
Advertisement
Table of Contents

Summary of Contents for D-Link DGS-1210
- Page 1 Software D-Link Network Assistant (DNA) to find it out or to change it. See following screenshot. You can download the DNA from https://ftp.dlink.de/software/DNA/D-Link_Network_Assistant_DNA_40021_all_en.zip With the PC mouse go over the DGS-1210 entry and then click onto IP on the right. Then you can change the IP-address of the DGS-1210. - 1 -...
- Page 2 Note: In the following steps granting that you already made a setup in your DNH-100 / DNC-100 (following named as NC) and have it in use with DAP-models, so the NC has a basic setup already. 3. Call the setup of your NC and log-in. We recommend to use the English setup because the translation in other languages isn’t fine sometimes.
- Page 3 - Set a hook at Switch. - At Series Supported a hook must be at DGS-1210. - At Password you must enter the Admin-password this the DGS-1210 has to get from the NC-Profile as soon as it will be bound-in.
- Page 4 Recommendation!! For each DGS-1210 create an own NC-Profile. Else it can become difficult because the NC displays all LAN ports of all DGS-1210 in the NC-profile like they are one DGS-1210. Example: The LAN ports of three DGS-1210-10P will be listed as 30 ports – a differentiation which port if from which switch won’t be so easy.
- Page 5 … then the Status of the DGS-1210 will be displayed. Normally at this moment it is boarding. Status is orange = Boarding After additionally 3-5 minutes the Status is green = Connected The DGS-1210 can be managed and configured via the NC now. - 5 -...
- Page 6 13. To access the possible settings of the DGS-1210 in the NC, on the left go to the menu Configuration and then Profile Settings. There inside the created profile of the DGS-1210 you can make several settings. Note: Unfortunately it is not possible to make all settings of a DGS-1210 via the NC (yet).


Need help?
Do you have a question about the DGS-1210 and is the answer not in the manual?
Questions and answers