
Subscribe to Our Youtube Channel
Related Manuals for Toshiba AW-M901BPH


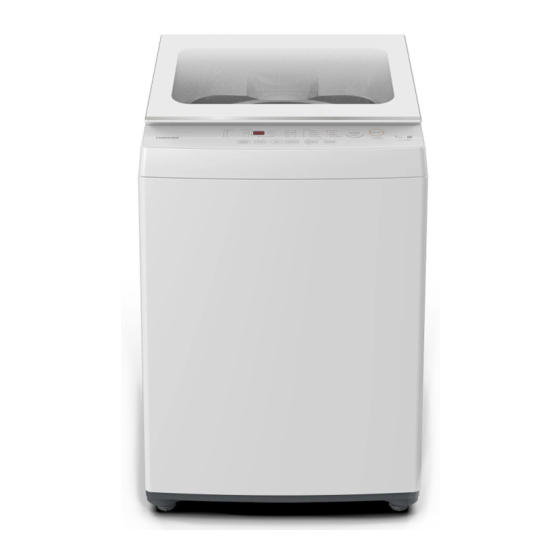
Summary of Contents for Toshiba AW-M901BPH
- Page 1 Fully Automatic Washing Machine OWNER’S MANUAL Model: AW-M901BPH Read This Manual Please Read and follow the instructions carefully. Please Keep this owner’s manual handy for future use.
-
Page 2: Table Of Contents
CONTENTS SAFETY INSTRUCTIONS Safety instructions ............... INSTALLATION Product description ..............Installation area ................Unpacking the washing machine ......... Installation of the cabinet base cover........Levelling the washing machine ..........Selection of tap ................Connection of inlet hose, tap and washing machine.. -
Page 3: Safety Instructions
SAFETY INSTRUCTIONS For your safety, the information in this manual must be followed to minimize the r fire or explosion, electric shock, or to prevent property damage, personal injury or loss of life. • This appliance is not intended for use by persons (including children) with reduced physical, sensory or mental capabilities or lack of experience and knowledge unless they have been given supervision... - Page 4 SAFETY INSTRUCTIONS Washing Capacity Model Standard Water Pressure 0.03MPa ~ 0.8MPa AW-M901BPH 8.0kg Explanation of the symbols: Warning! This combination of symbol and descriptive word indicates a potentially dangerous situation which may result in death or serious injuries unless it is avoided.
- Page 5 SAFETY INSTRUCTIONS Warning! The electric shock! • This washing machine is for indoor use only. • Do not put this washing machine in a humid place. • Hands should not be inserted into the rotating drum • Before doing any maintenance the unit , unplug the...
- Page 6 SAFETY INSTRUCTIONS Risk to children! • he appliance can not be used by children and persons with reduced physical sensory or mental capabilities or lack of experience and knowledge unless they have been given supervision or instruction concerning use of the appliance in a safe way and understand the hazards involved.
- Page 7 SAFETY INSTRUCTIONS Caution Installing the product! • This washing machine is for indoor use only. • It is not intended for built-in using. • The openings must not be obstructed by a carpet. • The w ashing machine shall not be installed in bath room or very wet rooms as well as in the rooms with explosive or caustic gases.
- Page 8 SAFETY INSTRUCTIONS Operating the appliance! • Before washing the clothes for the first time, the product shall be operated without clothes using tub clean as the displayed program on the control panel. • Flammable and explosive or toxic solvents are forbidden. Gasoline and alcohol etc.
-
Page 9: Installation
INSTALLATION Product description Glass lid Water inlet valve Drain hose Drum Power cord and plug Frame Control panel Cabinet Handle Softener box Adjustable foot Note! • ll illustrations in this manual are for reference only. lease refer to the product ,for actual appearance of the parts Accessories Inlet hose assy Manual... -
Page 11: Levelling The Washing Machine
INSTALLATION Warning! • Do not kink, crash, modify or sever the drain hose. • Position the drain hose properly, otherwise , improper position may result in water leakage. • If drain hose is too long, do not force it into washing machine as this will cause abnormal noises. -
Page 13: Preparation Before Washing
Liquid detargent Case... -
Page 15: Control Pan
Course1 & Couse2... -
Page 17: Personalized Setting Of Washing Course
Soak Press the PROCESS button Press the PROCESS button Start Press the SET button for setting Press the SET button for setting SOAK time during blink RINSEtimes and SPIN time to “0” during blink Wash Press the PROCESS button Press the PROCESS button Start Press the SET button for setting Press the SET button for setting... -
Page 18: Operation
OPERATION Washing Course Table Courses are available according to the laundry type. Only for models having these functions: Course Suitable to wash lightly- stained clothes and clothes for summer. SPEED: Mid/High/Low water level selection, the tempo is soft, slow DELICATE: washing and spinning speed, for minimal wear and deformation. -
Page 19: Recommended Detergent Amount
When using softener Softener Detergent inlet 1. Add softener to the softener case at the top of the basket. 2. The softener automatically flow into the basket during the final rinse. with brands. 3. The amount of softener varies Weighting cap Washing powder inlet Follow the instruction on the softener label. -
Page 20: Maintenance
MAINTENANCE Cleaning And Care Warning! • Before your maintenance starts, please unplug the machine and close the tap. Cleaning the cabinet Proper maintenance the washing machine can extend its working life. The surface can be cleaned with diluted non-abrasive neutral detergents when necessary. If there is any water overflow, use a wet cloth to wipe it off immediately. -
Page 21: Cleaning Drain Pump Filter
MAINTENANCE Cleaning drain pump filter Warning! • Be careful of the hot water! • Allow detergent solution to cool down. • Unplug the machine to avoid electrical shock before washing. • Drain pump filter can filter the yarns and small foreign matters from the washing. -
Page 23: Technical Specifications
MAINTENANCE Technical Speci cations 0.03MPa~0.8MPa Standard Water Pressure Power Washing Dimension Rated Model Capacity Weight Supply (W*D*Hmm) Power 8.0kg 32kg 400W AW-M901BPH... -
Page 24: Energy Efficiency Test Program
MAINTENANCE Energy e ciency test program Use for model AW-M901BPH It is identified as HongKong Efficiency Program as followed: Energy test program operation: 1. Press the “ON/OFF” switch. Press the “program” button, to select the” Regular ”program, and press the water level key to set the level 8 3.
Need help?
Do you have a question about the AW-M901BPH and is the answer not in the manual?
Questions and answers