
Related Manuals for GERMANICA GF25AFOSS


Summary of Contents for GERMANICA GF25AFOSS
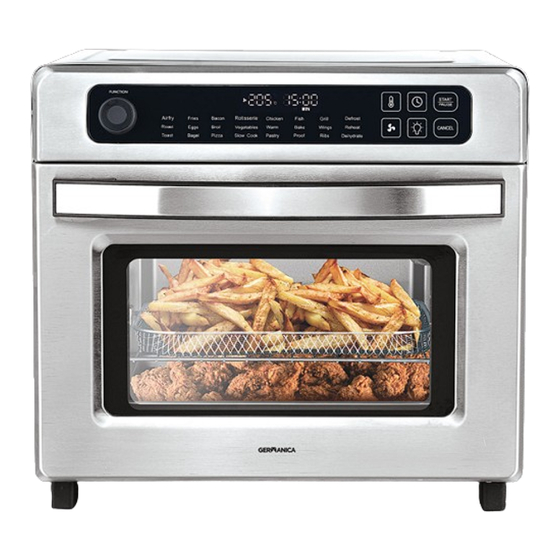
- Page 1 MULTI-FUNCTION AIR FRYER OVEN GF25AFOSS INSTRUCTION MANUAL Please read this manual carefully before using, and keep it for future reference.
-
Page 3: Table Of Contents
CONTENTS General Safety Installation Product Overview Operation How To use (Air Fry for example) Programs & Times Rotisserie Cleaning and Maintenance FAQs Specifications Customer Helpline Last Page... -
Page 4: General Safety
GENERAL SAFETY IMPORTANT INFORMATION Read this manual thoroughly before you start using the Air Fryer. The safety precautions instructions reduces the risk of fire, electric shock and injury when correctly complied to. Please follow all instructions and take notice of all warnings. The lightning flash with symbol within the triangle is intended to warn you of a non-insulated dangerous voltage in the... - Page 5 GENERAL SAFETY (Cont.) • Make sure to hold the door handle when opening and closing the oven, as some surfaces may be extremely hot. • The outside of the oven, including the door, is hot during and after use. • Always use heat-resistant gloves, pads, or oven mitts when handling hot materials, and when placing items in or removing items from the oven, including trays, racks, accessories, or containers.
- Page 6 GENERAL SAFET (Cont.) WHILE COOKING • Do not place oversized foods or metal utensils (except for Germanica accessories) into your air fryer. • Do not place paper, cardboard, or nonheat-resistant plastic into your air fryer, or any materials which may catch fire or melt.
- Page 7 GENERAL SAFET (Cont.) ELECTRICAL SAFETY AND POWER CORD HANDLING • Voltage: Make sure that your outlet voltage and circuit frequency correspond to the voltage stated on the appliance rating plate. • Power outlet: Connect the appliance to a properly earthed power outlet, which must be easily accessible so that you can unplug it if necessary.
- Page 8 GENERAL SAFETY (Cont.) • Do not use the appliance for anything other than its intended purpose. Drying of food or clothing and heating of warming padsband similar items may lead to risk of injury, ignition or fire. • The appliance is not intended for use by persons (including children) with reduced physical, sensory or mental capabilities, or lack of experience and knowledge, unless they have been given supervision or instruction on the use of the appliance by a person responsible for their safety.
- Page 9 GENERAL SAFETY (Cont.)
-
Page 10: Installation
INSTALLATION Before installing your appliance, read all safety instructions in this manual, especially the sections on electrical safety and installation. UNPACKING • When unpacking the appliance, be sure to keep all the packaging materials until you have made sure your new appliance is undamaged and in good working order. -
Page 11: Product Overview
PRODUCT OVERVIEW FUNCTION CONTROL DIAL (PROGRAMS) Air Fry / Fries / Toast / Rotisserie / Chicken / Pizza / Fish / Ribs / Slow Cook / Eggs / Bagel / Vegetables / Wings / Roast / Bake / Broil / Defrost / Grill / Bacon / Pastry / Proof Bread / Dehydrate / Reheat / Warm PROGRAMS LED SCREEN:... - Page 12 PRODUCT OVERVIEW (Cont.) FUNCTION PROGRAMS ROTISSERIE KIT FOOD TRAY FOOD TRAY HANDLE WIRE RACK SMALL WIRE RACK AIR FRY BASKET 12” PIZZA PAN DRIP TRAY...
-
Page 13: Operation
OPERATION... -
Page 14: How To Use (Air Fry For Example)
OPERATION (Cont.) OPERATION (AIR FRY FOR EXAMPLE) 1. Make sure the crumb tray is in place on the bottom of the oven cavity. 2. Arrange food in the air-frying basket and place the basket on the baking tray. 3. Insert the baking tray into the middle rack position. Close the oven door. 4. - Page 15 OPERATION (Cont.)
-
Page 16: Programs & Times
TIME TEMP DEFAULT THE DEFAULT FUNCTION ADJUSTABLE ADJUSTABLE SETTING TEMP RANGE RANGE Airfry 1 - 45 mins 15 mins 50 - 230℃ 205℃ Fries 1 - 45 mins 18 mins 50 - 230℃ 220℃ Toast 6mins 30s 4 Slices Rotisserie 1 min - 2 hrs 40 mins 50 - 230℃... - Page 17 FAN SPEED DEFAULT PRE- FORK TEMPERATURE/ SWITCH CONTROL A HALF TIME FAN/ HEAT TURN TIME STEP CONTROL SELECTION SPEED Y/high 5℃/1 min Y/high 5℃/1 min 5Level/TBD 5℃/1 min - 1hr: Y/high 1 min 1 - 2hrs: 5mins High / Slow Y/high 5℃/1 min / Off...
-
Page 18: Rotisserie
OPERATION (Cont.) ROTISSERIE: Slide the Drip Tray into the bottom of the oven. You can adjust the Rotisserie Shaft, forks and set screws depending on the size of the meat/chicken you want to cook. The Rotisserie shaft will be at full length, see below: Loosen the set screws and adjust each side that the fork enters into the meat/chicken a decent amount and holds it in place. - Page 19 OPERATION (Cont.) Once you have shortened the distance between the Rotisserie forks and have your meat held tightly and secured in place. You will need to place your Rotisserie shaft with the food content into the mounting holes inside either side of the oven. Place the shaft side with the longer flat surface without a groove into the right side, inside the oven.
- Page 20 OPERATION (Cont.) Now that the right side is in place, the left side has a groove closer to the edge of the rotisserie shaft. Use this to slide your rotisserie shaft into the left side mount. See below: The rotisserie shaft is now in place and your food ready to start cooking.
-
Page 21: Cleaning And Maintenance
CLEANING AND MAINTENANCE Clean oven accessories (including trays, etc.) and oven interior after every use. NOTE: • Do not use abrasive cleaners, metal scouring pads, or metal utensils on any part of the oven, including trays and other accessories. These will scratch or damage their surfaces. -
Page 22: Faqs
FAQS If experiencing issues with your oven and isn’t operating correctly please check the following pages for solutions to the problems. If none of the solutions offered help solve the problem with your appliance then please contact our call centre on info@ayonz.com. DO NOT ATTEMPT TO REPAIR THE APPLIANCE YOURSELF. -
Page 23: Specifications
SPECIFICATIONS Ratings 220-240V ~ 50-60Hz, 1750W Dimensions 402.5 (w) x 402 (d) x 368.5 (h) mm Weight Net: 9.8 kg / Gross: 11.5 kg... - Page 24 CUSTOMER HELPLINE: info@ayonz.com DISTRIBUTED BY: Ayonz Pty Ltd...
Need help?
Do you have a question about the GF25AFOSS and is the answer not in the manual?
Questions and answers
How do I use "slow cook" function GF25AFOSS