Table of Contents
Advertisement
Quick Links
Quick Start (Wall-Mounted)
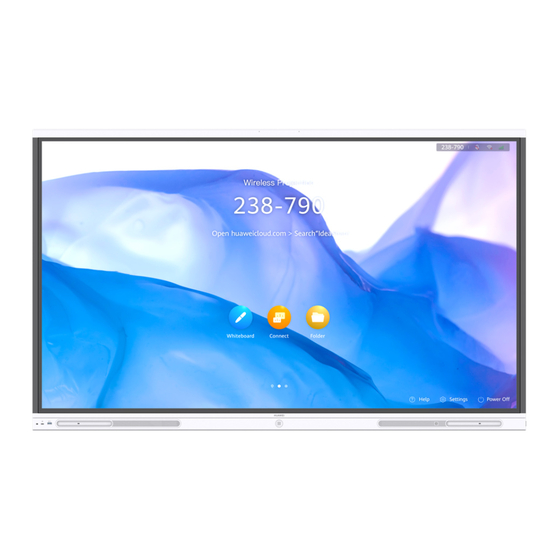
HUAWEI IdeaHub Board Edu
1
Included Items
1. This list is for reference only. The delivered components may differ in appearance. The
components in this package can be used only with the device in this package. If a component
is damaged, missing, or wet upon being removed from the box, contact Huawei technical
support.
2. Different models differ slightly in appearance. The appearances of the device and accessories
in this document are for reference only.
主
机
箱
Display
Quick Start (Wall-Mounted)
OPS
Copyright © Huawei Technologies Co., Ltd. All Rights Reserved.
Display box
Power cable
OPS box (optional)
Antennas (2)
Pens (2)
Instruction &
Declaration of
Conformity
Model: IFP-UG86E
Advertisement
Table of Contents

Related Manuals for Huawei IdeaHub Board Edu


Summary of Contents for Huawei IdeaHub Board Edu
- Page 1 1. This list is for reference only. The delivered components may differ in appearance. The components in this package can be used only with the device in this package. If a component is damaged, missing, or wet upon being removed from the box, contact Huawei technical support.
- Page 2 Wall mount bracket box (optional) The wall-mount bracket is optional. If not purchased, it will not be delivered. Wall-mounted bracket Expansion bolts (6) Hex key (M8*60mm) (M6*140mm) Gourd-shaped Gourd-shaped mounting pegs (2) supporting screws (2) Installing the Device 1. At least two persons are required to lift and install a 65-inch model, and at least four for an 86-inch model.
- Page 3 Wall mount scenario: Recessed wall mount scenario: 1620mm: Distance between the top Distance between the lower edge of the recess Recess depth of the support and the ground to and the floor Recess width ensure the optimal angle of view Distance between the top of the support and Recess height the lower edge of the recess...
- Page 4 Install OPS on the rear of the display. (Before installing or uninstalling the OPS, ensure that the display is powered off. Otherwise, the OPS may be abnormal.) Different OPS models differ slightly in appearance and screw positions, but the installation method is the same. This document uses one OPS model as an example. Insert the OPS, with its fan Remove the OPS cover.
- Page 5 Mount the display and insert the gourd-shaped mounting pegs into the corresponding installation positions on the bracket. 1. Do not press the screen during mounting to prevent the screen from being damaged. 2. If a display error occurs after you place the screen facing down for a long period of time, keep the screen facing up for about 10 seconds and check whether the error is fixed.
- Page 6 Configuring the Device Upon first power-on of the device, follow instructions on the touchscreen UI to configure the device. By default, no password is required for accessing the Advanced screen. After the endpoint is started for the first time or restored to factory settings, choose Settings > Advanced > Admin Password in the lower right corner of the home page on the touchscreen to configure a password.
- Page 7 Exploring Wonderful Features Tips and Tricks For more information, visit https://support.huawei.com/enterprise/en. Statements Statement on a Class A Product This is a class A product. In a domestic environment this product may cause radio interference in which case the user may be required to take adequate measures.
Need help?
Do you have a question about the IdeaHub Board Edu and is the answer not in the manual?
Questions and answers