Advertisement
Quick Links
Advertisement

Related Manuals for Sanipex BAGNODESIGN BDF-ORO-FUR-GEN


Summary of Contents for Sanipex BAGNODESIGN BDF-ORO-FUR-GEN
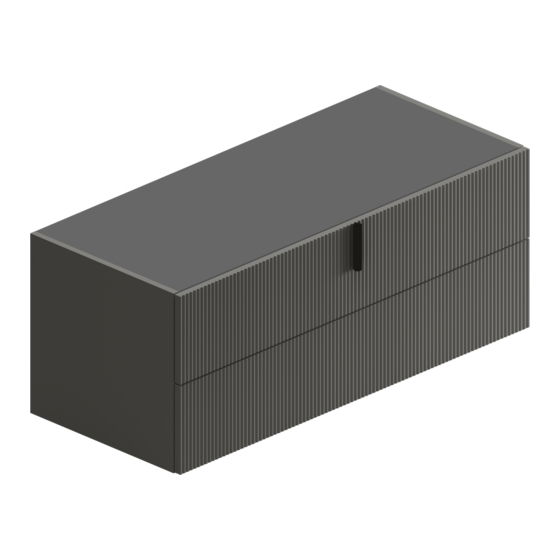
- Page 1 BDF-ORO-FUR-GEN Orology Funiture www.sanipexgroup.com...
-
Page 2: Important Please Read
IMPORTANT PLEASE READ All products manufactured and supplied by BAGNODESIGN are fit for purpose as long as they are Installed, used correctly, cleaned and receive regular maintenance in accordance with these instructions ... Remove all packaging and check the product for damage or missing parts before commencing with the installation. - Page 3 INSTALLATION OF WALL-HUNG WASHBASIN UNITS H.48 cm ATTENTION: Measures shown in each drawing shall be considered indicative, thickness of the top, consoles and heights of the washbasins, they may have influence of several centimeters upon the quotation, always consider the needs of the user in addition to any existing plants.
- Page 4 The assemblage of the furniture SHALL be performed by qualified personnel, at least two people, provided of suitable equipment. At the end of the procedure, SHALL be released a declaration of happened installation conforming to the procedures pointed out by the manufacturer, in absence of such declaration, the guarantee of the product decays.
- Page 5 UNPACKING Proceed in the unpacking of the elements according to the stages as shown in pictures, taking care not to damage the cabinet. Lay the element of the floor turned Turn the element now leaving open the upsidedown, and carefully open the bottom in order to remove the embalage.
- Page 6 HANG UNITS FIXING Removed the packaging and removed the drawers from the cabinet, proceed to fixing the base to the wall following the various phases as shown in the pictures. For the positioning of the brackets, The brackets should be placed inside consider that the height for a neutral unit the side panels of the elements, detect (A) is different from a washbasin unit (B).
- Page 7 HANG UNITS FIXING Once hooked the unit, we will proceed to the leveling and the definitive fixing of the cabinet. With the help of a collaborator control Checked the locked position of the the exact coupling the furniture on the furniture, put a level above it, as shown brackets, before letting go.
- Page 8 TOP - CONSOLE INSTALLATION Fixed the furniture to the wall, we will proceed to the positioning of the chosen top or console. IMPORTANT : we recommend the maximum care in top’s handling!!! With the help of a collaborator placed Always with the help of another on the floor box and open the package person, extract the top-console from with care.
- Page 9 METAL DRAWERS REGULATIONS All metal drawers supplied by Puntotre have screws for better adjustment of the fronts. Lower screw (B) provides the vertical Unlock the upper screw (A), before any regulation, then, lock it once regulation of the front +-2 mm. finished.
- Page 10 PUSH-PULL DRAWERS ADJUSTMENT Drawer front adjustment. +3/-1 mm Adjustment unclapsing force of the drawer. ✓ ✗ ✗ ✓ Drawer unclapsing area. 1200 NOTE: Close the drawers with automatic pull-in, after a manual push. The return spring is projected to work with a certain inertia (drawer loaded).
- Page 11 HINGES WITH RAPID LOCK-UNLOCK SYSTEM Hinges used by Puntotre are provided with rapid lock-unlock system. To unlock hinge, pull the level toward IMPORTANT: during this operation, it outside. is important to firmly hold the door, to avoid accidental drops and damage.
- Page 12 HINGES REGULATION Hinges provided by Puntotre, have tri-axial regulation. Cross screwdriver tool. Before performing any regulation, LATERAL: Turn indicated screw to remove the protection carter. obtain LH or RH regulation. VERTICAL : The provide vertical door’s DEPTH : This regulation is made by the most internal screw.
-
Page 13: Handle Installation
HANDLE INSTALLATION Puntotre provides several kind of handles and knobs. The application of the handles at the front shall always be made by screwing the screws from the inside of the drawer. In the case of knobs in fact, the most common mistake is the attempt to screw the knob directly, and not the screw. - Page 14 COLUMNS AND HANG UNITS INSTALLATION The hardware provided for this operation is the same of the 48H units. For the positioning of the brackets to Detected points on the wall, drill the wall, consider the position relative the holes, insert dowels and attach to the element, checking the back part.
- Page 15 TALL UNITS INSTALLATION ATTENTION: While present, always fix also the wooden bar to the wall. Standard System Base Wall units, tall units and mirror cabinets...
- Page 16 www.sanipexgroup.com INF-ORO-FUR-GEN-09-22...
Need help?
Do you have a question about the BAGNODESIGN BDF-ORO-FUR-GEN and is the answer not in the manual?
Questions and answers