
Related Manuals for Kensington Thunderbolt SD2600T


Summary of Contents for Kensington Thunderbolt SD2600T
- Page 1 SD2600T Thunderbolt™ 4 Dual 4K Nano Docking Station – 65W PD – Win/Mac Installation Guide. Register your dock at kensington.com/register.
- Page 2 1. Connect the power adapter. Connect the included AC adapter to the back of the dock. Connect the power cable to the adapter. Plug the power cable into a wall outlet.
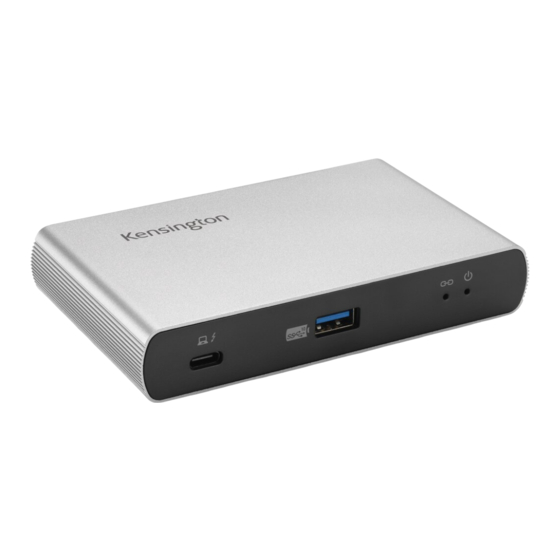
- Page 3 2. Connect up to three accessories such as monitors and hard drives to the Thunderbolt 4 DFP (5V/3A) ports on the back of the dock. The power button is to the left of the Thunderbolt ports. When the power is on, the power indicator light on the front of the dock will illuminate. On the front of the dock, the Thunderbolt 4 port on the left can be used to connect your laptop for up to 65W of power delivery, using the included 0.8m Thunderbolt 4 cable.
- Page 4 3. Plug the included Thunderbolt 4 cable into your laptop. 4. Plug the other end of the included Thunderbolt 4 cable into the port on the front of the dock.
- Page 5 5. Resolutions. For Thunderbolt 3, Thunderbolt 4, and USB4 (Windows): With one monitor: 8K (7680 x 4320) @ 60Hz*; 4K (3840 x 2160) @ 120Hz or 1440p (2560 x 1440) @ 240Hz. With two monitors: 4K (3840 x 2160) @ 60Hz.; 1080p (1920 x 1080) @ 120Hz. For Thunderbolt 3, Thunderbolt 4, and USB4 (macOS): With one monitor: 6K (6016 x 3384) @ 60Hz.
- Page 6 6. Initial Thunderbolt 4 Connection for Windows. In the message dialogue box, “New Thunderbolt device has been attached,” click “OK.” 6.1. If you’d like, you can choose to manage Thunderbolt 4 devices and settings later. 6.2. You can also use this panel to view attached devices, approved attached devices, manage approved devices, adjust settings, and exit.
- Page 7 For support, visit kensington.com/support.
Need help?
Do you have a question about the Thunderbolt SD2600T and is the answer not in the manual?
Questions and answers