Table of Contents
Advertisement
Quick Links
SOLIS
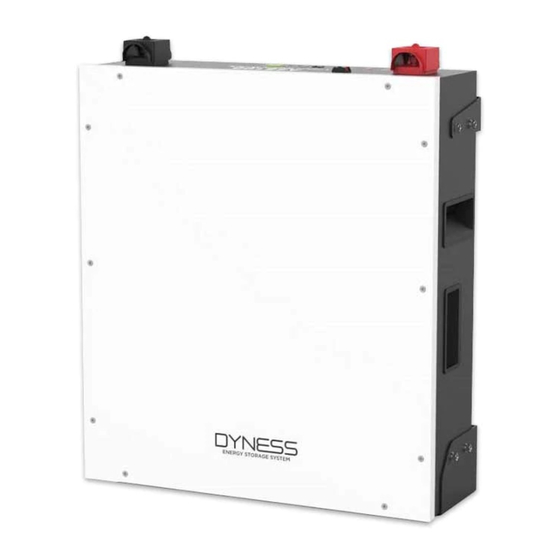
Dyness A48100 battery and
Setup
Check List:
All of DYNESS battery has same DIP settings and cable
connections,here are examples of A48100 and Powerbox Pro;
Power cables;
Parallel cables;
Communication cable between battery and inverter;
Communication cables between battery and battery;
RHI-6K-48ES-5G
Before starting, make sure battery and inverter size matched.
Follow Dyness user manual to check details, it is recommended to
use battery in 1: 2 configuration at least.
Step 1 : Cable connect in inverter
Keep both inverter and battery completely off.
Connect power cable and comm cable to inverter firstly.
1.1 AC terminal wiring of inverter: connect the power grid and load
to ac-grid and ac-backup terminals of inverter respectively.
1.2 PV input wiring of inverter: insert the positive and negative
poles of PV into the positive and negative poles of DC port of
inverter respectively
Advertisement
Table of Contents

Subscribe to Our Youtube Channel
Related Manuals for Dyness A48100


Summary of Contents for Dyness A48100
- Page 1 Communication cables between battery and battery; RHI-6K-48ES-5G Before starting, make sure battery and inverter size matched. Follow Dyness user manual to check details, it is recommended to use battery in 1: 2 configuration at least. Step 1 : Cable connect in inverter Keep both inverter and battery completely off.
- Page 2 1.3 Meter wiring: meter interfaces 1 and 4 are connected to power grid L and N respectively; 5. 6 connected to CT; Connect the power meter RS485 to the inverter RS-485 meter interface through the network cable in the accessories; The CT is clamped on the live wire of the power grid (pointing to the direction of the power grid) It’s normal standard pin-pin cable between battery and...
- Page 3 No matter how many inverters and how many batteries are in parallel,it is always the master battery communicates to the master inverter. 1.Dyness A48100 connect with Inverter INV-BAT: From the master CAN IN to the inverter CAN port; BAT-BAT: From the master CAN OUT to the salve1 CAN IN, the salve1 can OUT to the salve2 CAN IN...
- Page 4 2.Dyness Powerbox Pro connect with Inverter INV-BAT: From the master box CAN IN to the inverter CAN port; BAT-BAT: From the master box CAN OUT to the salve1 box CAN IN, the salve1 box CAN OUT to the salve2 box CAN IN...
- Page 5 Slave battery ADD:0000 Salves box The slaves need to open their cover to change inside 1# module to 0000. Step 2:Switch on battery Turn on all the batteries ON/OFF switch,long press 3s master SW to turn on all batteries. When its loose like Powerbox Pro,long press 3s power switch on Powerbox Pro to power on battery.
- Page 6 Step 5: Battery type setting 1. ENTER→Advanced Settings→Advanced Settings→Password: 0010 → Storage Energy Set → Battery Select → Dyness LV → ENTER→ENTER→ESC→Save & Send...
- Page 7 Step 6: Work mode setting The inverter has four working modes: Self use, Feed in priority, Back up and off grid mode. Note: when setting each mode, other modes must be closed. After setting the working mode, the inverter can work normally Step7:Make the inverter start charging battery to 100% to calibrate SOC.
- Page 8 4 Disconnect PV/Grid 5 Turn off the inverter power switch,shut down the inverter Modules Parallel 1 Remove all the load 2 Turn off DC breaker between the battery and inverter. 3 Disconnect PV/Grid 4 Turn off the inverter power switch,shut down the inverter 5 Long press the master module SW button to turn off all the batteries,then switch off all the batteries’...
Need help?
Do you have a question about the A48100 and is the answer not in the manual?
Questions and answers