Advertisement
Quick Links
Advertisement

Related Manuals for Glorystar Nebula Plus NEB101


Summary of Contents for Glorystar Nebula Plus NEB101
- Page 1 NEBULA PLUS TABLET QUICK START GUIDE NEB101 Quick Start Guide...
- Page 2 NEBULA PLUS TABLET QUICK START GUIDE Onboarding Upon first booting up your device and after each factory reset, users are welcomed with a quick onboarding process that will allow them to set preferences to the following: デバイスの初回起動時および初期化リセット後には、 クイックオン ボードプロセスを提供し、 以下の設定を行うことができます。 ●...
- Page 3 NEBULA PLUS TABLET QUICK START GUIDE Step 3: Date and time Choose the local date and time in the last step of the onboarding process. There is an option to select time zones for the most accurate time and date display. Select 24-hour format display if needed.
- Page 4 NEBULA PLUS TABLET QUICK START GUIDE Revert to Native Android ( remove Staros) 元のAndroid に戻す(Staros を削除する) To remove Staros and revert to Android settings, tap on the button on the bottom navigation bar. The About Staros pop up will appear. On the upper right hand corner there is a button.
- Page 5 NEBULA PLUS TABLET QUICK START GUIDE Return to Staros settings page Staros の設定画面に戻る When you are using other application and would like to return to Staros, please tap the bottom right 10 times continuously Then enter “0000” the default password to return to the Staros page. 他のアプリケーションを使用していて、...
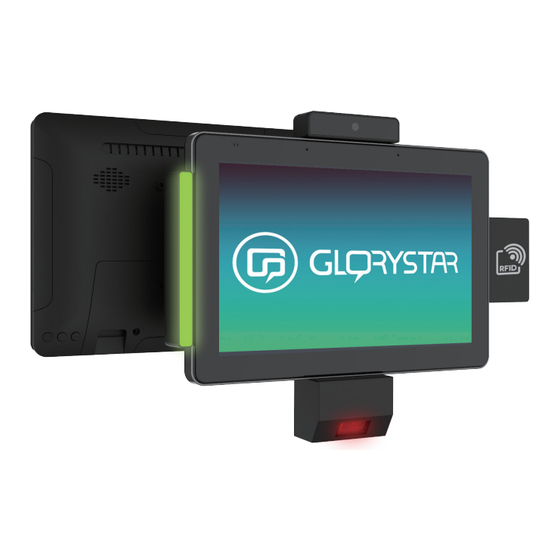
- Page 6 NEBULA PLUS TABLET QUICK START GUIDE Nebula Plus Hardware ネブラプラス ハードウェア...
-
Page 7: Connect To Power
NEBULA PLUS TABLET QUICK START GUIDE Connect to Power 電源に接続する Unscrew the back cover Lid 2. Open the back cover Lid 裏カバーのネジを外す 裏カバーを開ける 3. Plug in the DC jack to the tablet 4. Cover the back lid and Screw it back on ( if you don’t want anyone accessing the back lid) ( note that the direction of the L -shaped plug should be... - Page 8 NEBULA PLUS TABLET QUICK START GUIDE How to connect modules to Nebula Plus ネブラプラスにモジュールを接続する方法 1D & 2D Barcode module ( NEB1701 & NEB 1702 ) Step 2- Screw in two screws to fix the Step 1 - Plug in the barcode module on Nebula plus. barcode module on Nebula Plus.
- Page 9 NEBULA PLUS TABLET QUICK START GUIDE LED module ( NEB1706 ) Step 1 - Step 2- Screw in two screws to fix the Plug in the LED module(s) on Nebula Plus. LED module(s) on Nebula Plus. ネブラプラスにLED モジュールを差し込みます。 ネジ 2 本でLED モジュールを ネブラプラスに固定します。...
- Page 10 NEBULA PLUS TABLET QUICK START GUIDE CONTACT US 株式会社INNOVA GLOBAL(日本総代理店) 〒107-0052 東京都港区赤坂 6-4-11-302 03 6277 6090 b2b-info@innova-global.com GloryStar 社 United States Hong Kong Europe Representative Office Flat D, 5/F, Excelsior Building, Weiherstrasse 2 1440 N. Harbor Blvd Suite 900 364 Nathan Road, 8564 Hattenhausen...
Need help?
Do you have a question about the Nebula Plus NEB101 and is the answer not in the manual?
Questions and answers