Table of Contents
Advertisement
Quick Links
Advertisement
Table of Contents

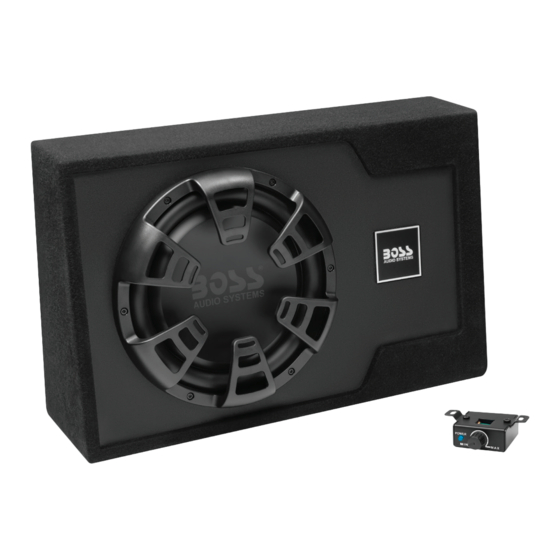
Summary of Contents for Boss Audio Systems B12ES
- Page 2 Thank you for choosing our product! Please read the instructions carefully so you will know how to operate your product properly. If there are any technical questions, please contact: Customer care: (805) 751-4853 & Live chat Online support: www.bossaudio.com/support IMPORTANT Please enter below the Serial No.
-
Page 3: Table Of Contents
The B12ES offers you two wiring alternatives for audio signal input (low and high level inputs). It can also auto- sense high level input to power on automatically, without the need to connect the remote wire to the remote terminal on this product. -
Page 4: Important
Important Read and understand all instructions before you use your product. If you do not follow the instructions in this manual, we are not responsible for any resulting personal injury or damage to property. This will also void the warranty. Important Safety Precautions •... -
Page 5: Panel Controls And Features
Panel Controls and Features 1. Status Indicators Green LED: the subwoofer is powered on and operational. Red LED: the subwoofer is in protection mode and not operational. This problem is caused by input overload, short circuit or extremely high temperature. 2. -
Page 6: Subwoofer Setup Procedure
6. Low-Level Input (RCA Input) Connect to the RCA outputs on your head unit. For best audio performance, low-level input is recommended to input audio signal to this subwoofer if RCA outputs are present on your head unit or signal processor. 7. -
Page 7: Protection Mode
Protection Mode When protection mode triggers, the red LED on the subwoofer turns on and the subwoofer shuts down. One of the following reasons can trigger protection mode: input overload, short circuit and extremely high temperature. When the red LED turns on, take the following measures. •... -
Page 8: Low-Level Input Wiring
Low-Level Input Wiring The subwoofer offers you two wiring alternatives for audio signal input from your source unit (head unit). Low- level input wiring is preferred for waudio input. It provides an exceptional clean sound from the source unit. Important! Do not connect both the high-level and low-level inputs from your source unit to the subwoofer at the same time. -
Page 9: Power Connection
• Using the supplied high-level input wire harness, fasten the black wire to the metal frame of your vehicle (for signal noise prevention), and connect the other four colored wires to speaker output wires of your head unit. Make sure to observe speaker polarity. •... -
Page 10: Remote Subwoofer Control Connection
Remote Subwoofer Control Connection Use the supplied remote subwoofer control to independently adjust the volume level output of the subwoofer. Remote subwoofer control • Using the supplied remote subwoofer control cable, connect the remote subwoofer control to the REMOTE CONTROL on the subwoofer. •... - Page 11 Problem Solution No sound Check that audio input connection is correctly and securely made. If using low-level input connection, check the RCA cables are correctly and securely plugged. If using high-level input connection, check connection with the speaker wires of your head unit. Low output Adjust the remote subwoofer control to increase sound level.
-
Page 12: Specifications
Specifications Audio Output power ..........up to 1200W Driver size ............ 12” Speaker impedance ........4Ω Total harmonic distortion (THD) ....<0.1% Frequency response ........40Hz - 250Hz Signal-to-noise ratio ........90dB Input sensitivity ..........0.2V - 6V (low level/RCA); 1V - 10V (high level) Low pass filter (LPF) ........ - Page 13 1122...


Need help?
Do you have a question about the B12ES and is the answer not in the manual?
Questions and answers