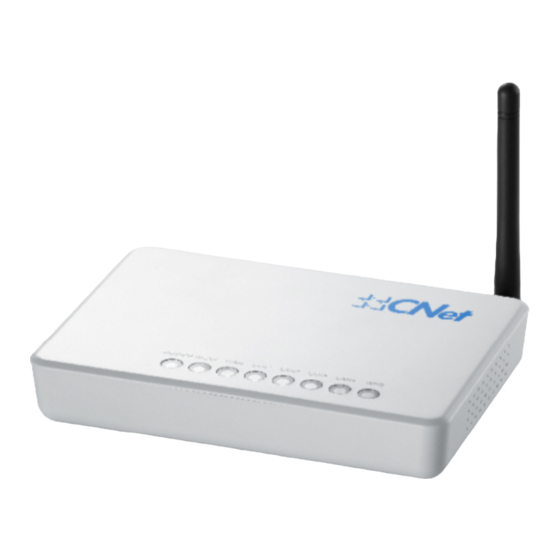
CNET CWR-854 Setup Manual
802.11g wireless router vpn setup
Hide thumbs
Also See for CWR-854:
- User manual (70 pages) ,
- Quick installation manual (11 pages) ,
- Frequently asked questions (4 pages)
Advertisement
Quick Links
Download this manual
See also:
User Manual
VPN Setup for CNet's CWR-854 802.11g Wireless Router
The instructions below are for getting an IPSec client to connect CNet's wireless
broadband router CWR-854(F) with VPN capability. The VPN feature can be used for
secure remote access to a home or work network from anywhere on the Internet.
VPN Client Software used for this test is SSH-Sentinel v1.4 which is free for non-
commercial use.
Applications:
1
www.cnetusa.com
Advertisement

Summary of Contents for CNET CWR-854
- Page 1 The instructions below are for getting an IPSec client to connect CNet’s wireless broadband router CWR-854(F) with VPN capability. The VPN feature can be used for secure remote access to a home or work network from anywhere on the Internet.
- Page 2 To configure VPN both on the client system as well as the router, we need to know about the IP address schema used on the home network. By default the LAN IP of CWR-854 is 192.168.1.254. Computers that are be accessed from the Internet are better to have a fixed IP address assigned to them.
- Page 3 Router’s VPN Configuration: Please use the routers’s default IP address 192.168.1.254 to access its configuration. www.cnetusa.com...
- Page 4 As shown above, CWR-854 can store 10 different VPN profiles. We need to enable IPSec VPN and then click on edit to configure the first profile. Use any name for the connection. Authentication will be through the Pre-Shared Key (PSK). Basically anyone who wants to have VPN connectivity to the router needs to have this key.
- Page 5 The last step to finalize VPN configuration is to enter the PSK (Pre-Shared Key) and save settings. The router is now ready to accept incoming VPN connections. www.cnetusa.com...
- Page 6 www.cnetusa.com...
- Page 7 Second Scenario: In this scenario the remote system is behind a NAT router for example another CWR- 854. The connection is from VPN client >> NAT router>> Cable/DSL modem >> Internet >>Cable/DSL modem >>VPN router. The only difference in the configuration with scenario one is to configure the VPN router’s remote site to be “NAT-T any address”...
- Page 8 VPN Client Configuration The client software used for this test is SSH-Sentinel v1.4. The SSH Sentinel software is configured in two steps. The first one involves the creation of a key management and the second one is the actual VPN security policy. After the software is installed, right click on the Sentinel icon in the task bar and select “Run Policy Editor”.
- Page 9 From the “New Authentication Key” window, select the “create a pre-shared key” radio button and click next. www.cnetusa.com...
- Page 10 In the next window, type a name and the same exact key you have entered in the router’s VPN configuration and click “Finish”. www.cnetusa.com...
- Page 11 In the “Add VPN Connection” window, enter an IP address or a Domain Name associated with the WAN IP of the CNet router. For remote network, click the “…” micro button and enter the remote network information. The default LAN network address of CWR-854 is 192.168.1.0 with 255.255.255.0 for subnet mask.
- Page 12 Click OK to save the changes and return to the “Rule Properties” window. www.cnetusa.com...
- Page 13 Click on the IPSec/IKE proposal settings button to view proposal parameters. www.cnetusa.com...
- Page 14 Click OK to go back to “Rule Properties” window. Click on the Advanced tab to view Security association lifetimes as well as Audit and some other advanced settings. If the VPN client system is sitting behind a NAT device, you’ll need to check the box next to “Pass NAT device”...
- Page 15 At this stage we’ve completed SSH Sentinel configuration and we are ready to perform a diagnostic test. Click OK to go back to the SSH Sentinel Policy Editor window and click “Apply” to update security policy changes we’ve made. Now click on “Diagnostics” to start probing the connection to the VPN server. If Diagnostics complete successfully, it means that you can establish an IPSec protected connection to the VPN server.
- Page 16 We can now use the SSH Sentinel icon in the task bar, select the VPN server and establish the VPN tunnel. www.cnetusa.com...
- Page 17 Testing VPN Connection To test the VPN connection, bring up a DOS window and try a ping to the IP address of one of the computers at home. If ping is successful then the connection is established and you should be able to see and map network drives to systems behind the VPN router.


Need help?
Do you have a question about the CWR-854 and is the answer not in the manual?
Questions and answers