
Related Manuals for Crestron GLA-LDL-PC-0-10-WL

Summary of Contents for Crestron GLA-LDL-PC-0-10-WL
- Page 1 GLA-LDL-PC-0-10-WL Dual-Loop Photosensor Product Manual Crestron Electronics, Inc.
- Page 2 Crestron disclaims any proprietary interest in the marks and names of others. Crestron is not responsible for errors in typography or photography.
-
Page 3: Table Of Contents
Desk Level Application Mount the Sensor Flush Mount with Nipple Surface Mount with Screws and Concealed Wires Surface Mount with Screws and Surfaced Wires Wire the Sensor Resources Crestron Support and Training Product Certificates Product Manual — Doc. 9267A Contents • iii... - Page 4 iv • Contents Product Manual — Doc. 9267A...
-
Page 5: Overview
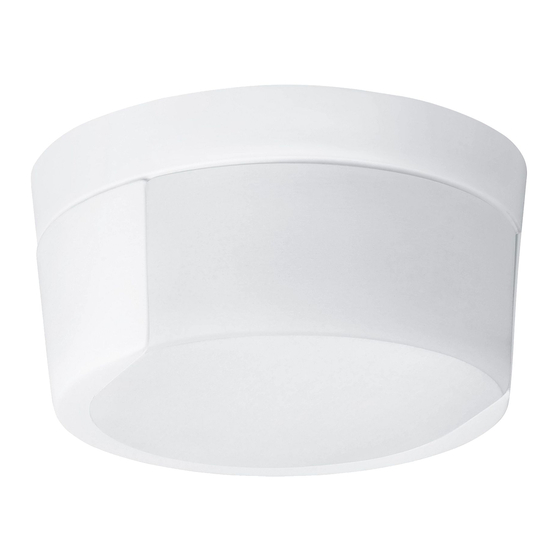
The GLA-LDL-PC-0-10-WL includes hardware to facilitate flush or surface mounting to a drywall or drop-tile surface. Its simple 3-wire interface allows for direct connection to a Crestron® control system via a single Versiport I/O or analog input port, with 24 V power taken from the Cresnet® network control bus. -
Page 6: Physical Description
This section provides a breakdown of the physical components of the device. ① Photo Cell 0-10V ② Wires including WAGO connectors ③ Back plate ④ Screws ⑤ Dowels ⑥ Washer ⑦ Lock nut ⑧ 1/2 in. threaded chase nipple 6 • GLA-LDL-PC-0-10-WL Product Manual — Doc. 9267A... -
Page 7: Coverage
Jumpers are used to set the light level range and sensor field of view. The following options can be set by installing jumpers in the specified locations: OL: 3-300 fc (factory default) OL: 30-3000 fc OL: 60-6000 fc CL: 3-300 fc Product Manual — Doc. 9267A GLA-LDL-PC-0-10-WL • 7... -
Page 8: Specifications
Cresnet communications requires a GLS-SIM or ZUMMESH-JBOX-SIM (both are sold separately). Power may be taken from Cresnet bus regardless of interface method. Connects to a GLS-SIM, ZUMMESH-JBOX-SIM, Versiport I/O, or Analog Input control port on any Crestron control system. Environmental Temperature -40°... - Page 9 High-impact injection-molded plastic Mounting Surface or flush ceiling mount directly to drywall or drop-tile Dimensions Height 1.06 in. (27 mm) Diameter 2.01 in. (51 mm) Weight .011 lb (.05 kg) Compliance UL® Listed 9 • GLA-LDL-PC-0-10-WL Product Manual — Doc. 9267A...
-
Page 10: Dimension Drawing
Dimension Drawing Product Manual — Doc. 9267A GLA-LDL-PC-0-10-WL • 10... -
Page 11: Installation
Installation This section contains all the information needed to install the GLA-LDL-PC-0-10-WL. Determine the Mounting Location The GLA-LDL-PC-0-10-WL can be used in several different applications, with specific considerations for each. Window Application Where windows are the primary source of daylight, mount the photo cell on the ceiling between the window and the first row of fixtures. -
Page 12: Skylight Application
Install jumpers to set the light level to option D (Closed Loop Control, 3-300 fc). NOTE: Because furniture can impact the light levels, this should only be completed when the room is fully furnished. 12 • GLA-LDL-PC-0-10-WL Product Manual — Doc. 9267A... -
Page 13: Mount The Sensor
CAUTION: The gasket is required to maintain the IP54 rating. During installation, do not pull out the complete gasket. Instead, carefully lift up the edge covering the jumpers. Regardless of installation location, there are three ways to mount the GLA-LDL-PC-0-10-WL. Product Manual — Doc. 9267A... -
Page 14: Flush Mount With Nipple
8. Using the lock nut, secure the threaded chase nipple in place. 9. Using the WAGO connectors, connect the three individual sensor wires (black, red, and orange) to the incoming wires. 10. Rotate the photo cell lens to face in the desired direction. 14 • GLA-LDL-PC-0-10-WL Product Manual — Doc. 9267A... -
Page 15: Surface Mount With Screws And Concealed Wires
10. Push the wires one at a time through the center hole in the back plate. 11. Align the sensor key and snap the sensor into the back plate. Product Manual — Doc. 9267A GLA-LDL-PC-0-10-WL • 15... -
Page 16: Surface Mount With Screws And Surfaced Wires
Use this option when the nipple cannot be used and the wires are being run through the side of the GLA-LDL-PC-0-10-WL's housing. Follow the instructions below. 1. Hold the back plate in the mounting location, taking care to align it so that the photo cell lens is pointed in the desired direction. -
Page 17: Wire The Sensor
WARNING: Ensure that the power has been switched off at the breaker before wiring the GLA-LDL-PC-0-10-WL. Verify that the circuit is inactive with a voltage meter. Product Manual — Doc. 9267A... -
Page 18: Resources
Resources The following resources are provided for the GLA-LDL-PC-0-10-WL. NOTE: You may need to provide your Crestron.com web account credentials when prompted to access some of the following resources. Crestron Support and Training Crestron True Blue Support Crestron Resource Library Crestron Online Help (OLH) Crestron Training Institute (CTI) Portal... - Page 19 This page is intentionally left blank. Product Manual — Doc. 9267A GLA-LDL-PC-0-10-WL • 19...
- Page 20 Product Manual — Doc. 9267A Crestron Electronics, Inc. 15 Volvo Drive, Rockleigh, NJ 07647 09/16/22 Tel: 888.CRESTRON Specifications subject to Fax: 201.767.7656 change without notice. www.crestron.com...
Need help?
Do you have a question about the GLA-LDL-PC-0-10-WL and is the answer not in the manual?
Questions and answers