Sign In
Upload
Download
Table of Contents
Contents
Add to my manuals
Delete from my manuals
Share
URL of this page:
HTML Link:
Bookmark this page
Add
Manual will be automatically added to "My Manuals"
Print this page
×
Bookmark added
×
Added to my manuals
Manuals
Brands
Polaroid Manuals
LCD TV
FLM-153B
Manual
Polaroid FLM-153B Manual
15" lcd television
Hide thumbs
Also See for FLM-153B
:
User manual
(28 pages)
1
Table Of Contents
2
3
4
5
6
7
8
9
10
11
12
13
14
15
16
17
18
19
20
21
22
23
24
25
26
27
28
page
of
28
Go
/
28
Contents
Table of Contents
Troubleshooting
Bookmarks
Table of Contents
Table of Contents
Important Safety Instructions
Product Features
Front Panel
Rear Panel
Remote Control
System Connections
Connecting to External AV Signal Source
Connecting to External AV Signal Source (Component)
Connecting to
Connecting to Power Cable
Connecting to TV Signal
TV Functions
Preparations
Image Setting
Connecting to Headphones
Audio Setting
Sleep Setting
Parental Setting
Setup Setting
Other Functions
External AV Input Function
Computer Screen Function
Troubleshooting
Specifications
Advertisement
Quick Links
1
Specifications
Download this manual
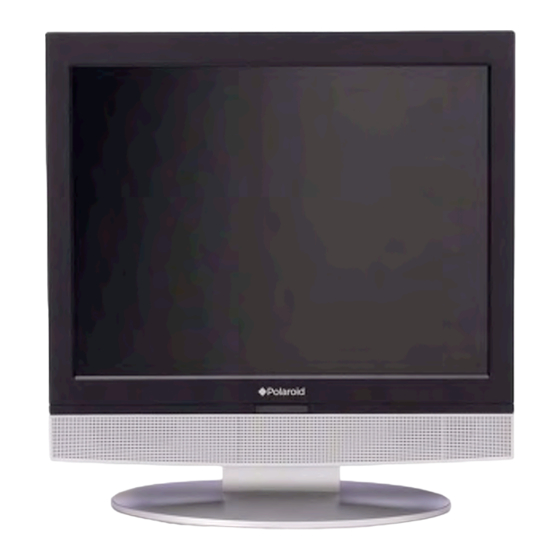
15" LCD Television
FLM-1514, FLM-1514B, FLM-153B, FLM-1517
Your LCD TV may look slightly different from the one pictured above.
20061004
Table of
Contents
Previous
Page
Next
Page
1
2
3
4
5
Advertisement
Table of Contents
Need help?
Do you have a question about the FLM-153B and is the answer not in the manual?
Ask a question
Questions and answers
Related Manuals for Polaroid FLM-153B
LCD TV Polaroid FLM-1514 User Manual
15” lcd television (28 pages)
LCD TV Polaroid FLM-1514B - 15" LCD TV Manual
15" lcd television (28 pages)
LCD TV Polaroid FLM-1911 Owner's Manual
19” hd-ready lcd tv with ntsc tuner (31 pages)
LCD TV Polaroid FLM-1507 User Manual
Polaroid flm-1507: release note (75 pages)
LCD TV Polaroid FLM-1507 Manual
15 ” lcd television (22 pages)
LCD TV Polaroid FLM-1512 User Manual
15 ” lcd television (22 pages)
LCD TV Polaroid FLM-1511 Operating Manual
15” lcd television (39 pages)
LCD TV Polaroid FLM-1511 Operating Manual
15" lcd television (38 pages)
LCD TV POLAROID FLM-1000WL User Manual
10” wireless lcd television (25 pages)
LCD TV Polaroid FLM-2632 Owner's Manual
26” lcd television with ntsc/atsc tuner (59 pages)
LCD TV Polaroid FLM-3201 Operating Manual
32" lcd television (60 pages)
LCD TV Polaroid FLM-0711LA Owner's Manual
7” portable lcd tv with ntsc tuner (24 pages)
LCD TV Polaroid FLA-3232B Owner's Manual
32”/81cm, 37”/94cm high defi nition lcd tv (44 pages)
LCD TV Polaroid FLM-3225 User Manual
32” lcd television (42 pages)
LCD TV Polaroid FLM-3230TM User Manual
32”/37” hd widescreen lcd tv (68 pages)
LCD TV Polaroid FLM-2011 Operating Manual
20” lcd television (37 pages)
This manual is also suitable for:
Flm-1514b
Flm-1514
Flm-1517
Flm1514om
Table of Contents
Print
Rename the bookmark
Delete bookmark?
Delete from my manuals?
Login
Sign In
OR
Sign in with Facebook
Sign in with Google
Upload manual
Upload from disk
Upload from URL


Need help?
Do you have a question about the FLM-153B and is the answer not in the manual?
Questions and answers