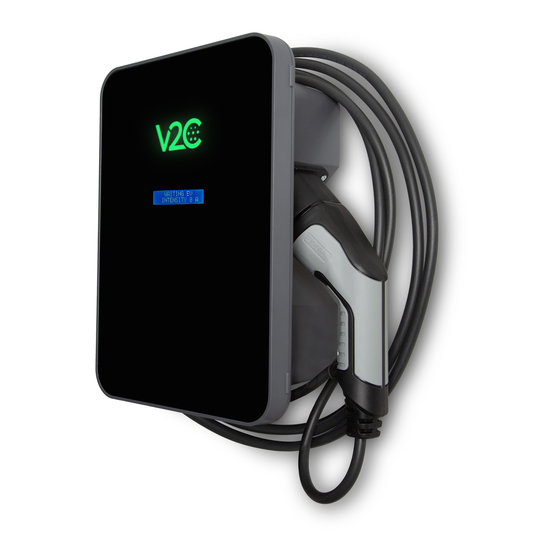
V2C Trydan Quick Start Manual
Leak detector installation diagrams
Hide thumbs
Also See for Trydan:
- Installation manual (12 pages) ,
- User manual (15 pages) ,
- Installation manual (8 pages)
Advertisement
LEAK DETECTOR INSTALLATION DIAGRAMS
Leak detector installation in single-phase or three-phase Trydan e-Chargers
To carry out the installation, the connector of the leak detector must be placed in the J1 port located on the power board.
Subsequently, the cables coming out of the power board must be routed to the charging hose inside the coil, depending
on the type of installation (single-phase or three-phase). See next page:
Power
plate
PE N R T
S
1
2
4
3
P2
1
PE N R T
S
J1
P3 P4
Coil
Leak
detector
connector
P3 P4
Advertisement
Table of Contents

Summary of Contents for V2C Trydan
- Page 1 LEAK DETECTOR INSTALLATION DIAGRAMS Leak detector installation in single-phase or three-phase Trydan e-Chargers To carry out the installation, the connector of the leak detector must be placed in the J1 port located on the power board. Subsequently, the cables coming out of the power board must be routed to the charging hose inside the coil, depending on the type of installation (single-phase or three-phase).
- Page 2 PE N R T PE N R T Leak Leak detector detector P3 P4 P3 P4 connector connector PE N R T PE N R T Single-phase Three-phase installation installation Coil Coil Trydan Trydan Housing Housing Charging Charging hose hose...


Need help?
Do you have a question about the Trydan and is the answer not in the manual?
Questions and answers