Advertisement
Quick Links
Premium
Shelving Kit
Assembly instructions
Parts
A
x2 — Aluminum Slotted Upright
B
x4 — Cosmetic Cover
C
x4 — Upright End Caps
D
x4 — Arms* (x6 PS1003)
E
x4 — Arm End Caps* (x6 PS1003)
F
x8 — Wall Screws
G
x8 — Shelf Screw* (x12 PS1003)
H
x8 — Drywall Anchors
I
x1 — Connector Alignment Piece
J
x2 — Shelf* (Not included with all sets)
Tools Required
Hand Drill
1/8" (3mm) drill bit for attaching to wood studs
5/16" (8mm) drill bit for attaching to
concrete walls
Magnetic Phillips Drill Bit
Spirit Level
Tape Measure
Way of locating studs within the wall (see hardware store for advice)
Place uprights against located stud on wall and
1
mark location for holes. Use a spirit level to make
sure it is vertically aligned. Ensure second upright
is horizontally aligned and level with the rst upright,
when marking locations for holes. Drill 1/8" (3mm)
pilot holes. Then secure the uprights to wall using
screws provided.
NOTE: If mounting to a drywall, use the included
drywall anchors (Part H). Drywall anchors require
5/16" (8mm) pilot holes. Once holes are drilled
gently tap drywall anchors into place, then secure
uprights using screws provided.
*Installing into wood studs is the recommended
method.
IMPORTANT SAFETY NOTE
Beware of drilling into electrical wire
or pipes within wall!
WARNING
Do not allow children to play or hang from Shelving Kit.
Maximum weight 18 kg (40 lbs) per shelf arm, evenly distributed on properly installed rack into studs.
Installing into a drywall will reduce the weight capacity
A
WALLBOARD
Assembly video
Visit designbydelta.com/downloads
B
STUD
16"
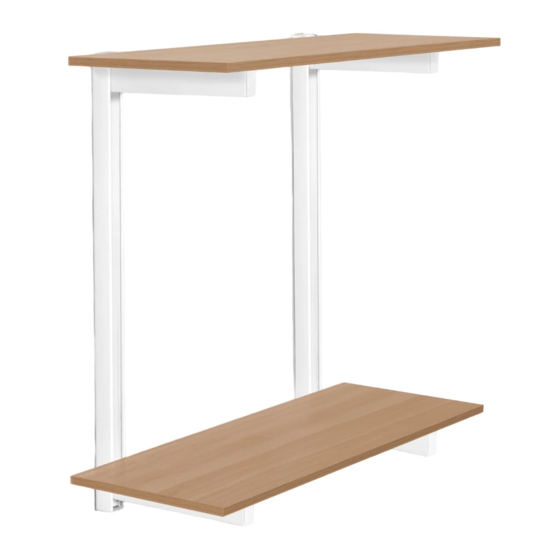
Assembled Shelving Kit
with Shelves*
(Not included with all sets)
C
D
E
F
G
H
I
J
STUD
CENTERLINE
Advertisement

Related Manuals for Delta Premium PS1003


Summary of Contents for Delta Premium PS1003
- Page 1 Assembly video Visit designbydelta.com/downloads Premium Shelving Kit Assembled Shelving Kit with Shelves* (Not included with all sets) Assembly instructions Parts x2 — Aluminum Slotted Upright x4 — Cosmetic Cover x4 — Upright End Caps x4 — Arms* (x6 PS1003) x4 — Arm End Caps* (x6 PS1003) x8 —...
- Page 2 Then slide the upper upright onto the top half of Assemble arm end caps (Part E) the connector alignment piece. to arms. (FIGURE 2) 092322 Delta Cycle Corporation Service: Please do not return to store; 36 York Avenue, Randolph, MA 02368 USA for immediate response email service@designbydelta.com...