Triumph Scrambler 1200 XC Owner's Handbook Manual
Hide thumbs
Also See for Scrambler 1200 XC:
- Owner's handbook manual (178 pages) ,
- Service manual (641 pages)
Table of Contents
Advertisement
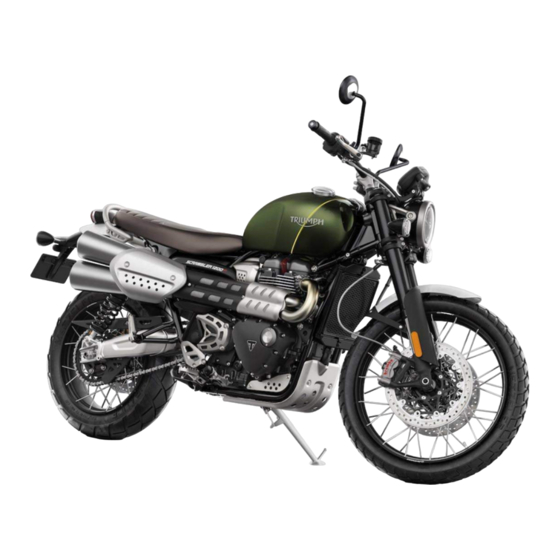
Owner's Handbook
Scrambler 1200 XC, Scrambler 1200 XE and
Scrambler 1200 Steve McQueen Edition
This
handbook
contains
information
on
the
Triumph
Scrambler 1200 XC,
Scrambler 1200 XE and Scrambler 1200 Steve McQueen Edition motorcycles. Always
store this Owner's Handbook with the motorcycle and refer to it for information
whenever necessary.
The information contained in this publication is based on the latest information
available at the time of printing. Triumph reserves the right to make changes at any
time without prior notice, or obligation.
Not to be reproduced wholly or in part without the written permission of Triumph
Motorcycles Limited.
© Copyright 08.2020 Triumph Motorcycles Limited, Hinckley, Leicestershire, England.
Publication part number 3850084-US-EN issue 1
1
Advertisement
Chapters
Table of Contents


Need help?
Do you have a question about the Scrambler 1200 XC and is the answer not in the manual?
Questions and answers