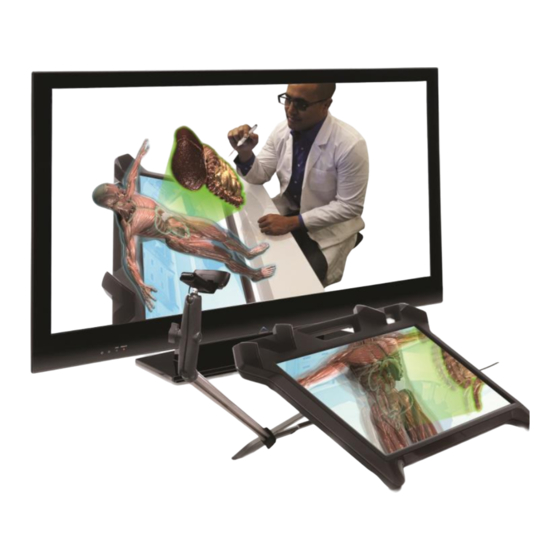
zSpace zView Assembly Instructions
For zspace 200
Hide thumbs
Also See for zView:
- User manual (18 pages) ,
- Assembly instructions (2 pages) ,
- Assembly instructions (2 pages)
Advertisement
Quick Links
zView Assembly Instructions
for zSpace 200
1
3
5
7
For left side mount, have hose biased low. Once webcam is
installed, hose will be brought down to fine tune viewing
location. In doing so, hose will further tighten on to knurled nut.
Align bracket over the
4 threaded holes.
Insert and tighten the
4 M4 screws.
When aligning, make sure
threads are on lower half.
Pull U stand out
before threading in
the flexible tubing.
Pull out to one of the
3 locking positions.
Preferably the 30
degree viewing angle
Thread knurled nut
until hand tight
1x
1x
1x
4x
2
4
Insert flexible tubing and lock washer
between the back panel and U stand.
Thread tubing into the bracket.
6
Bend flexible housing to position that will allow web
cam to have clear view of user's hand and the screen.
8
For right side mount, have hose biased low. Once webcam is
installed, hose will be brought up to fine tune viewing
location. In doing so, hose will further tighten on to knurled nut.
770-00018-01
1x
1x
1x
Thread knurled nut onto
the threaded end until
flush with the bottom.
GUIDE, QUICK START, ZVIEW II
REV D
Advertisement

Subscribe to Our Youtube Channel
Summary of Contents for zSpace zView
- Page 1 In doing so, hose will further tighten on to knurled nut. location. In doing so, hose will further tighten on to knurled nut. 770-00018-01 GUIDE, QUICK START, ZVIEW II REV D...
- Page 2 Straighten the flexible tubing and retighten the hose’s threads onto the bracket before rebending/positioning. Connect the webcam’s USB cable into the display monitor’s port. For access to necessary zView Software, please go to Rotate knurled nut until tight zspace.com/login and register for a zSpace account. Upon...


Need help?
Do you have a question about the zView and is the answer not in the manual?
Questions and answers