Table of Contents
Advertisement
Quick Links
Item #1006596132,1006596140,1006596143, 1006596129, 1006596135,1006596131,1006792113,1006794819,1006792114,1006794760,1006792117,1006792125,
1006788459,1006792123,1006794807,1006794813,1006792122,1006792118,1006794794,1006792115,1006792121,1006792112,1006794767,1006794801,
1006867866,1006867927,10068678941007141119,1007141229,1007141233,1007140554,1007139400,1007141170,1007141292,1007139385,1007141238, 1007141242,
1007141256,1007141223,1007141244,1007141202,1007141262,1007141181,1007141174,1007141307,1007141249,1007141166,
1007141272,1007141208,1007141126,1007141159,1007141213,1007139411,1007141218
Model #W1230, W1530, W1830, W2430, W3030, W3630, W1236,W1242, W1536, W1542,W1836,W1842,W2130,W2136, W2436 W2442, W2730, W2736, W3036, W3042, W3636, W3642,
W930, W936, W3024, W302415,W3624,W1230-G, W1530-G, W1830-G, W2430-G, W3030-G, W3630-G, W1236-G,W1242-G, W1536-G, W1542-G,W1836-G,W1842-G,W2130-G,W2136-G,
W2436-G, W2442-G, W2730-G, W2736-G, W3036-G, W3042-G, W3636-G, W3642-G, W930-G, W936-G, W3024-G, W302415-G,W3624-G
USE AND CARE GUIDE
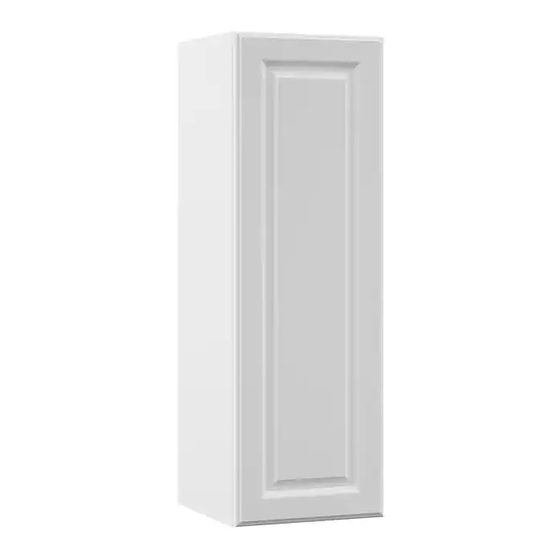
WALL CABINET
Questions, problems, missing parts? Before returning to the store,
call Hampton Bay Customer Service
8 a.m. - 7 p.m., EST, Monday – Friday, 9 a.m. – 6 p.m., EST, Saturday
1-855-HD-HAMPTON
HAMPTONBAY.COM
THANK YOU
We appreciate the trust and confidence you have placed in Hampton Bay through the purchase of this wall cabinet. We strive to continually
create quality products designed to enhance your home. Visit us online to see our full line of products available for your home improvement
needs. Thank you for choosing Hampton Bay!
Advertisement
Table of Contents

Subscribe to Our Youtube Channel
Related Manuals for HAMPTON BAY W1236


Summary of Contents for HAMPTON BAY W1236
- Page 1 THANK YOU We appreciate the trust and confidence you have placed in Hampton Bay through the purchase of this wall cabinet. We strive to continually create quality products designed to enhance your home. Visit us online to see our full line of products available for your home improvement...
-
Page 2: Table Of Contents
Table of Contents Safety Information ........2 Assembly. -
Page 3: Pre-Assembly
Pre-Assembly BEFORE YOU BEGIN Compare all parts with the Hardware Included and Package Contents sections. If any part is missing or damaged, do not assemble this product. Contact Customer Service. Assemble the cabinet on a soft surface such as carpet or the cardboard container of this product. TOOLS REQUIRED Phillips Rubber mallet... -
Page 4: Package Contents
Pre-Assembly (continued) PACKAGE CONTENTS Part Description Quantity Back Panel Side Panels Face Frame Top and Bottom Panels Shelves * 24 in. Tall cabinets have 1 shelf and 42 in. tall cabinets have 3 shelves. -
Page 5: Assembly
Assembly Attaching the posts to the panels □ Align four posts (AA) with pre-drilled holes on each of the panels and frame (A – C) and secure with four screws (BB) on each panel and frame (A – C). Attaching the side panels into the face frame □... - Page 6 Assembly (continued) Attaching the top and bottom panels □ Slide top and bottom panels (D) into the grooves of the assembly. □ Snap four corner locks (CC) over the posts to secure the assembly, as shown. The remaining four corner locks (CC) are installed in the next step.
- Page 7 Assembly (continued) Securing the corner locks □ Insert a screw (BB) through the hole in each of the eight corner locks (CC), and screw into the top/bottom panels. Securing the back and side panels in place □ Insert screws (BB) into countersunk holes in the back (A) and side panels (B). NOTE: Wall cabinets 27 in.
- Page 8 Assembly (continued) Attaching silicone pads □ Peel and stick two silicone pads (EE) onto the inside corners of each door. (OPTIONAL) Reversing the door position □ You can remove and reposition the door to the other side of the face frame at any time using the pre-drilled holes. For pre-drilled holes that are not used, you can cover them up using a wax pencil or touch-up paint pen.
-
Page 9: Care And Cleaning
Assembly (continued) (OPTIONAL) Adjusting the door □ Door hinges are 6-way adjustable. □ Up or down adjustment – Loosen screw 1, align the door, and tighten screw 1. NOTE: It is critical that you do NOT overtighten screw 1. □ Left or right adjustment – Turn screw 2 clockwise or counterclockwise. - Page 10 Questions, problems, missing parts? Before returning to the store, call Hampton Bay Customer Service 8 a.m. – 7 p.m., EST, Monday – Friday, 9 a.m. – 6 p.m., EST, Saturday 1-855-HD-HAMPTON HAMPTONBAY.COM Retain this manual for future use.
Need help?
Do you have a question about the W1236 and is the answer not in the manual?
Questions and answers