Nexxt Solutions Professional Series Quick Start Manual
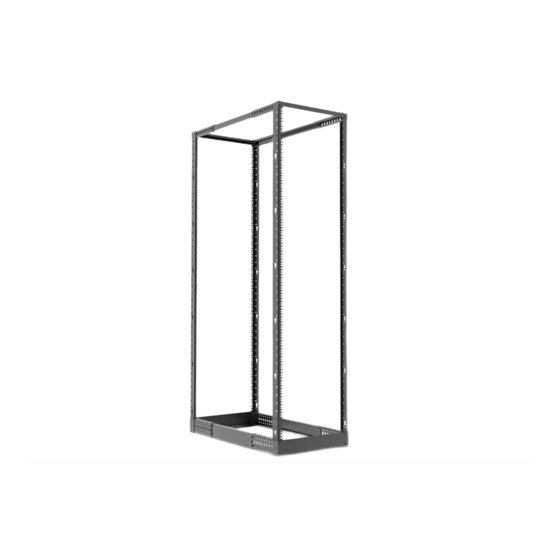
4-post, 19-inch open rack steel frame with square holes
Hide thumbs
Also See for Professional Series:
- Quick start manual (8 pages) ,
- User manual (13 pages) ,
- Quick start manual (7 pages)
Subscribe to Our Youtube Channel
Summary of Contents for Nexxt Solutions Professional Series
- Page 1 RACK UNITS 4-post, 19-inch open rack Steel frame with square holes NPO-4P42UBA ProfessionalSeries...
-
Page 2: Important Safety Information
SHOCK (CBN) of your facility. HAZARD. Nexxt solutions does not warrant against damage caused by the use of any Nexxt Solutions enclosures for any purposes other than those for which it was designed or 1. Phillips screwdriver damage caused by unauthorized attachments or modifications, and is not responsible 2. - Page 3 3. Product overview and components Upon opening the box, make sure to inspect and account that all the items Bottom center beam listed below are included: for the left and right sides Left top corner mounting rail Part ID Item Quantity Image Rack assembly components...
- Page 4 4. Assembly procedure (recommended) 3. Refer to the chart below for depth selection details. Upon opening the box, inspect the contents to ensure that all the items listed below are included: Mounting Numbers Mounting Numbers depth depth Bottom center beam T o p 22in* 0 and 0...
- Page 5 Top left rail subassembly Attaching the vertical rails to the bottom left (front and rear) Bottom left and right assembly rail subassemblies (2) 1. Align the center beam with the corner top rails at each end. 1. Place the bottom left rail subassembly on the mat. 2.
- Page 6 Bottom base subassembly Top left (front and rear) frame assembly 1. Place the top left rail subassembly on the mat. 2. Match the mounting holes on the left rail subassembly with the ones on the vertical rail. Then line up the front top bracket in such a way that the mounting holes of all 3 components are perfectly aligned into position.
- Page 7 6. Firmly tighten all the bolts to properly secure, align and square off Equipment installation the unit. The rack is now assembled and ready for equipment installation. If required, it can be secured to the floor with user-supplied anchoring bolts. M6 cage nuts (40) 1.
- Page 8 Notes Notes...


Need help?
Do you have a question about the Professional Series and is the answer not in the manual?
Questions and answers