Advertisement
Quick Links
Advertisement

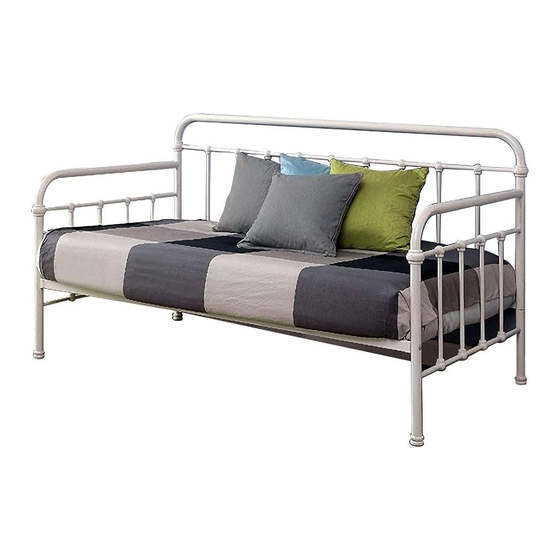
Summary of Contents for Furniture of America Claremont CM1925BR
- Page 1 Rev: 15-03-06...
-
Page 3: Back Panel
Back Panel... - Page 4 Insert headboard legs (#2) into the back panel (#1). I. Align the left and right side panels (#3) to the back panel (#1). II. Insert bolts (#B) and secure using the Allen wrench (#F).
- Page 5 I. Align the cross bar (#4) to the left and right side panels (#3) II. Insert washer (#E) onto the bolt (#A) and secure using the Allen wrench (#G). I. Insert the base frames (#3) onto the side bars. II. Insert flat washer (#D) onto the bolt (#C) and secure using the Allen wrench (#F).
- Page 6 Rev: 15-03-06...
- Page 9 I. Align the 3 casters (#4) to the pre-drilled holes on the trundle frame (#1). II. Insert bolt (#C) to the outer corners followed by the flat washer (#F) then the hex nut (#E) on the other side, in that order. Secure by firmly holding the hex nut (#E) with the wrench (#H) and using the Allen wrench on the bolt.
- Page 10 I. Insert trundle handles (#2) into the pre-drilled holes on the trundle frame (#1). II. Insert bolt (#A) and secure using the Allen wrench (#G). I. Insert trundle side handles (#5) into the pre-drilled holes on the trundle frame (#1). II.


Need help?
Do you have a question about the Claremont CM1925BR and is the answer not in the manual?
Questions and answers