
Subscribe to Our Youtube Channel
Related Manuals for Broyhill A412002000


Summary of Contents for Broyhill A412002000
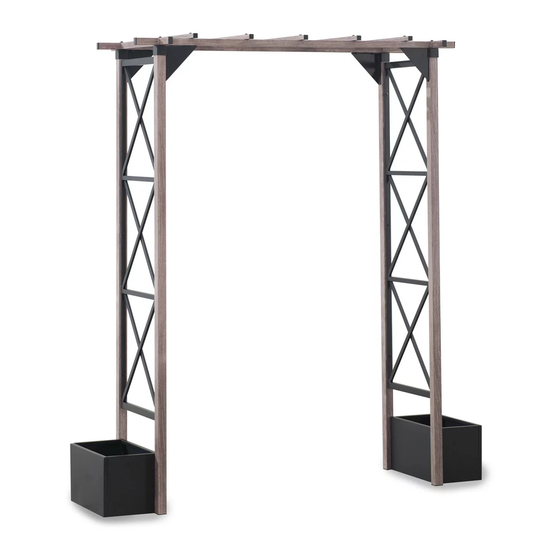
- Page 1 ASSEMBLY INSTRUCTIONS ITEM#: A412002000 SKU# 810499956 BROYHILL ARBOR Need help? We are here for you! 1(866)578.6569 24/7 • Toll Free...
-
Page 2: Warranty
GENERAL BEST PRACTICES FOR ASSEMBLY: • Please read and understand this entire manual before attempting to assemble or install the product. • Before beginning assembly of product, make sure all parts are present. Compare parts with package contents list and hardware contents list. -
Page 3: Exploded Drawing
EXPLODED DRAWING 3/15... -
Page 4: Parts List
PARTS LIST Label Description Part Image Part Number P000601300 Top Beam P000400818 Long Beam P000400819 Short Beam P005000535 Support Bar 1 P00500058801 Support Bar 2 P005600074 Decoration P006300001 Screen P000200530 Post 1 P000200571 Post 2 P003900108 Front Panel P004000221 Back Panel P003800506 Side Panel P004700009... -
Page 5: Hardware List
HARDWARE LIST Label Part Number Description Part Image H010010003 Bolt M6*15 H010010010 Bolt M6*25 H010010004 Bolt M6*35 H010010026 Bolt M6*50 Flat washer H050030001 Stake ¢ H070010005 6*230 H090010017 Wrench M6 5/15... -
Page 6: Helpful Hints
HELPFUL HINTS • Tools needed and not included • Separating parts before starting Provided in hardware pack Provided How many people are needed for the installation 6/15... - Page 7 STEP 1 Assembled View: Attached Screen (F) to Post 1(G) and Post 2(J) with Bolt(H2) and Flat washer(H5), tighten with Wrench(HW). 7/15...
- Page 8 STEP 2 此面向上 此面向下 Assembled View: Attached Side Panel(M) to Back Panel (L) with Bolt(H1) and Flat washer(H5), tighten with Wrench(HW). 8/15...
- Page 9 STEP 3 Assembled View: Attached Side Panel(M) to Front Panel (K) with Bolt(H1) and Flat washer(H5), tighten with Wrench(HW). 9/15...
- Page 10 STEP 4 此面向下 Assembled View: Attached the assembled Screen (F/G/J) to the assembled Planter (M/L/K) with Bolt(H2) and Flat washer(H5), tighten with Wrench(HW). 10/15...
- Page 11 STEP 5 Assembled View: Place the Decoration(E), Long Beam(B) and Short Beam(C) to the top post (G/J) as shown, assembled with Bolt(H4) and Flat washer(H5), tighten with Wrench(HW). 11/15...
- Page 12 STEP 6 Assembled View: 用螺栓(H1)和平垫(H5),将支撑片 1(D),支撑片2(D1)和长横梁(B),立 柱1/2(G/J)连接锁住,使用外六角扳 手(HW)工具. 12/15...
- Page 13 STEP 7 Assembled View: Attached Top Beam(A) to Long Beam(B) with Bolt(H3) and Flat washer(H5), tighten with Wrench(HW) 13/15...
- Page 14 STEP 8 Assembled View: Fixed the assembled arbor to the ground with Stake(HS). 14/15...
- Page 15 STEP 9 Assembled View: Put the Bottom Frame(N) into the planter. 15/15...
Need help?
Do you have a question about the A412002000 and is the answer not in the manual?
Questions and answers