Table of Contents
Advertisement
Quick Links
QUICK
START
The RAC Plus I - Quick Start for Installation & Use
This Quick Start provides basic instructions for getting your RAC Plus installed and operating. For more detailed instruc-
tions, the complete User's Manual can be downloaded at www.jamartech.com/manuals.
WARNING – Use of the RAC Plus I while driving could cause an accident, resulting in serious injury or death. As with any in-
vehicle instrumentation, the information provided by the RAC Plus I should be observed as part of the normal operation of the
vehicle. Changes to the RAC Plus I should only be done in a safe manner.
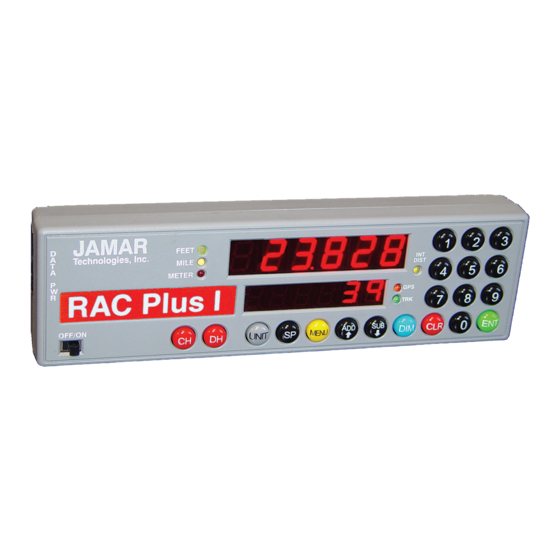
What is the RAC Plus I?
The JAMAR Technologies Road Analysis Computer
(RAC) Plus I is an accurate, easy-to-use distance measur-
ing instrument (DMI) that uses state-of-the-art micropro-
cessor technology. It has been designed with features to
provide you with a versatile and functional instrument
that can be learned in a very short time.
How does it work?
The RAC Plus I is installed in your car along with a distance sensor. Distance sensors do the behind-the-scenes work of the RAC
Plus distance measuring instruments. Connected between your vehicle and the RAC Plus head unit, these sensors read and modify
the data coming from your vehicle and send a signal to the RAC telling it when to count distance.
There are currently three types of distance sensors that are used with the RAC Plus I – the AutoLink OBD sensor, the modular sensor
and the magnetic sensor. The simple breakdown of the three is that the AutoLink sensor is the newest and easiest to install (plug and
play, no tools required), but that ease of install trades a degree of accuracy. The magnetic sensor is the most precise, but much more
intensive to install than the AutoLink, while the modular sensor has accuracy similar to that of the magnetic sensor and is somewhat
easier to install, but is not compatible with all vehicles.
Installing Distance Sensors
The three different types of distance sensors each have their own separate installation procedures. Follow the instructions that came
with the sensor you received to install your particular sensor.
Modular Sensor
JAMAR
Technologies, Inc.
Magnetic Sensor
OBD Sensor
Making Data Collection Easier
• Do not install wires near any object
that could cause stray pulses to be picked
up, such as the alternator, spark plugs or
engine coil.
• Do not install the wires or sensor near
any objects that will get hot, such as
the manifold. The installation wires or
sensor can melt if they are too close to
a heat source.
• Do not install wires near any objects
that could vibrate and cut the wires.
Advertisement
Table of Contents

Related Manuals for JAMAR Technologies RAC Plus I


Summary of Contents for JAMAR Technologies RAC Plus I
- Page 1 User’s Manual can be downloaded at www.jamartech.com/manuals. WARNING – Use of the RAC Plus I while driving could cause an accident, resulting in serious injury or death. As with any in- vehicle instrumentation, the information provided by the RAC Plus I should be observed as part of the normal operation of the vehicle.
- Page 2 RAC to be mounted on a left or right slope. Note: While the RAC Plus I is designed to withstand very high temperatures, we recommend disconnecting the RAC and storing it in the glove box or below the dash if the vehicle will be left for long periods of time in direct sunlight and high temperatures.
- Page 3 Step 1 Slide the ON/OFF switch to ON. Your RAC will perform a brief Self Test. The current calibra- tion number will be shown in the larger, upper display (D-1) and CF U(vehicle 1, 2, 3 or 4) in the smaller, lower display (D-2).
- Page 4 Menu Functions The Menu key allows you to select a variety of functions. After pressing the Menu button, the Add and Sub keys can be used to scroll through the options, which are displayed in D-2. To select an option, press the ENT (Enter) key. Below listed with the Menu key is a brief description of each menu item.
Need help?
Do you have a question about the RAC Plus I and is the answer not in the manual?
Questions and answers