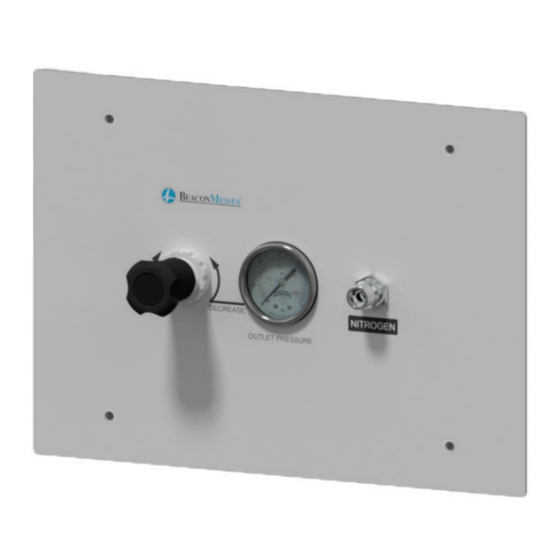
Summary of Contents for BeaconMedaes 4107 9027 47.00
- Page 1 Installation, Operation and Maintenance Instructions Ohmeda Retrofit Gas Control Panel Part number 4107 9027 47.00 March 16, 2020...
- Page 3 1059 Paragon Way, Rock Hill, SC 29730 Phone: (803) 817-5600 Fax: (803) 817-5750 www.beaconmedaes.com BeaconMedæs reserves the right to make changes and improvements to update products sold previously without notice or obligation. Part number 4107 9027 47.00 05 March 2020...
-
Page 5: Table Of Contents
Table of Contents 1. Introduction ............... 1 1.1 Audience ........................1 1.2 Abbreviations ......................1 1.3 Definition of Statements ....................1 1.4 Environmental Declarations ..................1 1.5 About Gas Control Panels ..................1 2. Removal of Old Panel ............2 2.1 Remove Ohmeda Front Panel ...................2 3. -
Page 7: Introduction
BeaconMedaes Wall Mount Panels BeaconMedæs tries to understand, address, and minimize the negative environmental effects The BeaconMedaes gas control panel is designed that the products and services may have, when to update old style Ohmeda control panels sold being manufactured, distributed, and used, as prior to 1996 (0221-5126-800). -
Page 8: Removal Of Old Panel
Push hose Bracket adapter through collet into connector until it Tubing bottoms out. Pull back on the hose assembly Connections to verify proper attachment. On-Off Valve Handle Gauge Lens Covers Figure 1 Figure 4 4107 9027 47.00... -
Page 9: Testing
Position front panel over rough-in box and tool manufacturer’s recommendations. screw into place using (4) #6-32 x 1-1/2” NOTE: screws provided with retrofi t kit. It is best to adjust pressure while gas is flowing through tool. Figure 6 4107 9027 47.00... -
Page 10: Maintenance
Wipe remaining leak detection solution from all connections after testing. 4. Place control panel in mounting box and secure in place with four mounting screws. 5. Perform test according to section 4.1. NOTE: Correct leaks using appropriate procedures. 4107 9027 47.00... - Page 11 Wall Mount Gas Control Panels Notes: 4107 9027 47.00...
- Page 12 1059 Paragon Way Rock Hill, SC 29730 (888) 4-MEDGAS (888) 463-3427 Fax (803) 817-5750 www.beaconmedaes.com...

Need help?
Do you have a question about the 4107 9027 47.00 and is the answer not in the manual?
Questions and answers