
Related Manuals for Medisoft 800 Series


Summary of Contents for Medisoft 800 Series
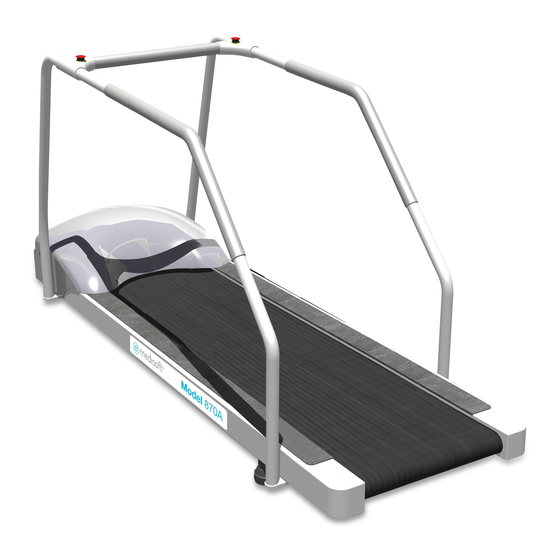
- Page 1 800 Series Treadmills Annual routine maintenance Mod. 870 A – 870 S – 870 C REV. 1/01.07.2019 © Medisoft RAM Italia S.r.l. - All rights reserved...
- Page 2 Medisoft RAM Italia S.r.l. The Medisoft RAM Italia S.r.l. company is committed to a policy of constant improvement in compliance to Norm ISO EN 9001:2001 requirements, and as a function of feedback from customers and the market in compliance to norm ISO EN 13485:2004.
-
Page 3: Table Of Contents
TABLE OF CONTENTS Annual routine maintenance for the series 800 Treadmills Introduction ........................4 Flowchart ..........................5 Frequency of use Check ........Errore. Il segnalibro non è definito.7 Removal of Hood ....................... 7 Cleaning of Motor Compartment ..................8 Incline of Treadmill ......................8 Cleaning of Cooling Fan .................... -
Page 4: Introduction
Introduction The main objective of the maintenance tasks herein described, is to keep the 800 series treadmill in perfect working order, and to guarantee a top performance of the exercise device. These tasks are particularly important when it comes to checks and inspections of the condition of the equipment and the potential need to replace the moving components that are most subject to wear and tear. -
Page 5: Flowchart
16 replacing the running 18 Lubrication of the belt running belt 9 Last maintenance check 19 D.B. wear check not OK 20 Replacement of the drive belt 21 Restoring the gliding system Start B © Medisoft RAM Italia S.r.l. - All rights reserved... - Page 6 OK 23 Tautness check of D.B. non OK 24 Tautening of the drive belt 25 Tautness check of R.B. non OK 26 Tautening of the running belt 27 Closing Stop © Medisoft RAM Italia S.r.l. - All rights reserved...
-
Page 7: Frequency Of Use Check
Transportation could cause the disconnection of the flat cables and in this case it will be necessary to reconnect them, to close the protection boxes and to recheck the treadmill functions. © Medisoft RAM Italia S.r.l. - All rights reserved... -
Page 8: Cleaning Of Motor Compartment
Essential tools: • Vacuum cleaner with a crevice tool attachment Locate the cooling fan attached to the speed motor. Use the vacuum cleaner to free the vent protective grate from debris. © Medisoft RAM Italia S.r.l. - All rights reserved... -
Page 9: Lubrification Screw Actuator
Grease the screw and finally proceed with mounting and fixing the actuator at the cart. (Fig.8). During this operation pay attention at the correct position of the limit switch 25%. Fig.4 Fig.5 Fig.6 Fig.7 Fig.8 © Medisoft RAM Italia S.r.l. - All rights reserved... -
Page 10: Last Maintenance Check
At this point we remove the extension of the frame with 6mm Allen key and 17mm wrench, first removing the screws that secure the motor box and then removing the screws that secure it to the frame member (Fig. 11 - 12 ). © Medisoft RAM Italia S.r.l. - All rights reserved... -
Page 11: Replacing Of Running Belt
• Particularly damaged interior surface (Fig.15) Fig.15 The new running belt don’t need any lubrication. In fact all running belt starting from S.N. 11081 starting from 2011 are already be lubricated from the producer. © Medisoft RAM Italia S.r.l. - All rights reserved... -
Page 12: Disposal Of Running Belt
This operation can only be carried out on treadmill made from 2009 with a S.N. greater than or equal to 10143. If the bottom is older or has been treated with silicone lubricant it must be replaced. © Medisoft RAM Italia S.r.l. - All rights reserved... -
Page 13: Cleaning Of Rollers And Checking The Bearings
The cleaning of the rollers can be made by scraping the surface with a wooden wedge to remove any debris and dirt stuck to the surface of the roller themselves. Finish the cleaning by wiping the surface with a cloth (Fig.16). © Medisoft RAM Italia S.r.l. - All rights reserved... -
Page 14: Replacing Of Running Belt
Cleaning of Running Belt Essential tools: • Cleaning cloth • Brush The cleaning of the running belt must be performed using brush and a cleaning cloth (Fig.21). Fig.21 © Medisoft RAM Italia S.r.l. - All rights reserved... -
Page 15: Drive Belt Wear Check
Position the belt tensioner support on motor box and apply the screws without tightening them yet. Tighten the belt tensioner bolt to tension the belt temporarily. Apply on the surface of running belt two pieces of paper tape at a precise distance of 1000mm. © Medisoft RAM Italia S.r.l. - All rights reserved... -
Page 16: Gliding System Check And Lubrication
If these conditions regularly runs the carpet (no cracks), while the operator walks on the tape, the test is OK. Otherwise, if the running belt is blocked or not flowing properly, the test is not OK. © Medisoft RAM Italia S.r.l. - All rights reserved... -
Page 17: Tautness Check Of Drive Belt
2) disconnect the plug from the mains. 3) release the safety contact to the position open. Use a 10mm wrench to loosen the screws that secure the support of the belt tensioner roller containment tank engines. © Medisoft RAM Italia S.r.l. - All rights reserved... -
Page 18: Tautness Check Of Running Belt
Start the treadmill and adjust the running belt with the two bolts illustrated (Fig. 21) until the lower surface of the tape (the one under the wood base) is perfectly horizontal and parallel to the surface of the fund (Fig.22). © Medisoft RAM Italia S.r.l. - All rights reserved... -
Page 19: Closing
Before closing the hood, make sure that the connector on the RS232 is disconnected otherwise would not be possible to close the hood. Close the hood of the treadmill then tighten the 4 screws. Reconnect the connector on the RS232 port. © Medisoft RAM Italia S.r.l. - All rights reserved... -
Page 20: 27 - Maintenance Planning - Critical Parts
800072-RIC (870S) 800074-RIC (870C) 800080-RIC (870A) Group replacement rear roller 800082-RIC (870S) 800084-RIC (870C) 800162 (870A) Wood base treated 800164 (870S) 800166 (870C) 800140 (870A) Running belt 800142 (870S) 800144 (870C) © Medisoft RAM Italia S.r.l. - All rights reserved... - Page 21 MEDISOFT RAM ITALIA SRL VIA GERMANIA 14 35127 PADOVA – ITALIA TEL. + 39 049 870 33 55 FAX. +39 049 870 33 88 Email: info@medisoft-ram.it © Medisoft RAM Italia S.r.l. - All rights reserved...
Need help?
Do you have a question about the 800 Series and is the answer not in the manual?
Questions and answers