Advertisement
Quick Links
Advertisement

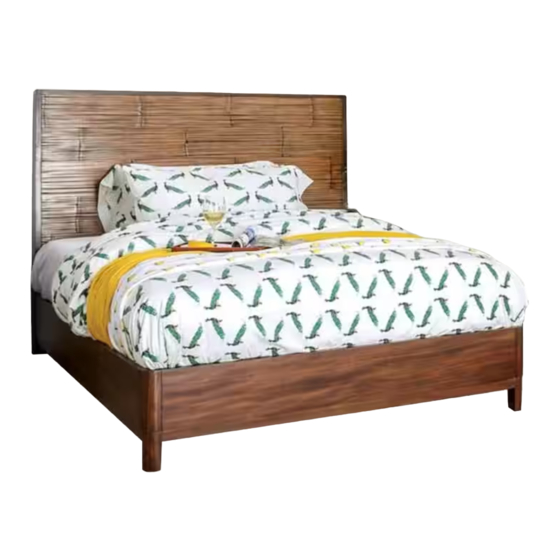
Related Manuals for Furniture of America Covilha CM7522Q


Summary of Contents for Furniture of America Covilha CM7522Q
- Page 1 For more information contact our team: service.ec@foagroup.com Rev: 18-11-26...
- Page 2 No dragging of products/parts.
- Page 4 Insert dowels (#K) to the holes of the HB legs (#2R/L). Align the leg support (#3) to the HB legs (#2R/L), then secure by using bolts (#A) with washers (#C,D).
- Page 5 Align HB legs (#2R/L) to the headboard (#1), then secure by using bolts (#B) with washers (#C,D). Attach threaded studs (#F) to the holes of the HB legs (#2R,L) and footboard (#4), then align the side rails (#5) to the headboard and footboard. Secure by using hex nuts (#G) with beveled washers (#H).
- Page 6 Attach support legs (#7) to the slats (#6). Align slats (#6) to the side rails, then secure by using screws (#J).
- Page 8 For more information contact our team: service.ec@foagroup.com Rev: 18-11-26...
- Page 9 No dragging of products/parts.
- Page 12 Insert dowels (#K) to the holes of the HB legs (#2R/L). Align the leg support (#3) to the HB legs (#2R/L), then secure by using bolts (#A) with washers (#C,D).
- Page 13 Align HB legs (#2R/L) to the headboard (#1), then secure by using bolts (#B) with washers (#C,D). Attach threaded studs (#F) to the holes of the HB legs (#2R,L) and footboard (#4), then align the side rails (#5) to the headboard and footboard. Secure by using hex nuts (#G) with beveled washers (#H).
- Page 14 Attach threaded studs (#F) to the holes of the HB legs (#2R,L) and footboard (#4), then align the side rails (#5) to the headboard and footboard. Secure by using hex nuts (#G) with beveled washers (#H). Attach support legs (#7) to the slats (#6).
- Page 15 Align slats (#6) to the side rails, then secure by using screws (#J). Align slats (#6) to the side rails, then secure by using screws (#J).
Need help?
Do you have a question about the Covilha CM7522Q and is the answer not in the manual?
Questions and answers