Advertisement
IMPORTANT INSTRUCTIONS
This product must be installed by a qualified electrician.
In order to avoid fire, shock or death, shut off power supply at the circuit breaker or fuse before wiring.
Before you begin:
- Verify that the heating appliance that is being connected is within the specified load range.
- Confirm voltage is within the device rating.
- For wiring, use copper conductors only.
- Mount on a certified electrical box only.
Keep this user's guide in a safe place for future reference.
TECHNICAL SPECIFICATIONS
| TEP302DW | TEP362DW | TEP402DW | |||
|
Max. load (at 120/240 V) |
1500 W / 3000 W | 1800 W / 3600 W | 2000 W / 4000 W | ||
| Max. Amps | 12.5 | 15 | 16.67 | ||
| Wiring | Double pole, 4 wire | Double pole, 4 wire | Single pole, 3 wire | ||
| Electrical Rating | 120/208/240 V 50-60Hz | ||||
| Heater Compatibility | Compatible with fan-forced or convection heaters and baseboards | ||||
| Temperature range |
Programmable 5°C - 30°C (41°F - 86°F) Readable -40°C - 70°C (-40°F - 158°F) LCD may degrade at 0°C (32°F) |
||||
| Software | Class A | ||||
| Certification | cULus | ||||
| Impulse Voltage | 2500 | ||||
| Pollution Degree | PD2 | ||||
TECHNICAL SUPPORT
Thank you for your purchase! Question or problem? Let us solve it with a single phone call, email or online chat! We'll save you a trip back to the store!
Cadet Customer Service
Phone: 855.223.3887 (from US)
800.668.6663 (from Canada)
email: customerservice@cadetheat.com
Live chat: cadetheat.com (contact us)
INSTALLATION
WIRING INSTRUCTIONS
TEP302DW, TEP362DW
- Connect the black 'L1' thermostat wire to the live supply wire.
- 240 V: Connect the red 'L2' thermostat wire to the other live supply wire. 120 V: Connect the red 'L2' thermostat wire to the neutral supply wire.
- Connect the black 'Load' wire to the live heater wire.
- 240 V: Connect the red 'Load' thermostat wire to the other heater wire.
120 V: Connect the red 'Load' thermostat wire to the neutral heater wire.

TEP402DW
- Connect the 'L1' thermostat wire to the live supply wire.
- 240 V: Connect the 'L2' thermostat wire to the other live supply wire
and the other live heater wire. - 120 V: C onnect the 'L2' thermostat wire to the neutral supply wire
and the neutral heater wire. - Connect the 'Load' thermostat wire to the live heater wire.

MOUNTING THE THERMOSTAT
The thermostat should be mounted after the wiring connections have been connected.
- Remove the small screw at the bottom of the thermostat using a Philips #1 screwdriver.
- Carefully insert a small flat head screwdriver in the slot between the faceplate and the gray bezel, and gently pry apart.
- Position the thermostat over the junction box, and secure it using the two supplied screws.
- Note: For models TEP302DW and TEP362DW, the protruding part from the back will be recessed into the junction box
- Remove the plastic battery insulating tab inside the thermostat.
- Reinstall the faceplate and insert the previously removed screw.
- Remove the protective film before use.

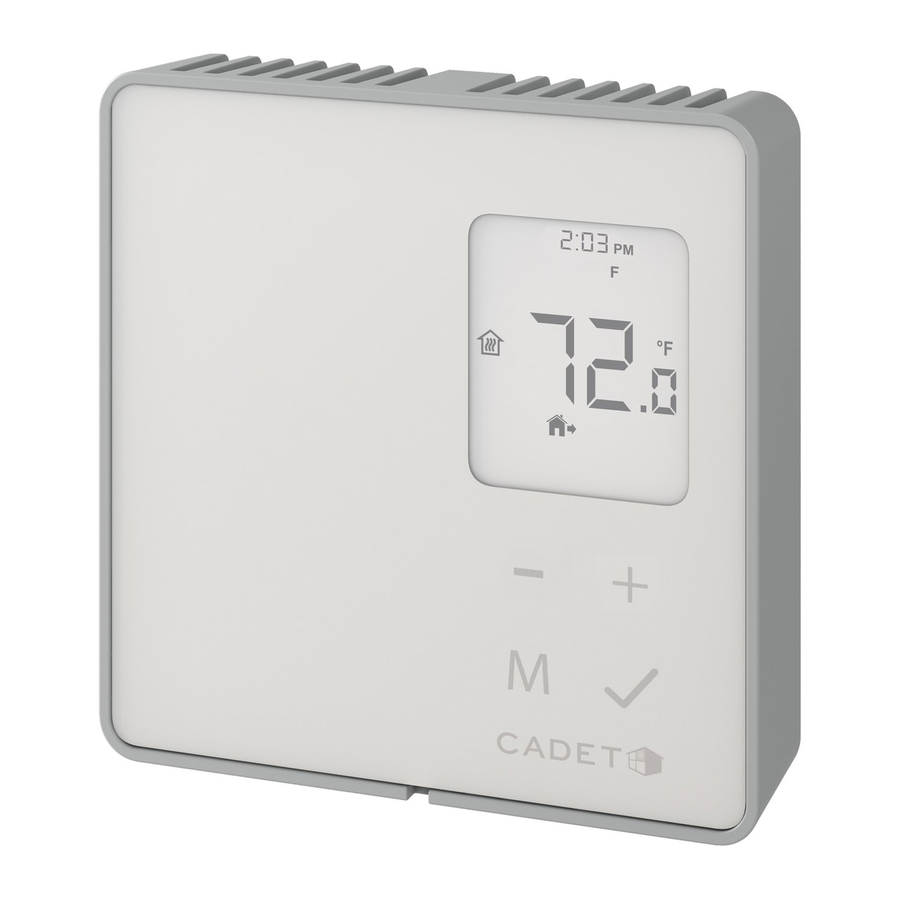
CONTROL
DISPLAY

Moderate pressure must be applied to the center of each button to operate.
SETUP
In case of loss of power, the thermostat will retain these settings. Follow the instructions below to change the settings.
Language
Select your language preference (English or French):
- Press + and - at the same time to enter the setup.
- Press M. The days of the week will flash in the current language setting. The letters M T W T F S S indicates the English setting. L M M J V S D indicates the French setting.
- Use + or - to change the current setting.
- The display will blink for 6 seconds before returning to the main screen.
Temperature Display
Select your preferred temperature display:
- Press + and - at the same time to enter the setup.
- Press M twice. °C or °F will flash.
- Press + or - if you wish to change the temperature display.
- The display will blink for 6 seconds before returning to the main screen.
Heat Mode
Select the mode that applies to your heater: If the incorrect setting is chosen, your heater may short cycle or hold an inconsistent temperature.
- Press + and - at the same time to enter the setup.
- Press M 3 times.
![]() or
or ![]() will flash.
will flash. - Press + or - to select the option suitable for your heater.
- Select
![]() for fan-forced heaters or
for fan-forced heaters or ![]() for convection heaters (including baseboard heaters).
for convection heaters (including baseboard heaters). - The display will blink for 6 seconds before returning to the main screen.
 or
or  will flash.
Time and Day
- Set the current time and format.
- Press + and - at the same time to enter the setup.
- Press M 6 times. 12hr or 24hr will flash.
- Use + or - to change the time format.
- Press
![]() to confirm. The hour digits will flash.
to confirm. The hour digits will flash. - Adjust the hour using + or -.
- Press
![]() to confirm. The minute digits will flash.
to confirm. The minute digits will flash. - Adjust the minutes using + or -.
- Press
![]() to confirm. The currently set day of the week will flash.
to confirm. The currently set day of the week will flash. - Use + or - to select the current day of the week.
- Press
![]() to confirm.
to confirm.
FUNCTIONS
Setting the Temperature
The display will show the ambient temperature, except during temperature adjustment, in which case it will show the set temperature. To adjust the set temperature:
- Press + or - to select the desired temperature.
- The display will blink for 6 seconds before returning to the main screen.
When the temperature is changed from the scheduled set point for the current event,  will appear at the top of the screen, where the time is normally displayed. This indicates that a temporary hold has been set. The next scheduled event will override this temperature change.
Lock Function
Use the lock function to prevent the settings from being changed inadvertently.
- Press + and - at the same time.
- Press M 5 times. The
![]() icon will blink.
icon will blink. - Press + or - to toggle it on and off.
The![]() icon blinks fast to indicate that it is enabled, and blinks slow to indicate that it is disabled.
icon blinks fast to indicate that it is enabled, and blinks slow to indicate that it is disabled. - The display will blink for 6 seconds before returning to the main screen.
The![]() icon will remain visible to indicate that the lock function is enabled. To disable, press and hold + and -.
icon will remain visible to indicate that the lock function is enabled. To disable, press and hold + and -.
Standby (OFF)
Use the standby function to turn the heat off indefinitely.
- Press + and - at the same time.
- Press M 4 times. The
![]() icon will blink.
icon will blink. - Press + or - to toggle it on and off.
The![]() icon blinks fast to indicate that it is enabled, and blinks slow to indicate that it is disabled.
icon blinks fast to indicate that it is enabled, and blinks slow to indicate that it is disabled. - The display will blink for 6 seconds before returning to the main screen.
When enabled, only the![]() icon will remain visible on the screen. To disable, press and hold + and -.
icon will remain visible on the screen. To disable, press and hold + and -.
Factory Reset
If thermostat settings need to be adjusted significantly, the thermostat can be reset.
• Press and hold the M for 10 seconds. The display will flash and be reset to the thermostat's original configuration.
Firmware Version
To display the firmware version:
- Press + and - at the same time.
- Press M 7 times. The firmware version will be displayed where the time is typically located.
- The display will return to the main screen after a 6-second delay.
PROGRAMMING
Program Setup
To set the program:
- Press M to enter the program setup.
You will need to program the first event; Wake Up [![]() ] for the 5 weekdays.
] for the 5 weekdays.
The two 'hour' digits will flash. - Adjust the hours using + or -.
- Press
![]() to confirm. The two 'minute' digits will flash.
to confirm. The two 'minute' digits will flash. - Adjust the minutes in 15-minute intervals using + or -.
- Press
![]() to confirm. The set point temperature will flash.
to confirm. The set point temperature will flash. - Adjust the event temperature set point using + or -.
- Press
![]() to confirm. The Wake Up event is now programmed.
to confirm. The Wake Up event is now programmed. - Repeat steps 3-8 to program the remaining events: Away, Return, and Sleep to complete the weekday setup. Once the weekday setup is completed, you will continue to the programming of events for the weekend. To exit program setup at any time, wait 10 seconds for the thermostat to return to the main screen.
QUICK MODES
Use quick modes to quickly and easily change the temperature using the following presets:
![]() Early Start
Early Start
When the 'Early start' function is active, the thermostat will start heating the room 30 minutes earlier than the set time for next programmed event.
![]() Vacation
Vacation
This mode will set the temperature at 10°C (50°F) to conserve energy while you are away for long periods of time.
![]() Comfort
Comfort
This mode is used to slightly increase the temperature across all programmed events to maintain a more comfortable temperature.
![]() Economy
Economy
This mode is used to slightly decrease the temperature across all programmed events to save energy.
To enable/disable a quick mode:
1. Press and hold M for 3 seconds. All of the quick mode icons will appear.
2. Use the + or - to scroll through icons until the desired one is blinking.
3. Press ![]() to turn the selected quick mode on or off.
to turn the selected quick mode on or off.
More than one quick mode can be active at the same time. See the chart below for compatibility.
| Early Start | Comfort | Economy | Vacation |
 |
|||
 |
|||

|
|||
|
|
||
|
|
||
|
|
|
|
|
|
||
 |
|||
|
|
||
|
|
|
|
|
|
WARRANTY

If the thermostat is deemed defective within 3 years of the original date of purchase, Cadet will repair or replace the product at its discretion. Warranty is void in case of damage incurred from improper use or installation. See http://cadetheat.com/product-warranty for details.
In keeping with our policy of continuous product improvement, we reserve the right to make changes without notice.
© 2020 Glen Dimplex Americas

Documents / ResourcesDownload manual
Here you can download full pdf version of manual, it may contain additional safety instructions, warranty information, FCC rules, etc.
Download CADET TEP Series Programmable Electronic Line Voltage Thermostat Manual
Advertisement


Need help?
Do you have a question about the TEP Series and is the answer not in the manual?
Questions and answers