Advertisement
Available languages
Available languages
Quick Links
Advertisement

Subscribe to Our Youtube Channel
Related Manuals for Steren SWI-510


Summary of Contents for Steren SWI-510
- Page 2 IMPORTANT Before using the new Light & Motion switch, please read next recommendations • Do not expose to extreme temperatures. • Clean only with a soft, dry cloth. FEATURES • The light and motion sensor switch can be installed in a standard electrical outlet box.
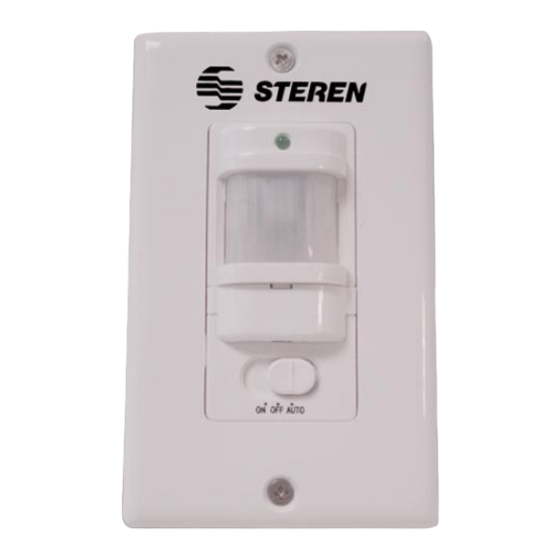
- Page 3 CONTROLS 1.- LED indicator Turns on when the sensor detects movement. 2.- Light & Motion Sensor 3.- Time delay Allows increase or decrease the time that will last lit the device (lamp,focus, alarm, etc.) on absence of movement or light. 4.- 3 position switch On.- Turn the device on (lamp, focus, alarm, etc.) manually...
-
Page 4: Installation
INSTALLATION 1.- Review and identify the wires from the box of electrical contact where the sensor will be installed. LINE NEUTRAL ENGLISH-04... - Page 5 2.- Make the connections between the sensor and the electrical installation, see the following diagrams connection for more information. BLACK SENSOR GREEN LOAD ENGLISH-05...
- Page 6 LINE BLACK GREEN NEUTRAL ENGLISH-06...
- Page 7 3.- To use the sensor automatically, set the time that the device will turns on (lamp, focus, alarma, etc.) in the absence of movement, move the selector to the right to increase or left to diminish the time. Antes de utilizar su nuevo Kit Convertidor Analógico/Digita Ant The minimum time is 8 seconds + / - 3 seconds The maximum time is 7min + / - 2 mins ENGLISH-07...
- Page 8 4.- Screw the sensor in the box, insert the selector time cover and finally place the front cover of the sensor. ENGLISH-08...
-
Page 9: Specifications
SPECIFICATIONS OPERATION Manual mode 1.- Simply move the switch to ON position to power on the device, place to OFF position to power it off. Automatic mode 1.- Once you set the selector time, move the switch to “Auto”, whenever the sensor detects motion the lamp will turn on and automatically power off after the sensor do not detect any movement. - Page 10 Part number: SWI-510 Brand: Steren WARRANTY This Steren product is warranted under normal usage against defects in workmanship and materials to the original purchaser for one year from the date of purchase. CONDITIONS 1.- This warranty card with all the required information, invoice or purchase ticket, product box or package, and product, must be presented when warranty service is required.
- Page 12 IMPORTANTE Antes de utilizar su nuevo Kit Convertidor Analógico/Digita Ant Antes de utilizar su nuevo Switch sensor de luz y movimiento, lea las siguientes recomendaciones • No exponga el equipo a temperaturas extremas. • Siempre utilice un paño suave, limpio y seco para limpiar el equipo. CARACTERISTICAS •...
- Page 13 CONTROLES 1.- LED indicador Enciende intermitente en señal de equipo energizado. 2.- Sensor de movimiento y luz. 3.- Control de tiempo Permite aumentar o disminuir el tiempo en que durará encendido el dispositivo (lámpara, foco, etc.) en ausencia de movimiento o luz. 4.- Interruptor de 3 posiciones On.- Enciende el dispositivo (lámpara, foco, etc) manualmente.
- Page 14 INSTALACION 1.- Revise e identifique los cables de la caja de registro del contacto eléctrico donde instalará el sensor. LINEA NEUTRO ESPAÑOL-04...
- Page 15 2.- Realice la conexiones tanto del sensor como de la instalación eléctrica, Consulte los siguientes diagramas de conexión. NEGRO SALIDA ENTRADA SENSOR VERDE ROJO CARGA (FOCO) ESPAÑOL-05...
- Page 16 LINEA NEGRO VERDE NEUTRO ROJO ESPAÑOL-06...
- Page 17 3.- Para usar el sensor de forma automática, ajuste el tiempo en el que durará encendido el dispositivo (Lámpara, foco, etc.) en ausencia de movimiento, para ello mueva el selector de tiempo hacia la derecha para aumentar la duración o hacia la izquierda para disminuirlo. Antes de utilizar su nuevo Kit Convertidor Analógico/Digita Ant El tiempo mínimo es de 8 segundos +/- 3 segundos El tiempo maximo es de 7min +/- 2 min...
- Page 18 4.- Atornille el sensor en la caja, inserte el protector del selector de tiempo y por último coloque la tapa frontal del sensor. ESPAÑOL-08...
-
Page 19: Especificaciones
OPERACION Modo manual 1.- Simplemente mueva el interruptor para encender el dispositivo en posición ON y para apagarlo mueva el interruptor en posición OFF. Modo automático 1.- Una vez ajustado el selector de tiempo, mueva el interruptor en posición “AUTO”, cada vez que el sensor detecte movimiento, el dispositivo (lámpara, foco, etc.) se encenderá... - Page 20 1.- Para hacer efectiva la garantía, presente ésta póliza y el producto, en donde fue adquirido o en Electrónica Steren S.A. de C.V. 2.- Electrónica Steren S.A de C.V. se compromete a reparar el producto en caso de estar defectuoso sin ningún cargo al consumidor. Los gastos de transportación serán cubiertos por el proveedor.
- Page 21 Centro de Atención a Clien- Producto tes, en donde con gusto le atenderemos en todo lo relacionado con su producto Steren. Marca Centro de Atención a Clientes Modelo 01 800 500 9000 Número de serie...
Need help?
Do you have a question about the SWI-510 and is the answer not in the manual?
Questions and answers