Table of Contents
Advertisement
Quick Links
Advertisement
Table of Contents

Related Manuals for ADE MISTER POCKET


Summary of Contents for ADE MISTER POCKET
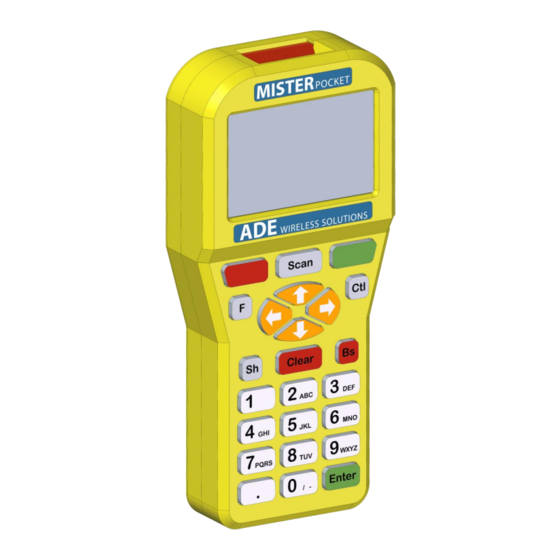
- Page 1 User manual ADE Vertriebs GmbH...
-
Page 2: Table Of Contents
Base operation Optical sensor 4.1.1 Address programming 4.1.2 Bus initialisation 4.1.3 Display sensors 4.1.4 Read our address 4.1.5 Copy address 4.1.6 Display a sensor Mechanical switch LED button CB-EXTIN Controller Vista Plus Accessories and spare parts Dimensional deviations ADE Vertriebs GmbH... -
Page 3: Description
Depending on the device connected, corresponding parameters an be configured without PC with the Mister Pocket. It is operated with a replaceable, rechargeable battery and has enough capacity to operate for many hours. -
Page 4: Technical Data
Technical data Power supply - 4,8V NiMH rechargeable battery with 1000 mAh Cable connection - USB cable with RJ connector Display - 128x64 pixel LCD with beck-lighting ADE Vertriebs GmbH... - Page 5 Basic operation Mister Pocket on-/off switch This is on the bottom of the device (sliding switch) At position "1" Mr Pocket is switched on and at position "0" it is switched off. Navigation You can use the arrow keys to navigate through the ...
-
Page 6: Use
ADE Vertriebs GmbH... -
Page 7: Optical Sensor
"02 03 05" These are always groups of two with an initial zero. For example, you can enter "020305“ or "235". The missing zeros are then added automatically. If you made a mistake, you can simply repeat the process. ADE Vertriebs GmbH... -
Page 8: Display Sensors
Display sensors Before you can display the sensors in the bus, the bus has to be initialised (4.1.2). Here, Mister Pocket displays all initialised sensors with a serial number, address and status. Since the device only has an eight-line display, you can use the arrow keys and to scroll through ... -
Page 9: Read Our Address
This function copies the address of the connected sensors to the memory of Mr Pocket. Only relevant for the function "Copy address" (4.1.5). 4.1.5 Copy address The address read out (4.1.4) is written to the sensor connected. ADE Vertriebs GmbH... -
Page 10: Display A Sensor
After conclusion of the initialisation, you can enter the sensor address looked for. If this sensor is not in the system, Mr Pocket issues an error tone. If the sensor is present, it flashes regularly and as a result is easy to recognise. ADE Vertriebs GmbH... -
Page 11: Mechanical Switch
Mechanical switch You can address a mechanical switch (CB-SWITCH) with this function. LED Button You can address an LED button (CB-COLL LED) with this function. ADE Vertriebs GmbH... -
Page 12: Cb-Extin
Enter "Block" is the block time for the impulse block. The number entered is multiplied by 150mS and displayed in seconds after confirmation with the key. Enter Controller Still without function Vista Plus Still without function ADE Vertriebs GmbH... -
Page 13: Accessories And Spare Parts
Accessories and spare parts Communication cable "CB-MIPO" - For connection between Mister Pocket and sensors Communication cable "CB-MPT EXTIN" - For connection between Mister Pocket and CB-EXTIN Spare rechargeable battery "V-PO1000NM" - Spare rechargeable battery in housing - NiMH 4.8V 1000mAh Charging station „V-POCRAD“... -
Page 14: Dimensional Deviations
Dimensional deviations ADE Vertriebs GmbH...
Need help?
Do you have a question about the MISTER POCKET and is the answer not in the manual?
Questions and answers