Advertisement
NOTE TO CUSTOMERS:
•
For ease and speed of assembly we recommend that before you commence each step of the assembly that you
identify all the parts required to complete that step.
•
We recommend that where possible you allow sufficient space to assemble the item as close as possible to the
place where it will be once assembled.
•
For the protection of your furniture we recommend that the product is placed on protected surfaces during
assembly to prevent any damage.
•
During assembly do not over tighten, as this may damage the product.
•
Please ensure you retain all the product packaging until the item completely assembled.
•
Please periodically check all fittings and re-tighten as necessary.
•
Please never allow any liquids to remain on your furniture as absorption can cause the wood to warp or finish to
de-laminate.
•
It is recommended that this item should be assembled by two adults.
Advertisement
Table of Contents

Related Manuals for 2K Furniture Designs C1288


Summary of Contents for 2K Furniture Designs C1288
- Page 1 NOTE TO CUSTOMERS: • For ease and speed of assembly we recommend that before you commence each step of the assembly that you identify all the parts required to complete that step. • We recommend that where possible you allow sufficient space to assemble the item as close as possible to the place where it will be once assembled.
- Page 4 Assemble Side Panels A2 &A3 to Bottom Panel A4 using Wood dowels B1,Cam -Bolts B2 and Cam-locks B3. 1). Attach Magnet B8 to the bottom of Top Panel A1 using included screws. 2). Assemble Top Panel A 1 to Side Panels A2 & A3 using Wood dowels B1, Cam -Bolts B2 and Cam-locks B3.
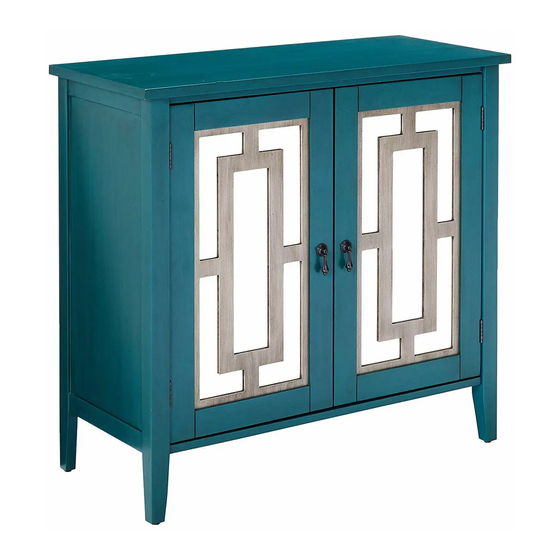
- Page 5 Attach Back Panel A7 to Side Panels A2 & A3 and Top Panel A1 using Screws B6. 1). Attach Handles B5 to Doors A5 & A6 by included bolts. 2). Attach Doors A5 & A6 to Side Panels A2 and A3 using Screws B4.
- Page 6 1). Insert Shlef Supports B7 into the holes on Side Panels A2 & A3, then put Shelf A8 onto the Shelf Supports B7, please note holes are pre-drilled. 2). For your safety, please attach this unit to the wall by Anti-tip Kit B10 and Anchor with Screw B9. 1-3/16"L...
Need help?
Do you have a question about the C1288 and is the answer not in the manual?
Questions and answers