Table of Contents
Advertisement
@
@
@
@
Gyroor1
Gyroorboard
Gyroor
Gyroorboard
www.gyroor.com
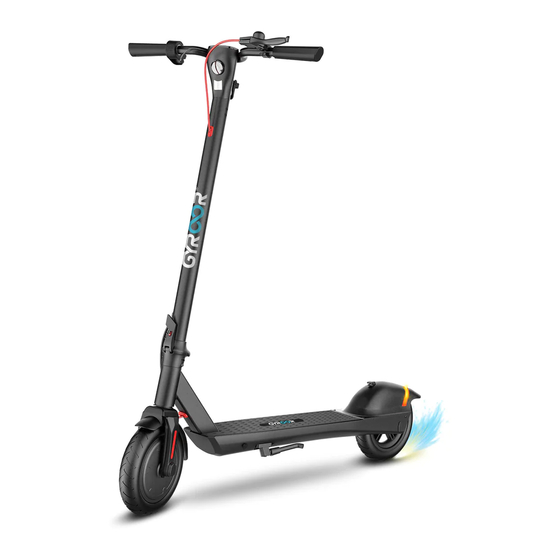
HR9
Foldable
Electric Scooter
Scan GYROOR Twitter QR code to get more information.
The manufacturer reserves the right to make changes to the product, and updates this manual at any time.
USER MANUAL
Visit www.gyroor.com to download the latest user manual.
www.gyroorboard.com
Scan GYROOR Facebook QR code to
get more information.
Advertisement
Table of Contents

Related Manuals for Gyroor HR9


Summary of Contents for Gyroor HR9
- Page 1 Foldable Electric Scooter Scan GYROOR Twitter QR code to get more information. The manufacturer reserves the right to make changes to the product, and updates this manual at any time. USER MANUAL Visit www.gyroor.com to download the latest user manual.
-
Page 2: Table Of Contents
6.Learning Driving 7.Safety Instructions 8.Preventing Dangerous Driving Scan GYROOR Twitter QR code to get more information. 9.Safety Tips for Charging 10.Safety Recommendations The manufacturer reserves the right to make changes to the product, and updates this manual at any time. -
Page 3: Configuration & Packing Listing
Scan GYROOR Facebook QR code to get more information. Wheel motor Fender User Manual(1) Screws(4+4 Replacements) Front wheel e-Scooter(1) Rear wheel Charging port Kickstand Any lack or loss, please do not feel hesitate to contact our email at help @ gyroor.com... -
Page 4: Assembling The Device
w to Operate 2.Assembling the Device 1.Open the kickstand to fix the e-Scooter body. 2. Attach the head to the steering rod, Turn on/o ff e-Scooter Press the power button 2-3 seconds set handlebars vertical, move the lock Find the groove inside and align them to Switch speed mode One click of the button lever upward to buckle to fix the... -
Page 5: Fold And Transportation
4. Fold and Transportation 5. Charging Scooter Fold Ensure the e-Scooter is off. Next, hold the steering rod, press the red button, slowly move the lock lever outward, and lower a steering rod. Add the steering rod in a horizontal position and secure it by inserting a folding hook through a special clamp. To assemble the e-Scooter, disconnected the folding hook from the clamp and then fit it into a vertical position Charger and lock a lever. -
Page 6: Learning Driving
6.Learning Driving 4.When the speed exceeds 3 Mph, stand on 5.Lose the accelerate button when slowing the running board with both legs staggered, down. Energy recovery systems will open 1.Power on and check the battery led light. We press the accelerate button slowly. (Please themselves to slow down. -
Page 7: Safety Instructions
7. Safety Instructions When driving, it is recommended to go around While walking with an e-Scooter, do not It is recommended to bend knees to better press the accelerate button. various obstacles on the road. adjust to a rough road slightly. If you are It is not recommended to drive in the rain. -
Page 8: Preventing Dangerous Driving
8. Preventing Dangerous Driving Please do not tread the back of the fender. Please do not touch the wheel brake (Especially when the power is on). It is forbidden to leave e-Scooters on It is forbidden to turn sharply at a residential area with overflow passers-by. -
Page 9: Safety Tips For Charging
9. Safety Tips for Charging 10. Safety Recommendations 1)Electric scooter - it is only a device for entertainment, not a vehicle. But once you are driving 1.Before first use, please charge it for 5 hours at least in the proper temperature and to the public area, the e-Scooter brings certain risks for your safety. -
Page 10: Care & Storage
Warning : 11.Care & Storage Do not store the e-Scooter & battery in rooms with temperatures that exceed 50℃ or -20℃ (for example, do Clean and store Electric Scooter not leave the battery of e-Scooter and other batteries in cars in the hot summer) or put the battery near the fire. As a result of these actions may deteriorate the battery, overheating and even can cause a fire. -
Page 11: Parameters
12. Parameters Adjusting the brake tightness Model If you want to loosen the brake, turn the nut If you want to tighten, turn the nut clockwise Motor Power 380W counterclockwise to roll it out to the desired to roll it inward, and then recheck it by your Tire Size 8.5inch position, and then tighten the brake handle... -
Page 12: Warranty
13. Warranty 14. Warranty Card Warranty service is carried out following the Law on 《Consumer rights》 and the 《 Law on the quality of products》. The warranty service includes: Name Information on warranty maintenance Name Term Order Number Frame, hub motor, controller, steering wheel, handlebar, control panel, rear hub, brakes, disc 1 year Main Unit...
Need help?
Do you have a question about the HR9 and is the answer not in the manual?
Questions and answers