Advertisement
Quick Links
OCP (SMD) Build guide (v1.0), 04/07/2022
OCP (SMD) BUILD GUIDE
OCP is Ornament and Crime PLUS
Updated version of Ornament and Crime
Ornament and Crime - Polymorphic cv generator is one of the most versatile cv
generator / processor modules for Eurorack.
Ornament and Crime can load dozens of different apps for many uses.
If this is your first Ornament and Crime - you are going to love this module and you will
always find creative ways to use it in any of your following patches.
www.plum-audio.com
Advertisement

Subscribe to Our Youtube Channel
Related Manuals for Plum Audio OCP


Summary of Contents for Plum Audio OCP
- Page 1 OCP (SMD) Build guide (v1.0), 04/07/2022 OCP (SMD) BUILD GUIDE OCP is Ornament and Crime PLUS Updated version of Ornament and Crime Ornament and Crime - Polymorphic cv generator is one of the most versatile cv generator / processor modules for Eurorack.
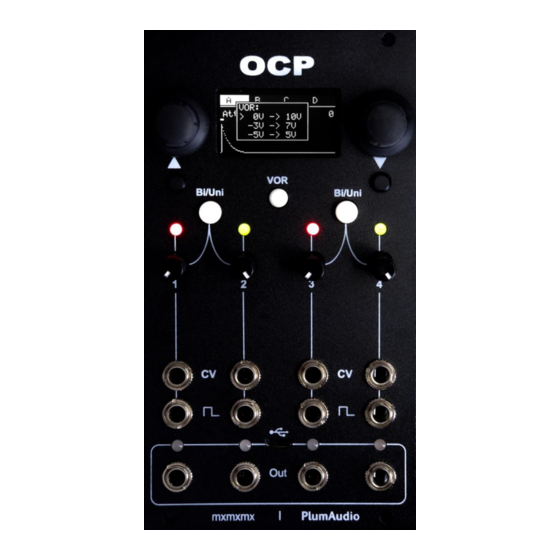
- Page 2 VOR button. Extended Range – OCP outputs can deliver 10 volts peak to peak when VOR is activated. Front USB Input – Can be used for easily accessing - MIDI to CV / CV to MIDI functions of the Hemisphere firmware (Captain MIDI).
- Page 3 OCP (SMD) Build guide (v1.0), 04/07/2022 * Tip about soldering iron tips: There are many soldering iron tips (heads) that are used for different kinds of soldering tasks, In fact, you can do all types of soldering with one conical (cone) tip and get good solder points, but I definitely recommend using the types of tips that are appropriate for the specific soldering task.
- Page 4 OCP (SMD) Build guide (v1.0), 04/07/2022 BACK SIDE OF THE BOARD: All the SMD components are already pre-soldered but few TH parts should be soldered here: The parts are ordered according to their height on the board and I recommend assembling them in this order.
-
Page 5: Oled Screen
OCP (SMD) Build guide (v1.0), 04/07/2022 Teensy 3.2 Inside the kit you will find the teensy board and rows of 14, 13 and 2 pin headers, the male headers is already attached to the female sockets (If not, please connect them before soldering). - Page 6 OCP (SMD) Build guide (v1.0), 04/07/2022 For the rest interface parts – Put them in place but do not solder them yet: 2. USB Jack: Prepare the USB board by soldering the USB jack to the small USB board and the pin headers to the bottom side of this board.
- Page 7 OCP (SMD) Build guide (v1.0), 04/07/2022 4. Push Buttons: Inside the kit you will find 2 push buttons with a white caps. Although they will work even if you install them in reverse polarity - for the sake of interface correctness you should install them in the correct polarity.
- Page 8 OCP (SMD) Build guide (v1.0), 04/07/2022 6. After all UI parts are in place attach the panel and tight all jack nuts and encoder nuts. 7. Use paper masking tape to hold buttons and LEDs in place and solder all parts except the USB board.
- Page 9 8v-10v to completely open a VCA and it's not good enough for a LFO's which needs a -/+5v (Bi-Polar) range for its operation. Plum Audio versions (Like the OCP module you just built) comes with VOR option, when you are using VOR you get: extended range of 10 volts peak to peak (vpp).
- Page 10 The calibration lets you fine-tune the CV outputs and inputs as well to adjust some basic settings. The calibration procedure of the OCP is similar to any other Ornament and Crime version but when using VOR there are few more steps.
-
Page 11: You're Done
OCP (SMD) Build guide (v1.0), 04/07/2022 You're done! Check your new OCP and read Ornament and Crime firmware manual to understand how to operate it. If you have problems, questions or if you found mistakes in this document visit PlumAudio DIY First Aid group at Facebook to get help or to contact me.
Need help?
Do you have a question about the OCP and is the answer not in the manual?
Questions and answers