Advertisement
Quick Links
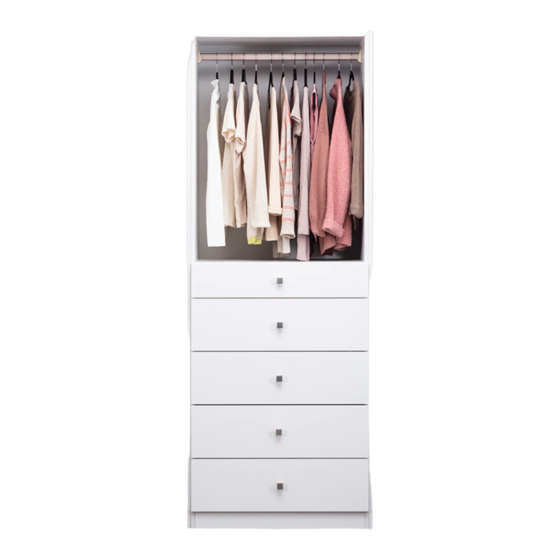
These assembly instructions are only applicable for the 5-drawer closet.
General Instructions:
Thank you for purchasing a Gracious Home product. You are now the proud owner of a high quality product designed to face the test of daily use and
guaranteeing your enjoyment for many years to come.
Carefully read the instructions before starting the installation.
During assembly. please follow all generally accepted safety procedures.
Failure to adhere to the following instructions will invalidate the manufacturer warranty. The manufacturer will decline any responsibility for any
damages caused. Any installation which does not correspond to the instructions may result in defects. malfunctioning parts. significant damage and/or
injury.
If you are missing any parts, please contact Customer Care department immediately .
Tools Required: Phillips Screwdriver
WARNING!
Children have died from furniture tip over. To reduce the risk of furniture tip over:
ALWAYS install anti-tipping hardware that is provided.
NEVER allow children to stand, climb or hang on drawers, doors, or shelves.
NEVER overload shelves or drawers – evenly distribute the weight.
Gracious Home 5 Drawer Closet
ASSEMBLY INSTRUCTIONS
Tools Required: Electric Drill
Tools Required: Rubber Mallet
Important:
Weight Capacity - Overall Unit 100 lbs. Each
drawer has a maximum weight capacity of 75 lbs.
The hanging rod has a capacity of 30 lbs.
Advertisement

Summary of Contents for Gracious Home GH3024DR-WH
- Page 1 These assembly instructions are only applicable for the 5-drawer closet. General Instructions: Thank you for purchasing a Gracious Home product. You are now the proud owner of a high quality product designed to face the test of daily use and guaranteeing your enjoyment for many years to come.
- Page 2 GH3024DR-WH GH3024DR-WN Hardware Bag i ] · , '-¾ � � Qty42 Qty30 Qty30 Qty40 Qty22 Qty30 Qty18 Qty2 Qty1 Qty4 Qty2 Qty4 Qty5 Qty5 Cabinet Parts Detail ITEM Right Side Panel Back Rail Left Side Panel Bottom Panel Shelf...
- Page 3 GH3024DR-WH GH3024DR-WN � • �/'/ / C: :: e;:,. -�>'�, :-. " . • ✓/: �/�/>/ /" After unpacking, place the panels on a soft surface. 1. Screw the hardware onto the side plate with an electric drill. Qty30 Qty 20...
- Page 4 GH3024DR-WH GH3024DR-WN 2. Install the wooden dowels on the top panel, bottom panel, back rail, shelf, front rail and toe kick with the rubber mallet. Connect with the right side panel. Tighten it with a screwdriver. Insert the back panel.
- Page 5 GH3024DR-WH GH3024DR-WN 3. Fasten the left side panel with a screwdriver Qty30 Q ty15 Page 5...
- Page 6 GH3024DR-WH GH3024DR-WN Drawer Assembly Drawing Qty22 Qty 5 Qty 4 2 Page 6...
- Page 7 GH3024DR-WH Slides Front Assembly Drawing GH3024DR-WN Qty 20 Page 7...
- Page 8 GH3024DR-WH GH3024DR-WN Page 8...
- Page 9 GH3024DR-WH GH3024DR-WN 7. When placing two cabinets next to each other use below hardware to connect the two cabinets for extra strength. Drill a hole in the two side panels that are next to each other then secure the closet with the screw through the hole.
- Page 11 GH3024DR-WH GH3024DR-WN (2) Anti-tipping hardware kits .£ are included to secure the closet 5x60 SCREW AND to the wall. If there is not a Hardware Bag ANCHORS TO WALL stud in the wall to secure the hardware, use the wall anchor...
- Page 12 ►Maintenance For daily cleaning, use a dry cloth and a soft liquid cleaner. Never use abrasive cleaners containing acetone, chlorine or strong bleach. Also, do not use tools as scrapers, metallic brushes, and other products which can scratch or tarnish surfaces. Under no circumstances should you use chrome cleaner on chrome-plated or brass trim, hinges, handles, sockets etc.


Need help?
Do you have a question about the GH3024DR-WH and is the answer not in the manual?
Questions and answers