Subscribe to Our Youtube Channel
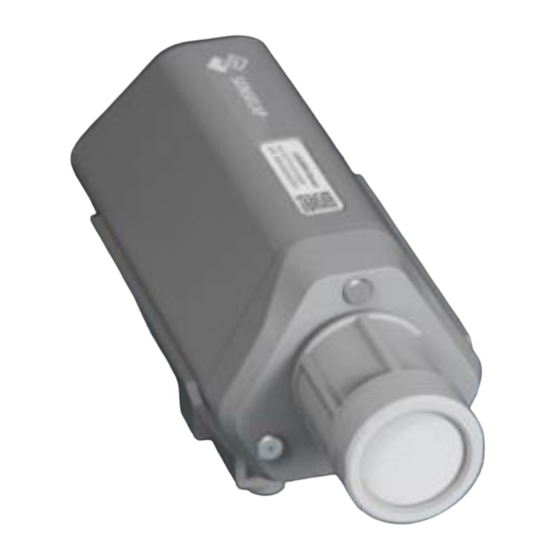
Summary of Contents for SENSECAP S210X
- Page 1 T H E N E W G E N E R A T I O N L O R A W A N S E N S O R S O F S E N S E C A P How to Connect S210X Sensors to Helium Network Version: v1.0.0...
-
Page 2: Table Of Contents
Create a New account ....................2 1.2.2 Setup the Sensor ......................2 1.2.3 Set Frequency of Sensor via SenseCAP Mate App ............ 3 Helium Console Configuration ..............5 2.1 Add New Device ...................... 5 2.2 Check the data on Helium ..................6 2.3 Upload Data from Helium to Datacake .............. -
Page 3: Connect To Helium Network
IoT into the Wild Connect to Helium Network 1.1 Helium Console The Helium Console is a web-based device management tool hosted by the Helium Foundation that allows developers to register, authenticate, and manage their devices on the Helium network. In addition to device management, Console provides prebuilt connections called Integrations to route device data via HTTPs or MQTT;... -
Page 4: Connect To Helium Network
, and register your account. 1.2.2 Setup the Sensor 1) Open the SenseCAP Mate App 2) Press button and hold for 3 seconds, the LED will flash at 1s frequency. 3) Please click the “Setup” button to turn on Bluetooth and click “Scan” to start scanning the sensor's Bluetooth. -
Page 5: Set Frequency Of Sensor Via Sensecap Mate App
IoT into the Wild 1.2.3 Set Frequency of Sensor via SenseCAP Mate App Set the corresponding frequency band based on the frequency band of the gateway. 1) Click the “Setting” and select the platform is “Helium”. 2) Select the Frequency Plan, if the gateway is US915, set the sensor to US915. - Page 6 IoT into the Wild 3) Click the “Send” button, send the setting to the sensor for it to take effect. 4) Click the “Home” button, the App will disconnect the Bluetooth connection. Then, the sensor will reboot. 5) When the device is disconnected from Bluetooth, the LED lights up for 15 seconds and then flashes as a breathing light.
-
Page 7: Helium Console Configuration
Helium Console Configuration 2.1 Add New Device 1) Click “Devices” –> “Add New Device” 2) Enter the Device EUI, App EUI, App Key: please refer to SenseCAP mate APP for details. 3) Save device. 4)Add a new label, then add the label to a device. -
Page 8: Check The Data On Helium
IoT into the Wild 2.2 Check the data on Helium 1) Enter device details page and find the REAL TIME PACKETS. -
Page 9: Upload Data From Helium To Datacake
IoT into the Wild 2) Power on the Sensor, it will display raw data. Upload Data from Helium to Datacake 2.3.1 Create a Datacake Account 1) Create a new account, website: https://datacake.co/... -
Page 10: Add New Integration On Helium Console
IoT into the Wild 2) Click the “Edit Profile” → “API” → Get API token. 2.3.2 Add New Integration on Helium Console 1) Click “Integrations” →”Add New Integration” →”Datacake”. -
Page 11: Configure The Flows On Helium
IoT into the Wild 2) Enter Datacake Token (Refer to section) and name your integration. 2.3.3 Configure the Flows on Helium 1) Click “Flows”. - Page 12 IoT into the Wild 2) Drag the Label into a blank place. 3) Drag the Integration in to a blank place. 4) Connect the two blocks.
-
Page 13: Add The Sensor On Datacake
IoT into the Wild 5) Save Changes. 2.3.4 Add the Sensor on Datacake 1) Return Datacake Dashboard, and click “Device”→”Add Device” 2) Choose “LoRaWAN”. - Page 14 IoT into the Wild 3) Search “Seeed” and select the Sensor Template. 4) Select “Helium”.
-
Page 15: Check Data From Datacake
IoT into the Wild 5) Enter your Device EUI and Name. 6) Select your Plan and add device. 2.3.5 Check Data from Datacake 1) Click Debug button, it will display debug log. - Page 16 IoT into the Wild...
- Page 17 IoT into the Wild...
-
Page 18: Trouble Shooting
Provide as much information as possible regarding your enquiry (product models, accurately describe your problem and steps to replicate it etc.) and send a mail to: sensecap@seeed.cc 3.2 Document Version Version Date...


Need help?
Do you have a question about the S210X and is the answer not in the manual?
Questions and answers