Table of Contents
Advertisement
Quick Links
USER'S MANUAL
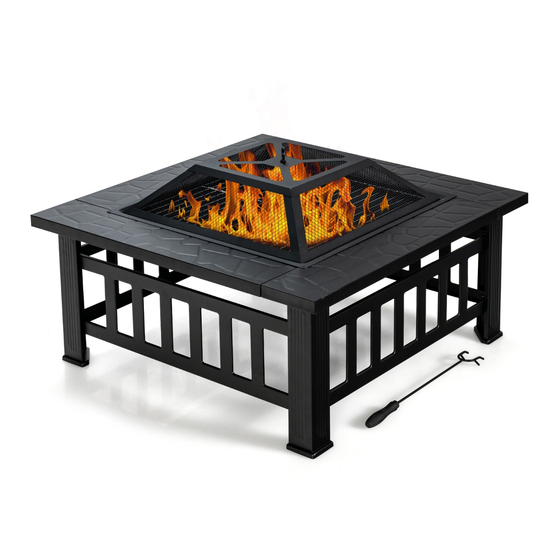
Square Metal Fire pit
JV10256
THIS INSTRUCTION BOOKLET CONTAINS IMPORTANT SAFETY INFORMATION. PLEASE READ AND KEEP FOR FUTURE REFERENCE.
Follow Costway
Please give us a chance to make it right and do better!
Contact our friendly customer service department for help first.
Replacements for missing or damaged parts will be shipped ASAP!
Advertisement
Table of Contents

Related Manuals for Costway JV10256


Summary of Contents for Costway JV10256
- Page 1 USER’S MANUAL Square Metal Fire pit JV10256 THIS INSTRUCTION BOOKLET CONTAINS IMPORTANT SAFETY INFORMATION. PLEASE READ AND KEEP FOR FUTURE REFERENCE. Follow Costway Please give us a chance to make it right and do better! Contact our friendly customer service department for help first.
- Page 2 E-mail US: cs.us@costway.com UK: cs.uk@costway.com...
- Page 3 Assembly Instructions Please check all packing material carefully before discarding, as some parts may be encased in the packing material. We have been working on providing high quality products for you. However, in the rare instance that your product is defective, missing parts or there are some issues during assembly, please don't hesitate to contact our customer service to submit parts requirements, assembly suggestion and we will give the best solution in the first time.
- Page 4 Special Warnings Check local bylaws before using the fire pit. This fire pit is intended for Outdoor Use Only! DO NOT use on wooden decks. This fire pit is intended to Burn Wood Logs Only! DO NOT burn coal, leaves or other combustible materials in the fire pit.
- Page 5 Assembly Instructions Estimated Assembly Time: 20 Minutes DO NOT over tighten hardware! Step 1: Place parts on a smooth even surface, Fix 4 pieces Top Frame (⑦) by using Bolt (A) into Square frame. (View Fig.1) Step 2: Attach Frame Support Parts (⑤) to Legs (⑥) by using Bolts (A), Hand tighten! (View Fig.2).
- Page 6 Step 3: Attach Legs (⑥) to Top Frame (⑦) with Bolts (A). Tighten all hardware accordingly with an Allen Wrench (D) (provided) and adjustable wrench until all pieces fit together securely. Turn the assembled fire pit frame over so that it sits securely (legs down) on a flat surface.
Need help?
Do you have a question about the JV10256 and is the answer not in the manual?
Questions and answers