Advertisement
Quick Links
Examine all packaging material for small parts that may have come loose during shipment. Periodic checks are recommended to insure that all
components are in proper position, tight and free from damage. Keep this assembly instruction for future reference. Adult assembly is required.
The product of Hillsdale Furniture, LLC is designed for residential use only. Customer Service Phone Number: 502-562-0000
HARDWARE LIST
A (10) M8*50mm Bolts
B
M8 Spring Washers
(10)
C
M8 Flat Washers
(14)
D (4) M8 Nuts
E (1)
Ø5 Allen Wrench
F
(1) Ø5 Open Wrench
G
H
I C
H B
G A
STEP 1 - Figure 1
Begin assembly by attaching Legs (H) to
Headboard (G) using 2 Bolts (A), 2 Spring
Washers (B) and 2 Flat Washers (C) per side.
Tighten all bolts with Allen Wrench (E) provided.
CARE & MAINTENANCE: The touch of a soft cloth is all the maintenance the finish will ever need. Please do not use harsh or abrasive cleaners for polishing,
as they may cause damage to the finish. Periodic checks are recommended to make sure that all bolts, screws and nuts are securely tightened.
PARTS LIST
G
(1)
Headboard Panel
H
(2)
Headboard Legs
H
G
FIGURE 1
H
Back
of Leg
HEADBOARD
PART
QTY
HARDWARE
A
10
C
14
E
1
Holes for
H
Cal-King
Holes
for
Metal
Frame
FIGURE 2
D B
C
H
C
A
Date: 04-13-2015
PART
QTY
HARDWARE
B
10
D
4
F
1
Side Rails
(Sold Separately)
STEP 2 - Figure 2
Attach the
Side Rails (Sold
Separately)
to the Headboard
Legs (H) using 2 Bolts (A), 2
Flat Washers (C) on the front
and 2 Hex Nuts (D), 2 Spring
Washers (B) and 2 Flat
Washers (C) on the back.
Tighten all bolts with Allen
Wrench (E) and Open End
Wrench (F) provided.
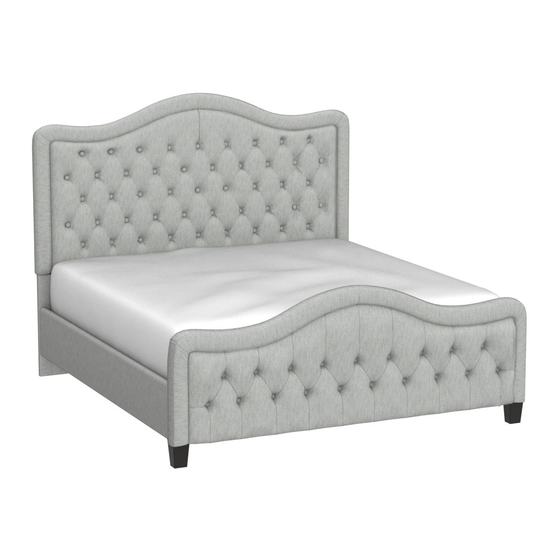
The Bed Frame
included. Sold Separately.
Page 1 of 1
* *
is not
Advertisement

Subscribe to Our Youtube Channel
Related Manuals for Bob's Discount Furniture Troy Queen Storage Bed


Summary of Contents for Bob's Discount Furniture Troy Queen Storage Bed
- Page 1 HEADBOARD Date: 04-13-2015 Page 1 of 1 Examine all packaging material for small parts that may have come loose during shipment. Periodic checks are recommended to insure that all components are in proper position, tight and free from damage. Keep this assembly instruction for future reference. Adult assembly is required. The product of Hillsdale Furniture, LLC is designed for residential use only.
- Page 2 Date: 11-06-2018 Troy Side Storage Queen / Side Rail / Slats Page 1 of 2 Model #2074-541F Examine all packaging material for small parts that may have come loose during shipment. Periodic checks are recommended to insure that all components are in proper posi�on, �ght and free from damage.
- Page 3 Date: 11-06-2018 Troy Side Storage Queen / Side Rail / Slats Page 2 of 2 Model #2074-541F STEP 3 - Figure 3 A�ach Adjustable Feet (4) toSlat Supports (D) by screwing into place. STEP 4 - Figure 4 A�ach Slat Sets (E) to Side Rails (A) using Screws (8). Tighten screws using Philips head screwdriver (not included). STEP 5 - Figure 5 Set Slat Supports (D) underneath Slats (E) and secure each with 1 Allen Bolt (1), 1 Spring Washer (3) and 1 Flat Washer (2).
-
Page 4: Parts List
Troy Storage Drawers Date: 11-06-2018 Page 1 of 2 Model #2074-541F Queen Model #2074-691F King Examine all packaging material for small parts that may have come loose during shipment. Periodic checks are recommended to insure that all components are in proper posi�on, �ght and free from damage. Keep this assembly instruc�on for future reference. Adult assembly is required. The product of Hillsdale Furniture, LLC is designed for residen�al use only. - Page 5 Troy Storage Drawers Date: 11-06-2018 Page 2 of 2 Model #2074-541F Queen Model #2074-691F King STEP 5 Line the center of the drawers up with the guides on the bo�om of the bed and slide into place. CARE & MAINTENANCE: The touch of a so� cloth is all the maintenance the finish will ever need. Please do not use harsh or abrasive cleaners for polishing, as they may cause damage to the finish.
Need help?
Do you have a question about the Troy Queen Storage Bed and is the answer not in the manual?
Questions and answers