Subscribe to Our Youtube Channel
Summary of Contents for PairGain HiGain Solitaire H2TU-R-402
- Page 1 Quick Installation Guide HiGain SOLITAIRE PairGain LOOP B8ZS H2TU-R-402 List 1 and List 1A Remote Unit RS-232...
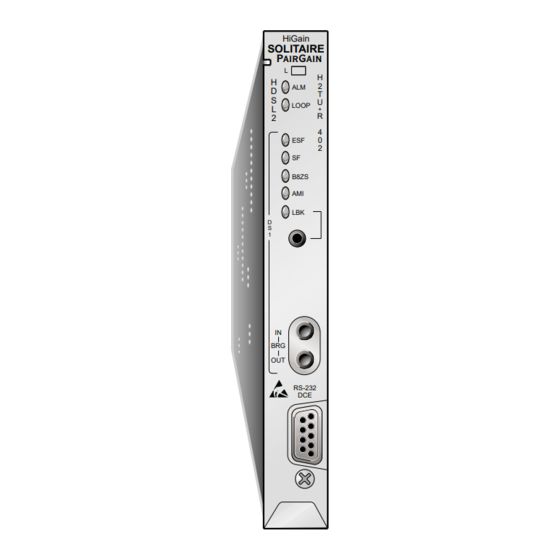
- Page 2 H2TU-R-402 L ® The PairGain HiGain Solitaire™ product family is the industry’s first practical implementation of High bit-rate Digital Subscriber Line 2 (HDSL2). The H2TU-R-402 List 1 or List 1A functions as the remote end of a repeaterless T1 transmission system. An H2TU-R connects to a HiGain HDSL2 Line Unit (H2TU-C), creating a HiGain system that provides 1.552 Mbps transmission on one...
- Page 3 NSTALLATION H2TU-R-402 List 1 If you are installing the List 1 model, check the configuration of the SCURR switch. The default configuration is disabled (up position). If your particular application requires simplex sealing current, place the SCURR switch in the down position.
- Page 5 ERIFICATION Once the H2TU-R-402 is installed, verify that it is operating properly by monitoring the Status LEDs on the front panel. Status LED Descriptions LED Status Indicates Alarm (ALM) LED Shows alarm states for remote and local Loss of Signal (LOS). Solid red Indicates a Loss of Signal (LOS) condition at the T1 input of the H2TU-R-402.
- Page 6 H2TU-C line unit technical practice from the Customer Site portion of the PairGain Web page at www.pairgain.com. A password is required to access the Customer Site Web pages. If you do not have a password, contact your PairGain sales representative. OOPBACK ESTING Initiate loopback testing from the maintenance terminal menus or by using inband codes.
- Page 7 Do not try to repair the unit. If it fails, replace it with another unit and return the faulty unit to PairGain for repair. Any modifications of the unit by anyone other than an authorized PairGain representative voids the warranty.


Need help?
Do you have a question about the HiGain Solitaire H2TU-R-402 and is the answer not in the manual?
Questions and answers