Table of Contents
Advertisement
Quick Links
Installation Guide
Record your model number below
for future reference:
For Three-Hole Sinks: Install the
faucet.
5
Position the screws on the ring
to the front and back. Tighten the
screws.
1/4"
(6 mm)
Position the weight on the spray
10
hose as shown.
2" (51 mm) –
3" (76 mm)
1241700-2-B
For Three-Hole Sinks: Install the
nuts on the studs and handtighten
securely.
6
Connect and tighten the supply
hoses.
Check for smooth operation.
11
3/8"
CAUTION: Risk of fresh water
contamination.
This faucet contains back-siphonage
protection. To prevent water
contamination, do not remove any
internal components from this faucet.
2
For Single-Hole Sinks:
Install the faucet.
7
Turn on the water supplies. Flush
the hot and cold water for 1
minute.
Adjust the weight as needed for
12
proper positioning and operation.
Bucket
Important Information
For new installations, assemble the
faucet to the sink before installing the
sink.
Observe all local codes.
Shut off the water supply.
Partially thread the screws into the
3
ring until they extend 1/4" (6 mm)
out the opposite side.
1/4" (6 mm)
8
Attach the weight to the spray
hose.
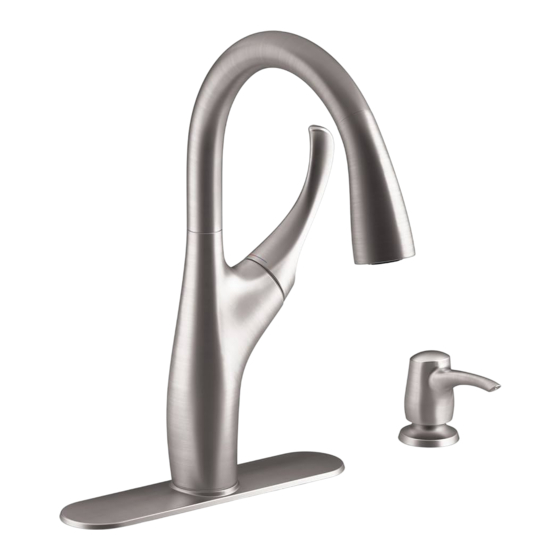
Install the soap dispenser
13
escutcheon.
1
For Three-Hole Sinks:
Assemble as shown.
Slide the washers onto the shank
4
and thread the ring onto the
shank.
3-Hole Only
3 orifices seulement
3 orificios solamente
Metal
Plastic
Métal
Plastique
Metal
Plástico
9
Align the spray hose with the
outlet tube and click together.
Install then fill the soap bottle.
14
Advertisement
Table of Contents

Subscribe to Our Youtube Channel
Related Manuals for Kohler Mazz R72511-SD-VS


Summary of Contents for Kohler Mazz R72511-SD-VS
- Page 1 Installation Guide Bucket 3/8" Record your model number below CAUTION: Risk of fresh water Important Information For Three-Hole Sinks: for future reference: contamination. For new installations, assemble the Assemble as shown. This faucet contains back-siphonage faucet to the sink before installing the protection.
- Page 2 Install the flat end of the tube to To improve the flow, disconnect the Faucet Maintenance: the pump. Install the pump. sprayhead and clean the screen With the water running, rub the washer. Reassemble. nozzles to dislodge debris. Learn more about RV faucets and shower fixtures we have.
Need help?
Do you have a question about the Mazz R72511-SD-VS and is the answer not in the manual?
Questions and answers